- CMS
- Pages
- Categories
- CMS overview
- Creating and Publishing a New Blog Post
- How to Create and Edit Pages using Page Templates
- Creating PageBuilder Elements
- How To Send A Custom Message With Attachments
- Customizing Your Website Header and Header Settings
- Users
- eLearning
- Managing a Course
- Courses
- eCommerce
- Customize
- Customize Dashboard Menu
- Landing Pages using Claude or Codes
- Customize User Dashboard
- Gamification
- Use leaderboards and monitor program health
- Review the points log
- Plan badges, levels, and rewards
- Create and manage point rules
- Gamification overview
- Interface
- How to switch between roles ?
Create and Manage Questions
Learn how to efficiently add new questions to your bank and organize them into categories within the Academy Launcher dashboard. This guide walks you through the entire process, from setting difficulty levels to verifying your new content.
1. Navigate to your Site dashboard as Instructor or Administrator
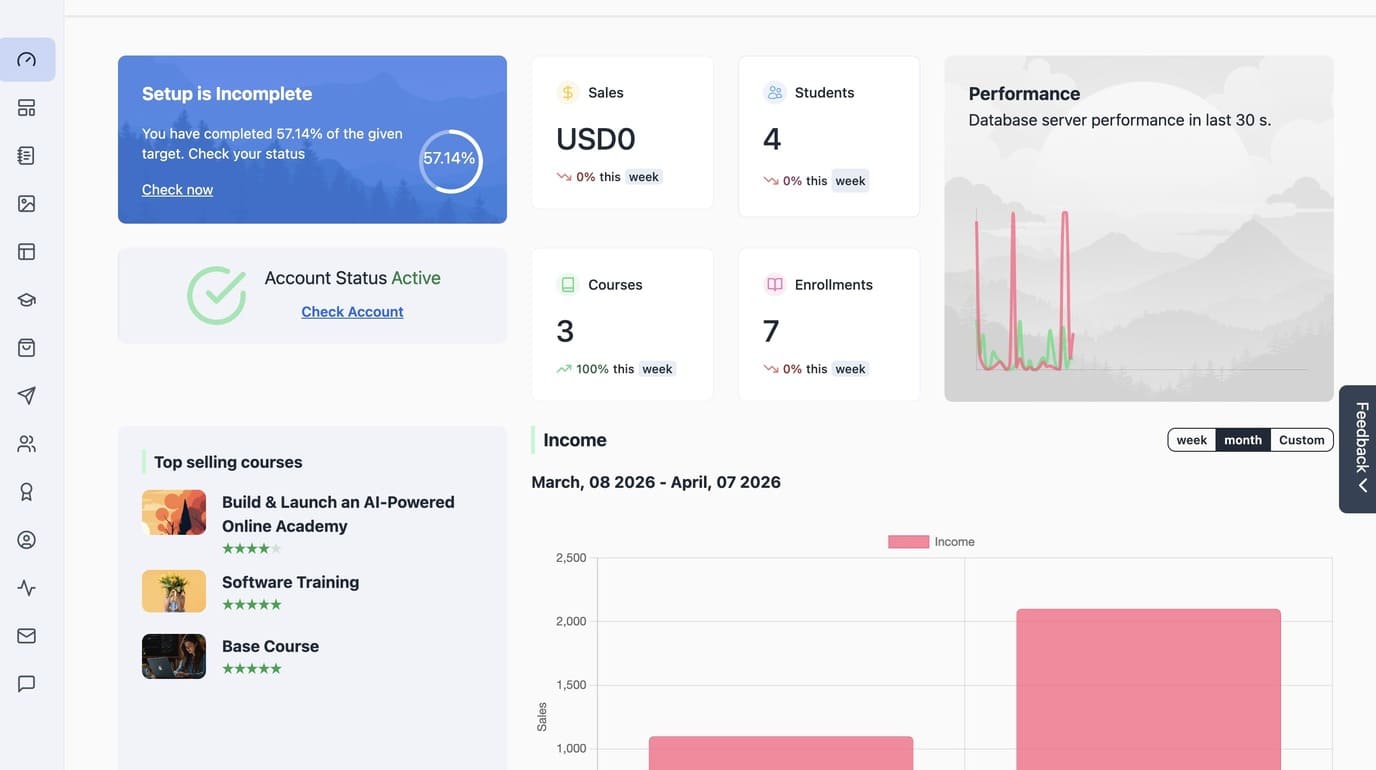
2. Click "Administrator | Switch"
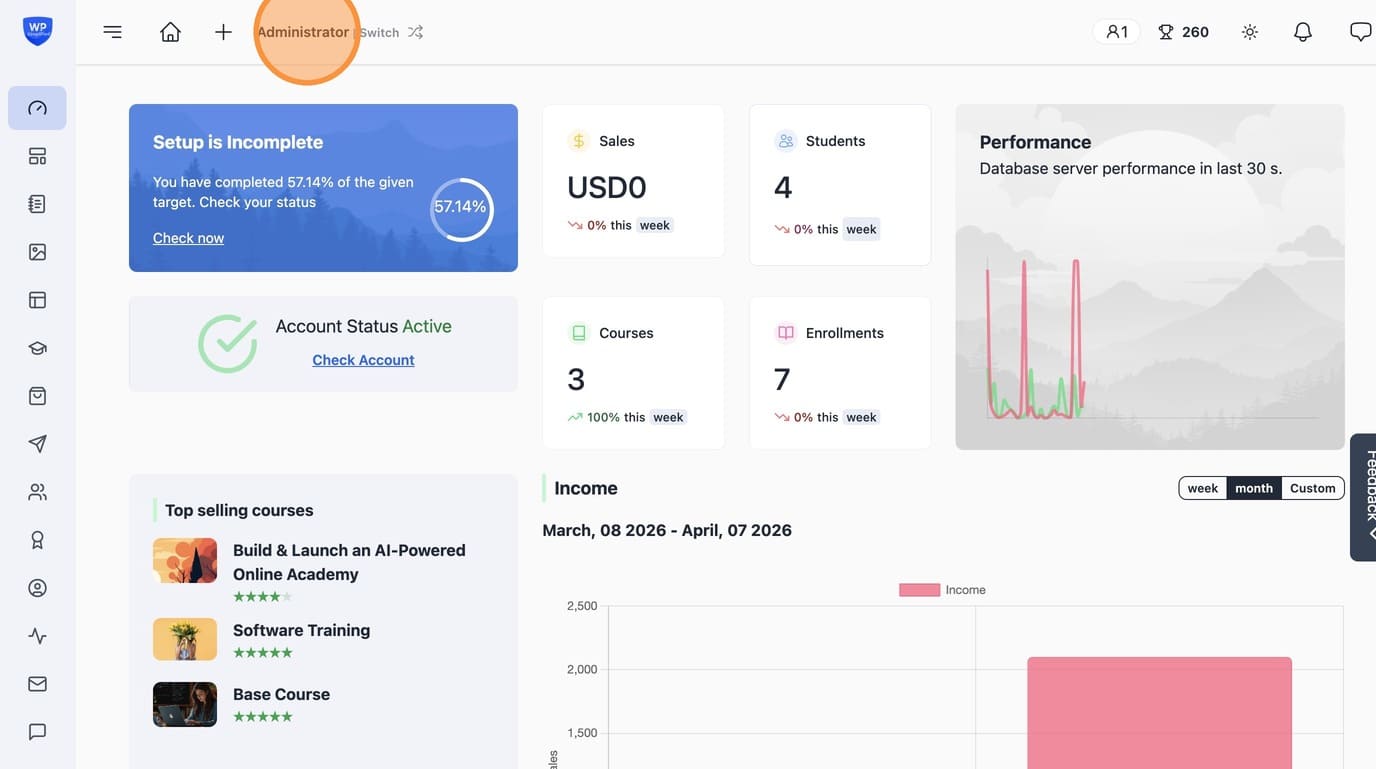
3. Click "Switch - Instructor"
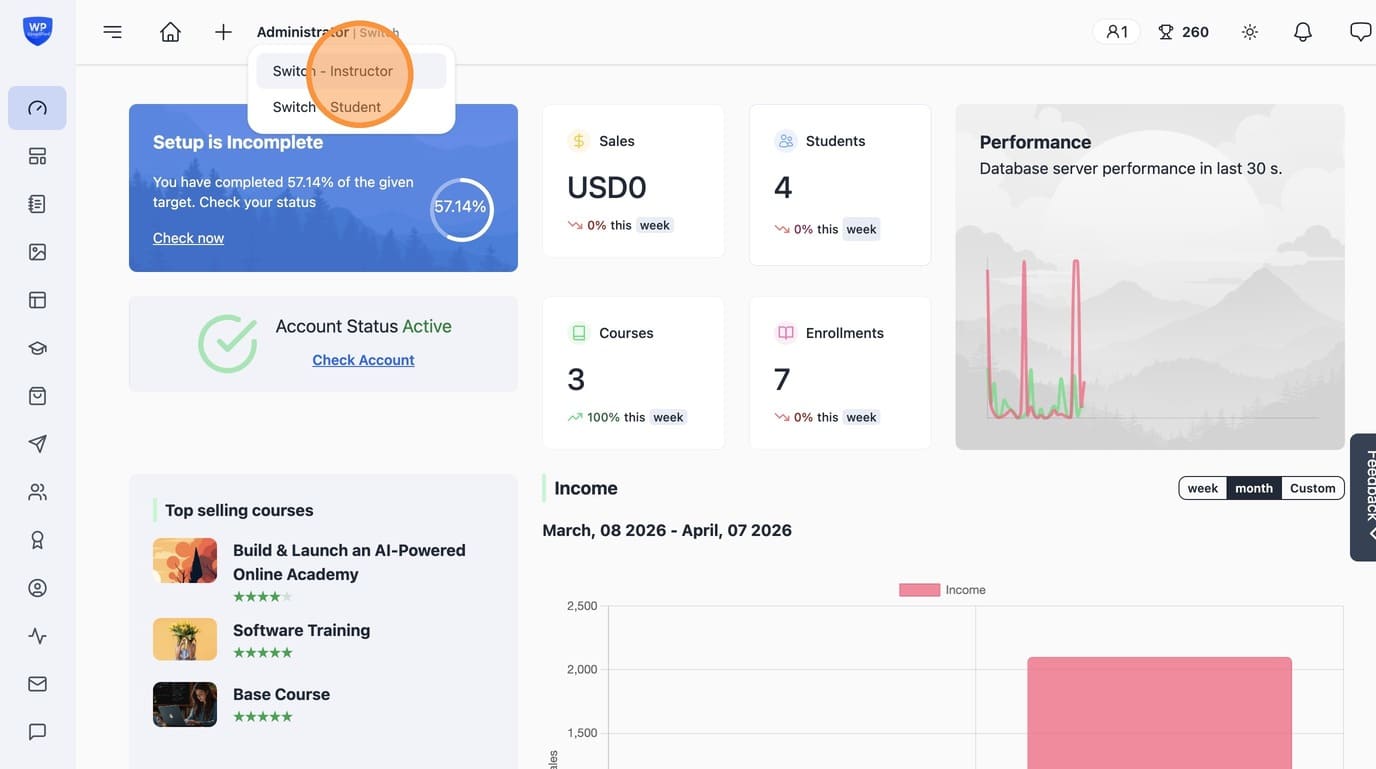
4. Go to the Teaching panel
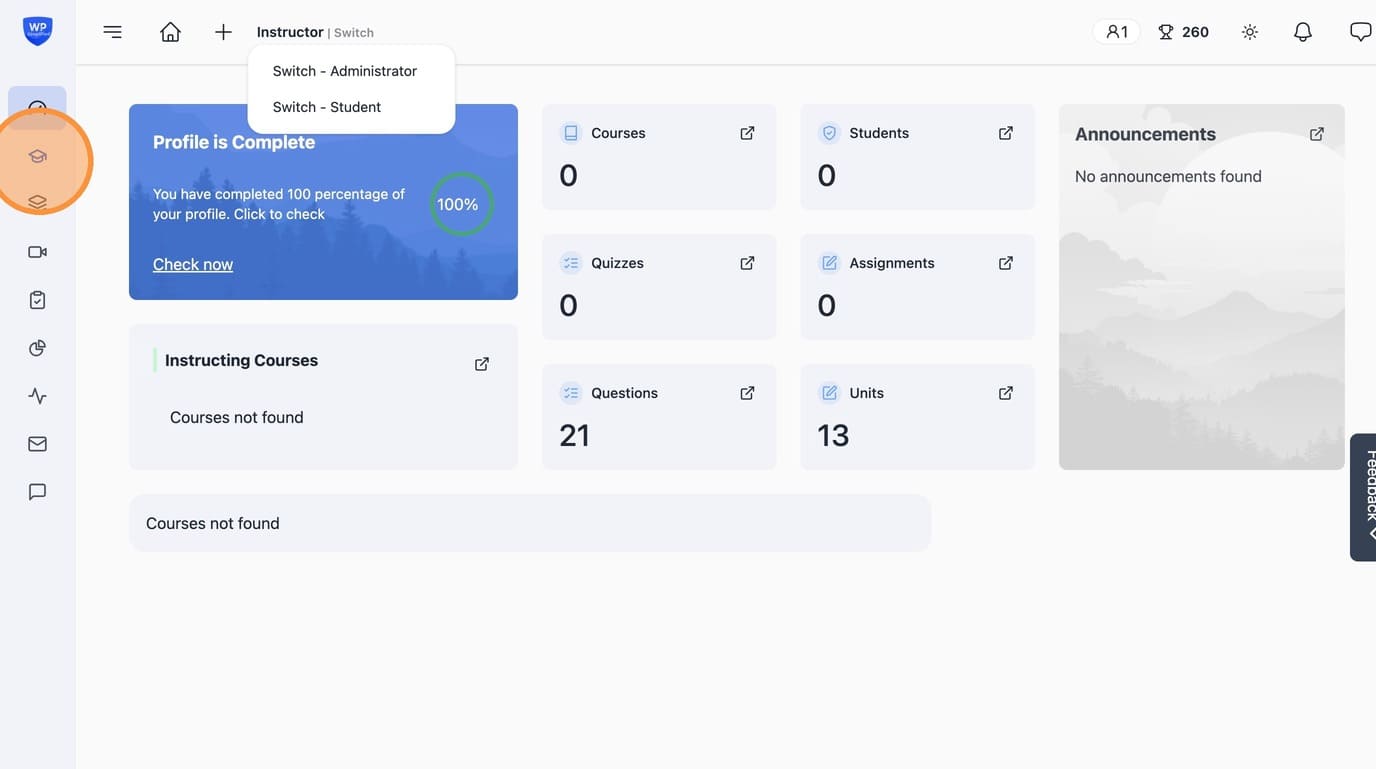
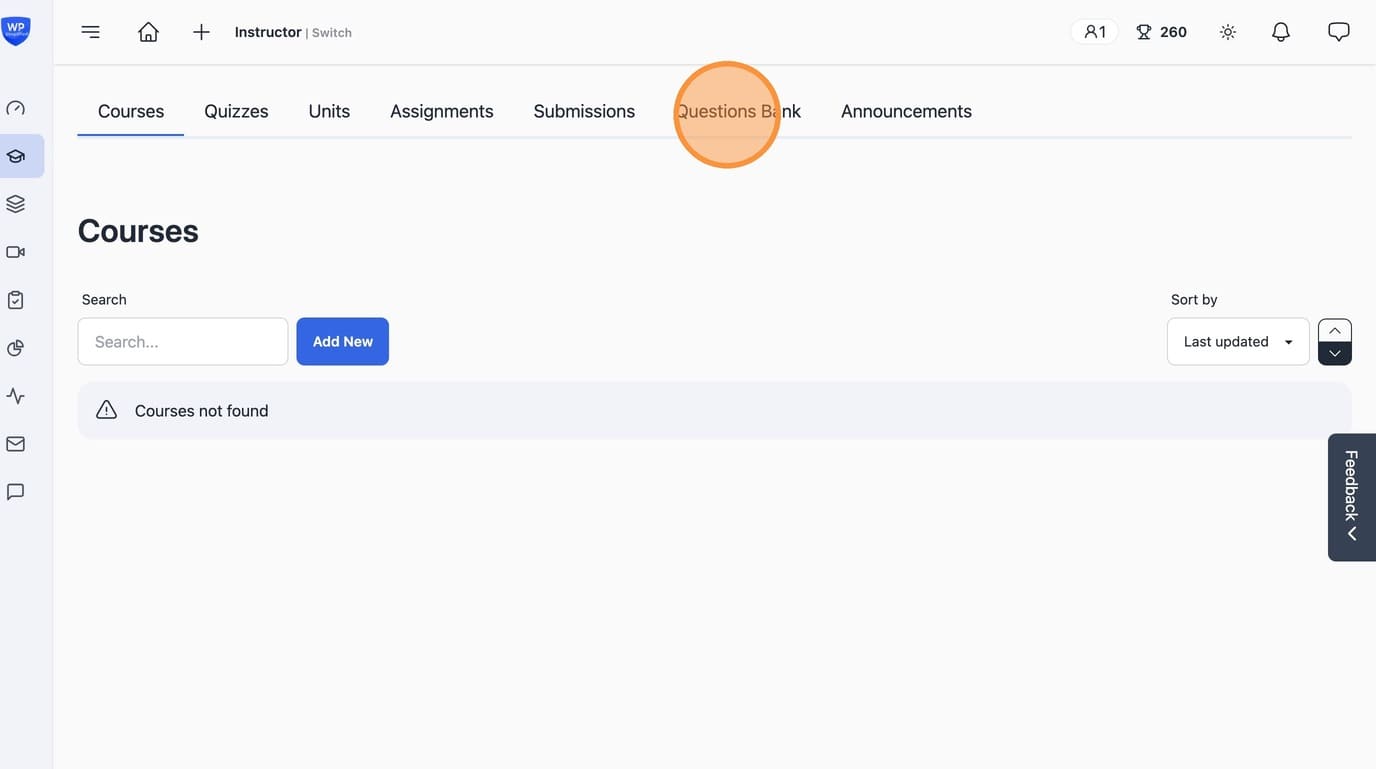
5. Select "Questions Bank"
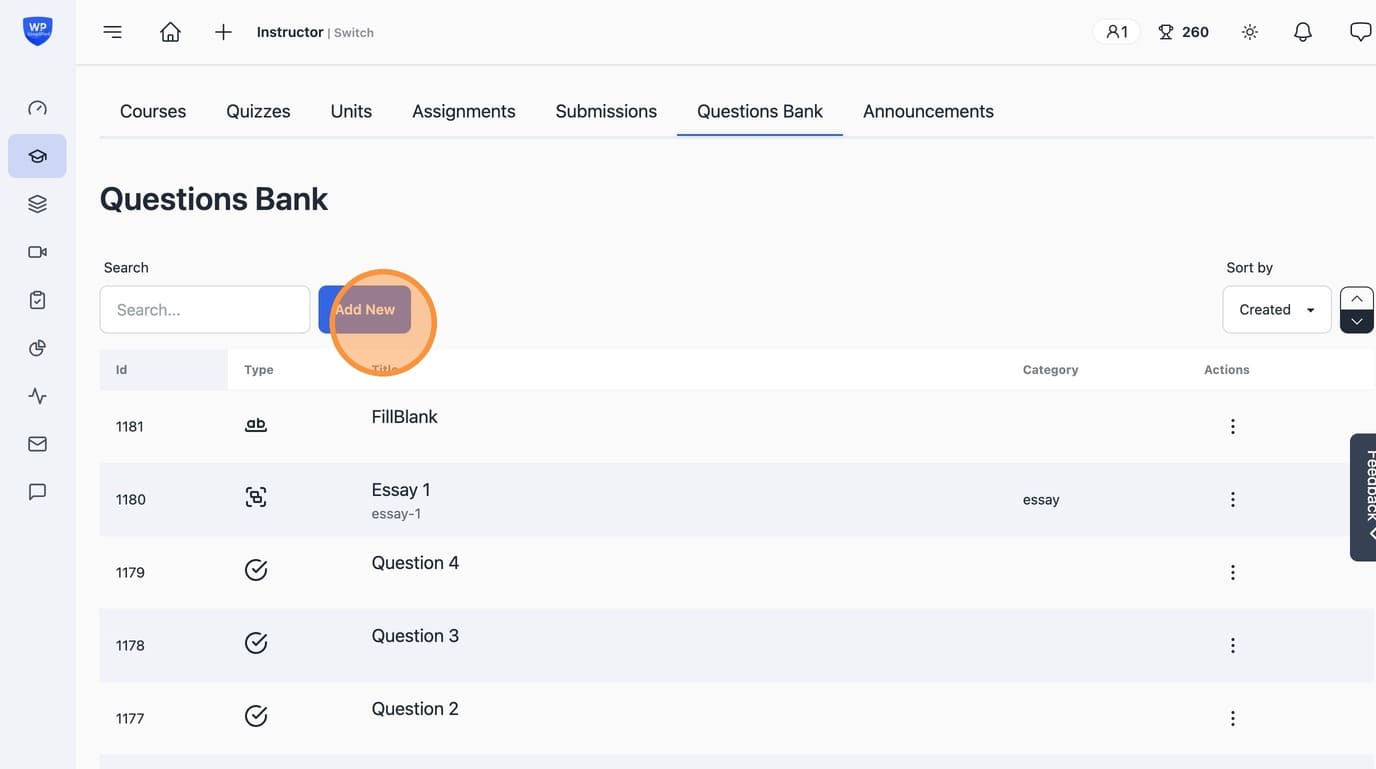
6. Click "Add New" to add questions
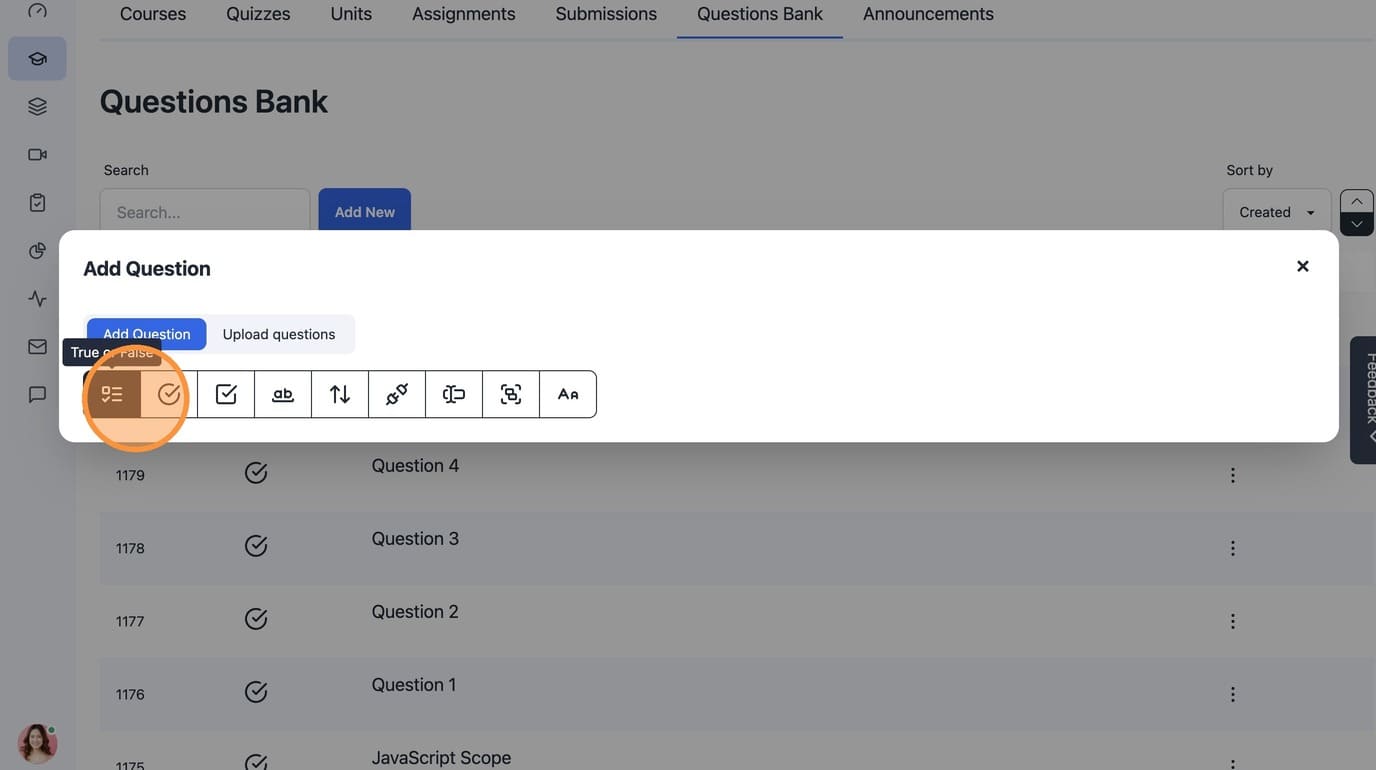
7. To individually add questions select the type of question you want to add.
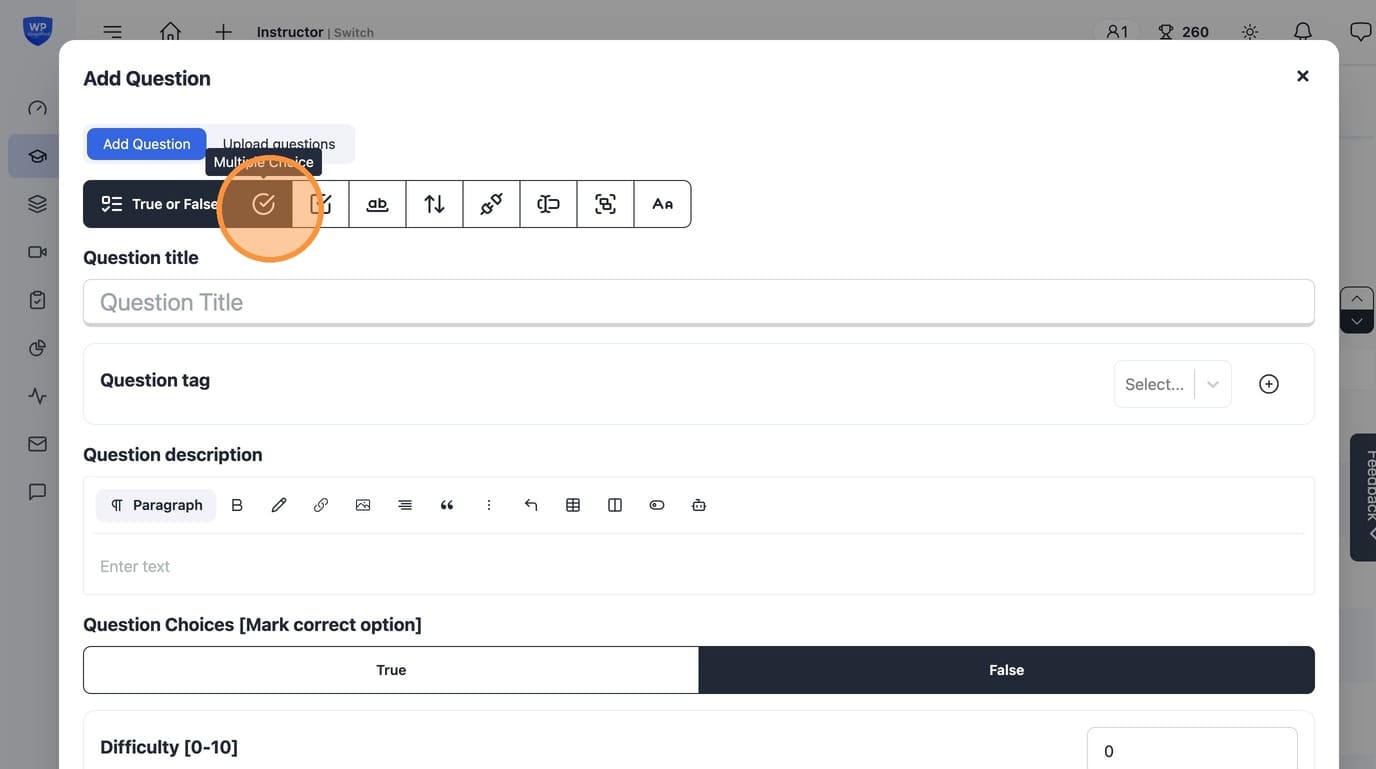
8. Click icon to set the question type
9. Click the "Question Title" field. Set a title that helps you search for the question later.
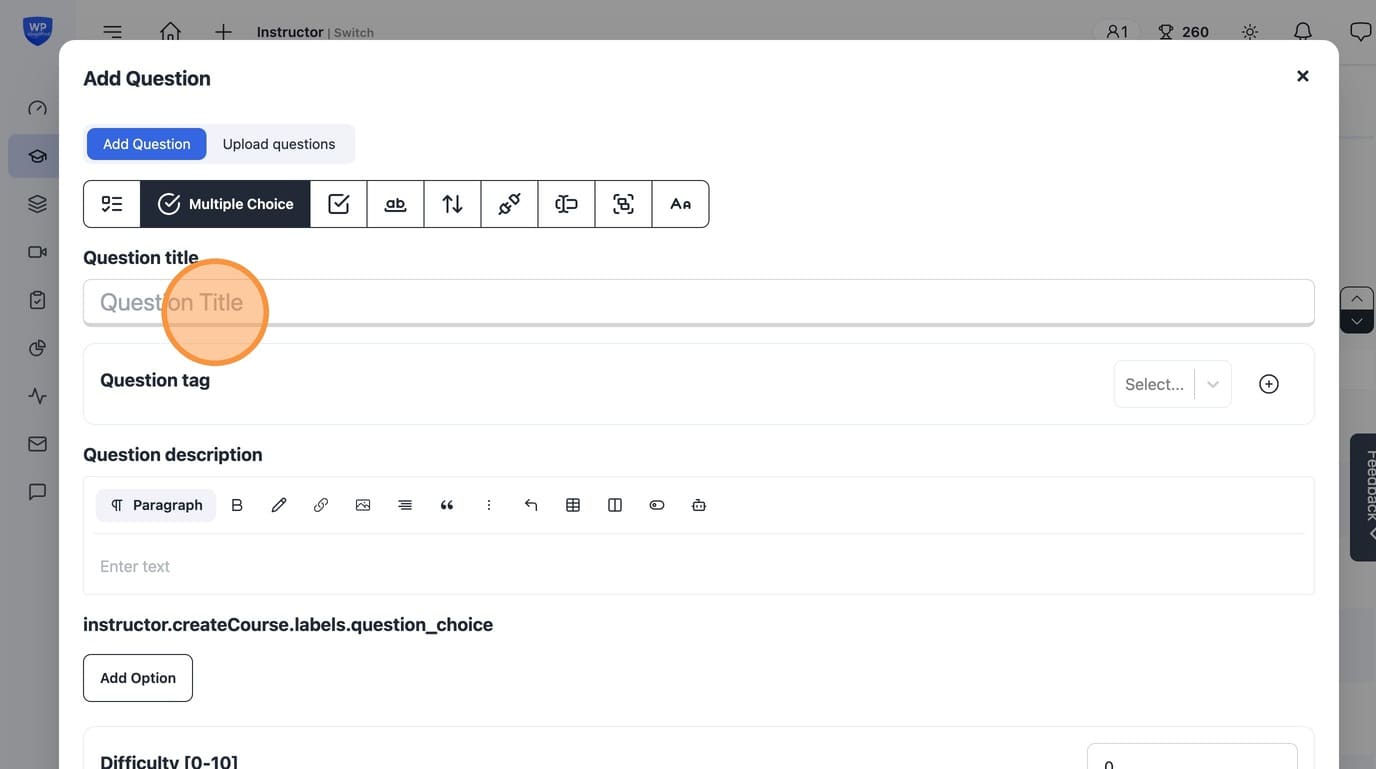
10. Set a question tag. These help in Dynamic quizzes. You can add multiple tags.
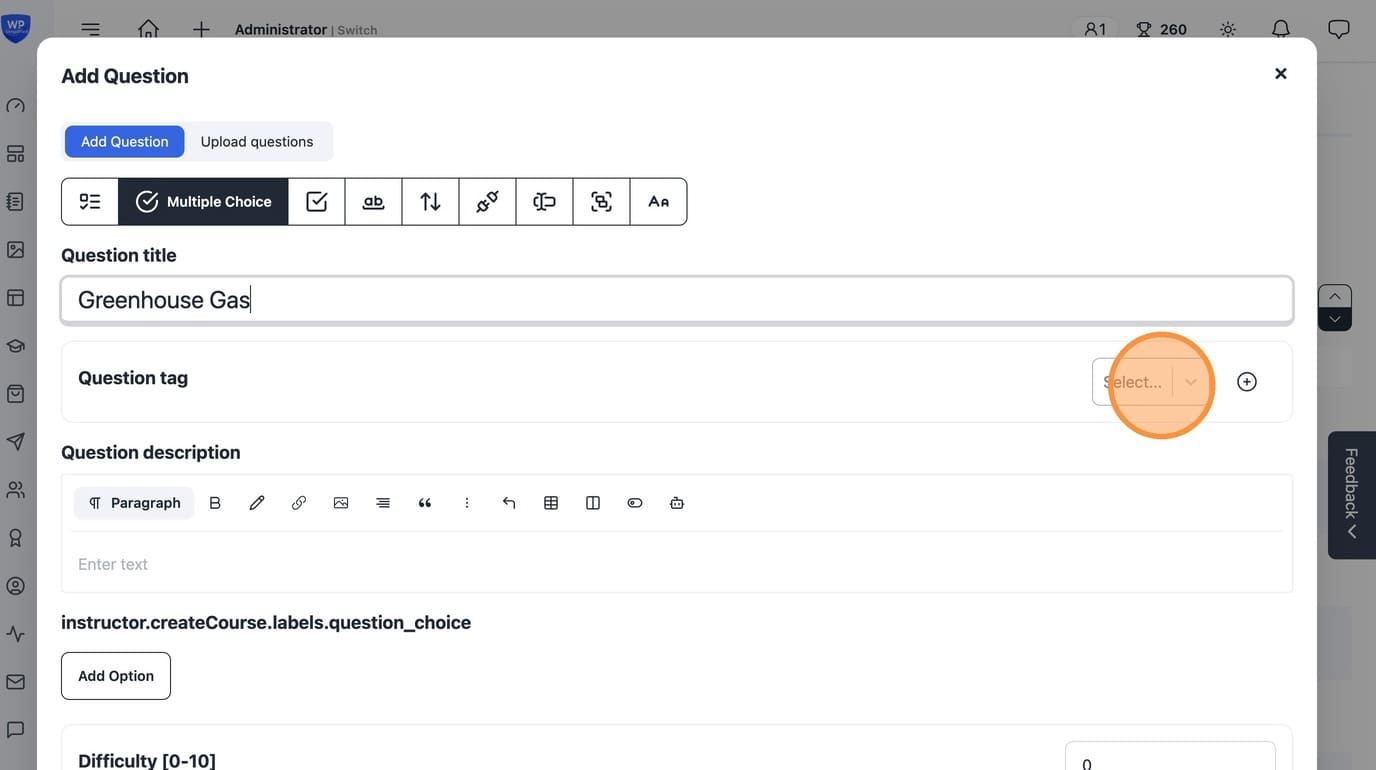
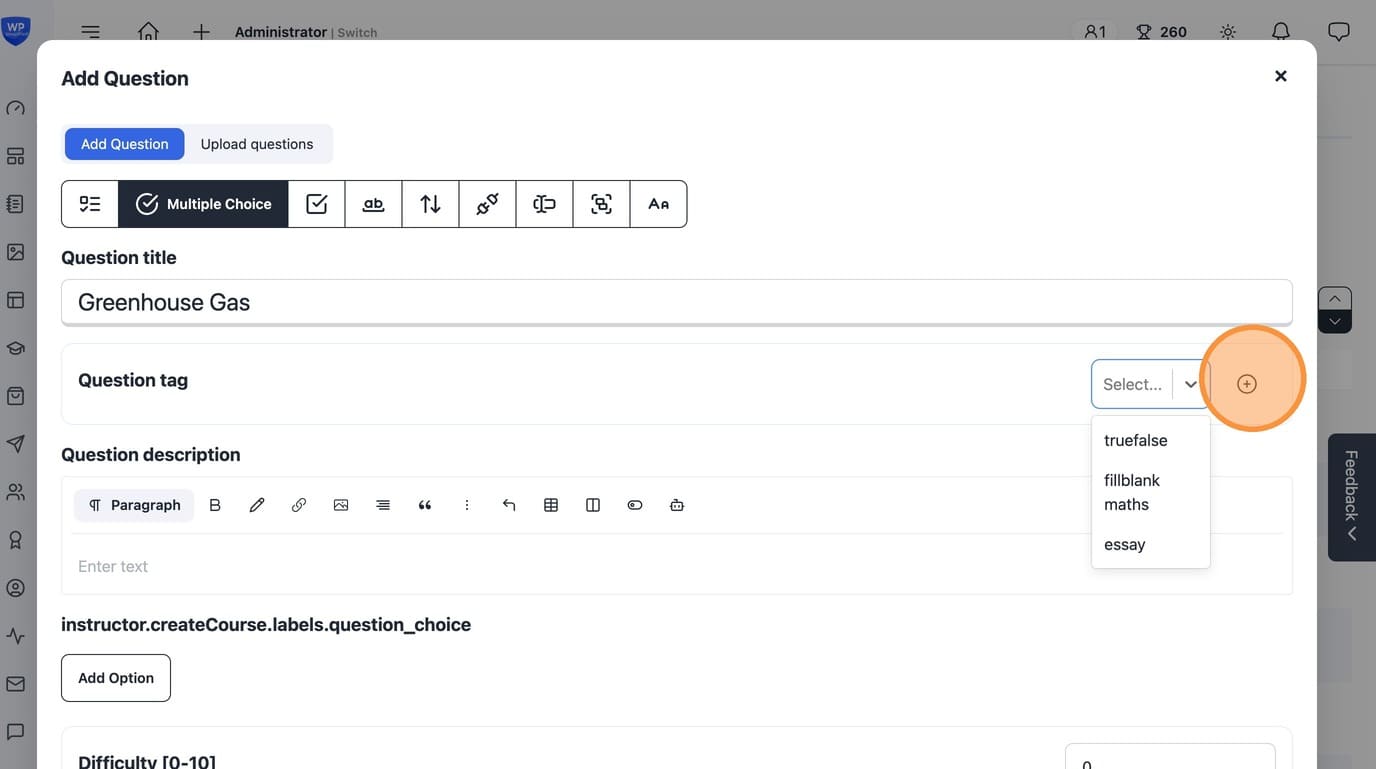
11. Click Plus icon to add a new tag.
12. Click the "New Category" field to set the question tag Title.
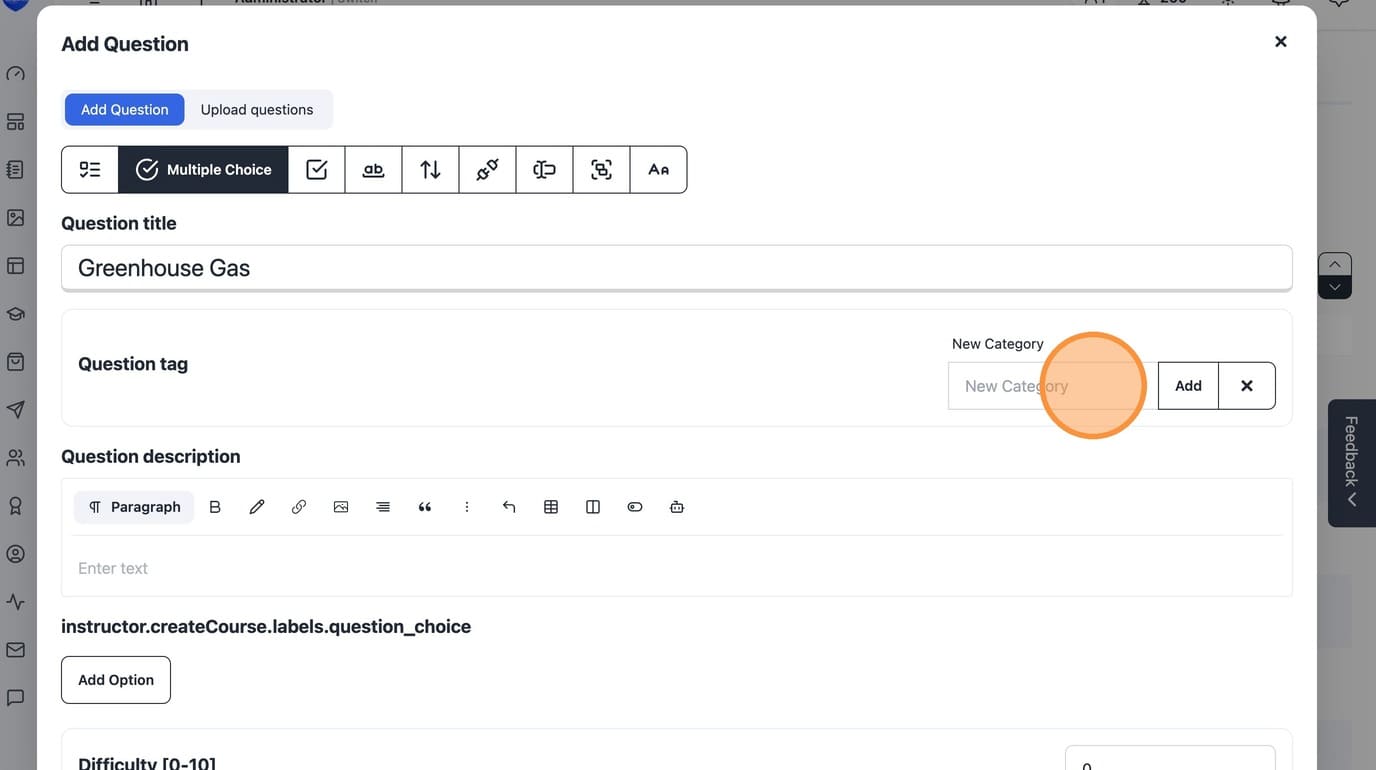
13. Type the tag name (e.g., "greenhouse").
14. Click "Add" to add a new tag.
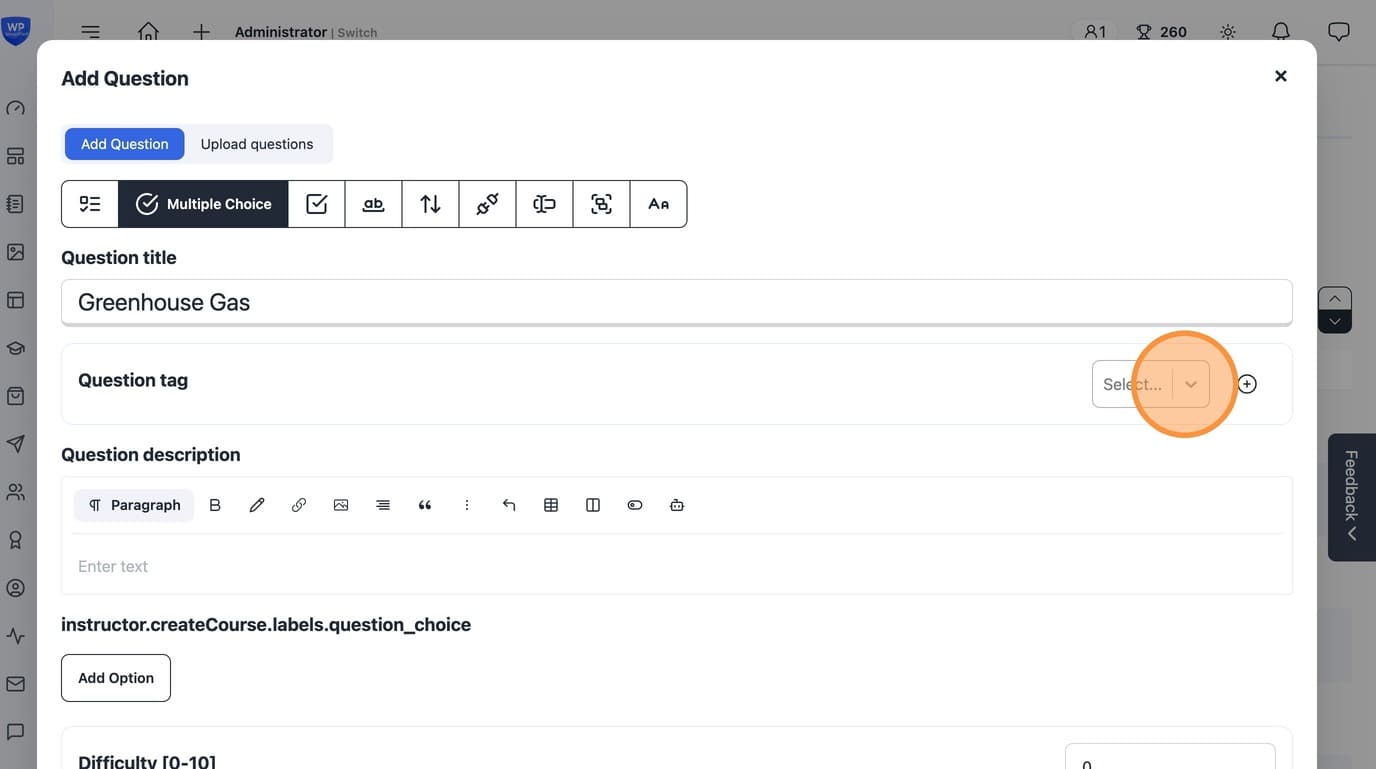
15. Select the newly created question tag.
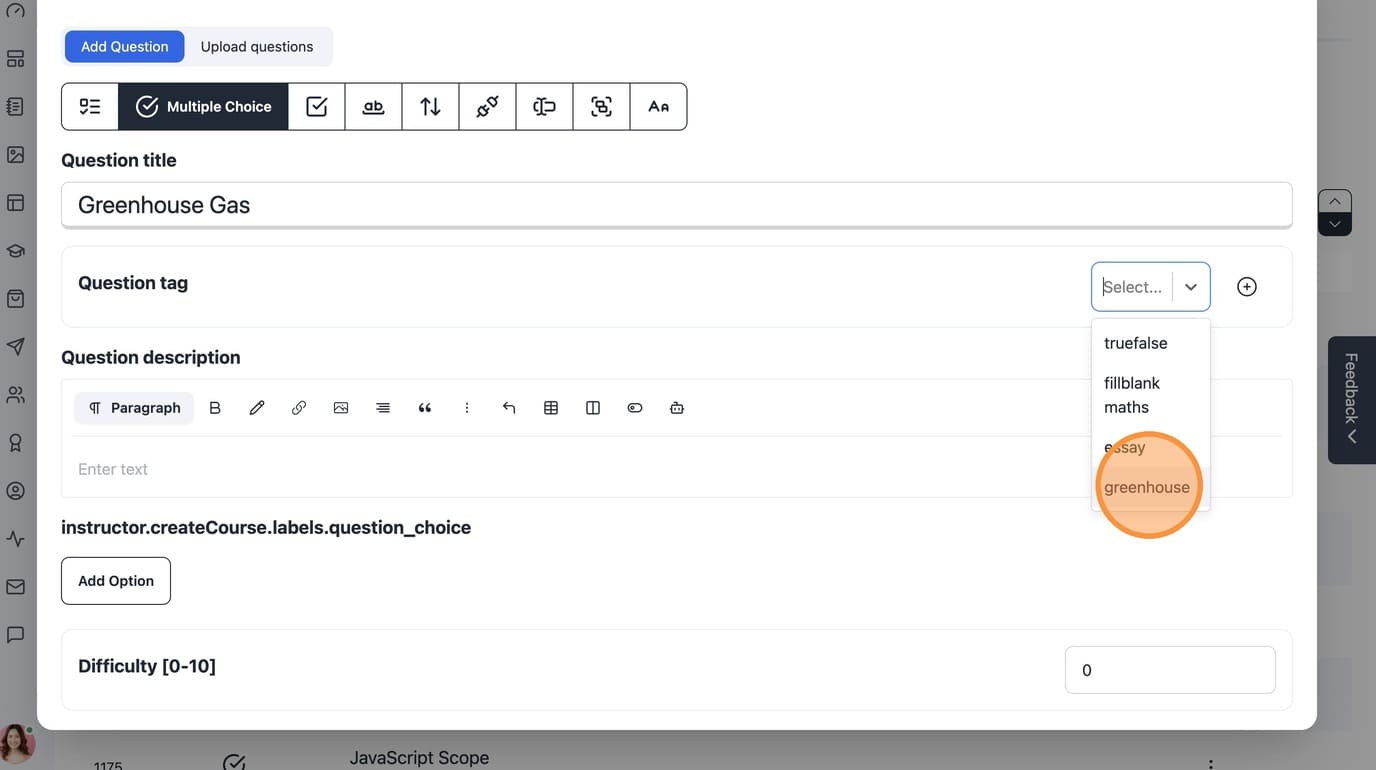
16. Confirm the tag selection.
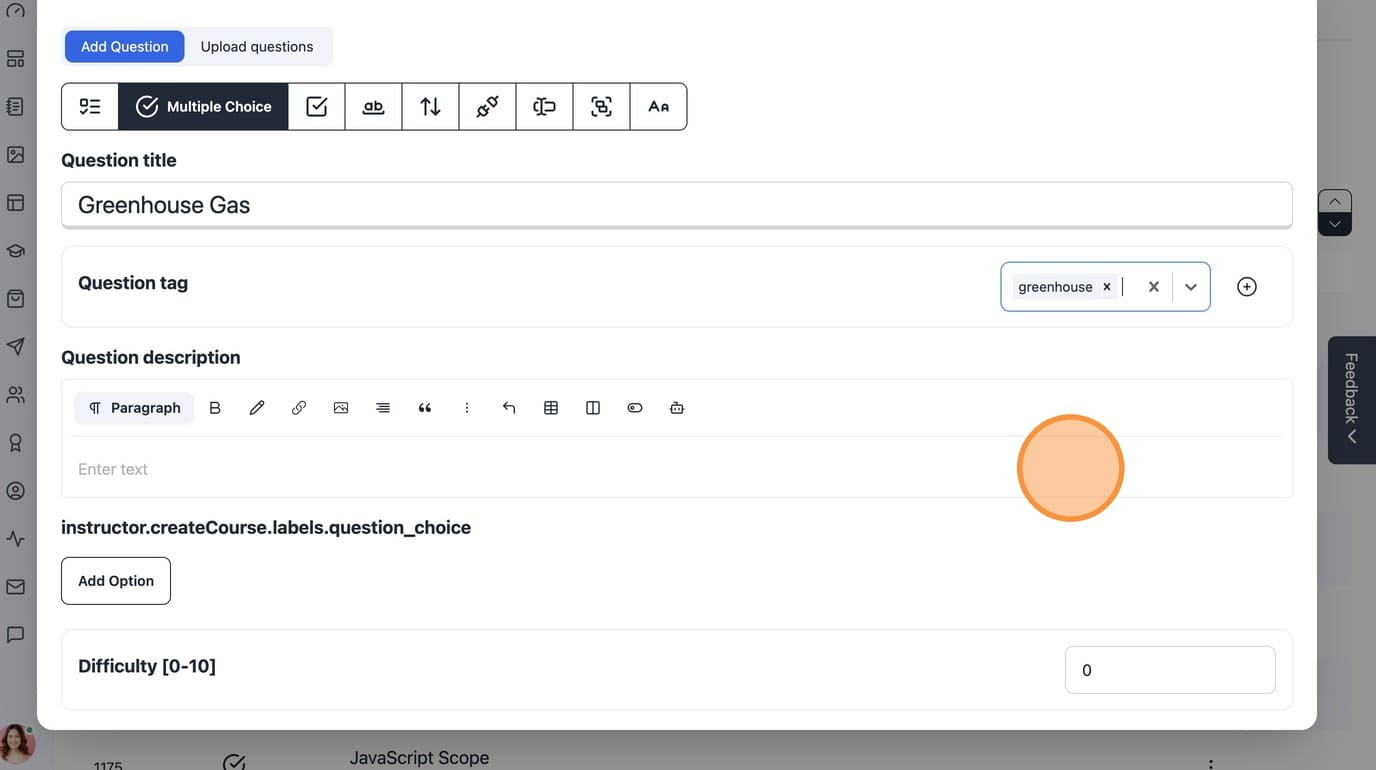
17. Set the Question description which is the Question itself.
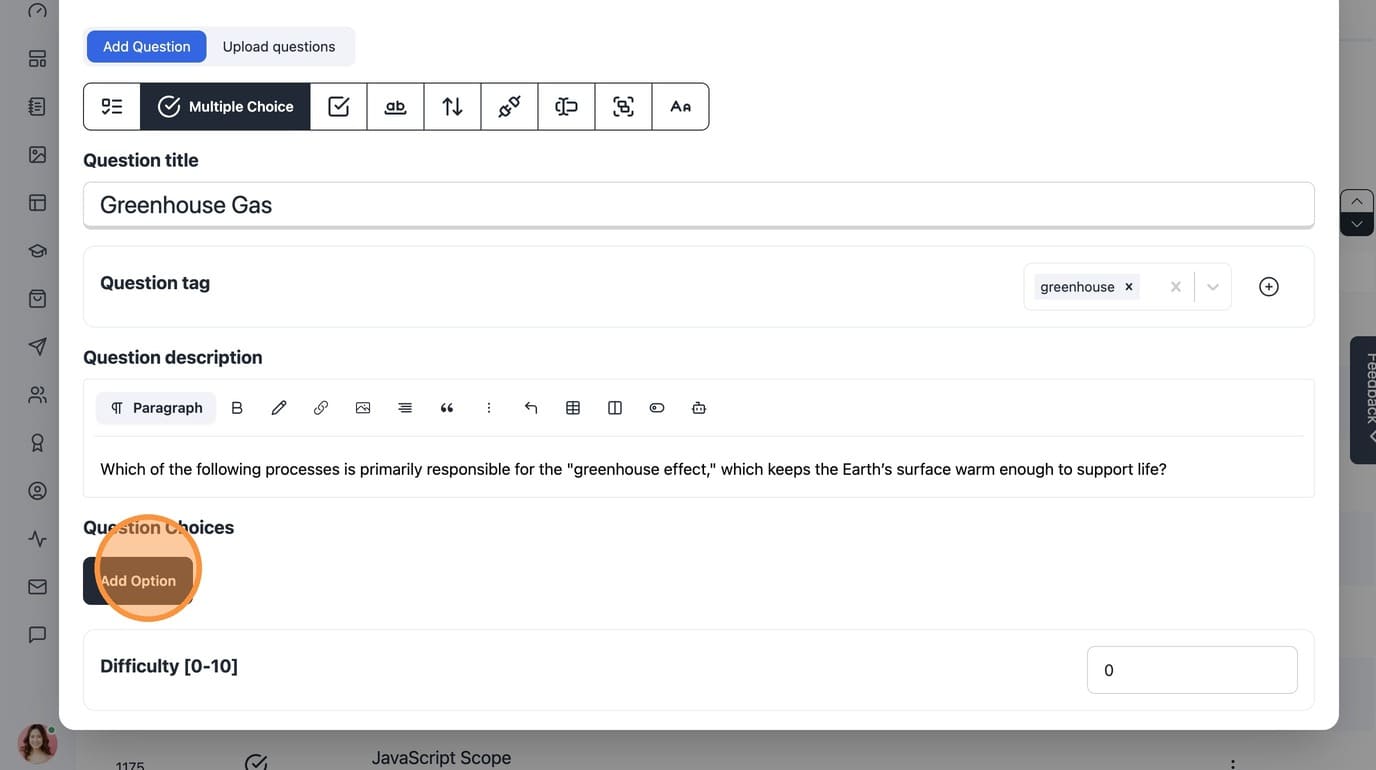
18. Click "Add Option" to add options to your MCQ.
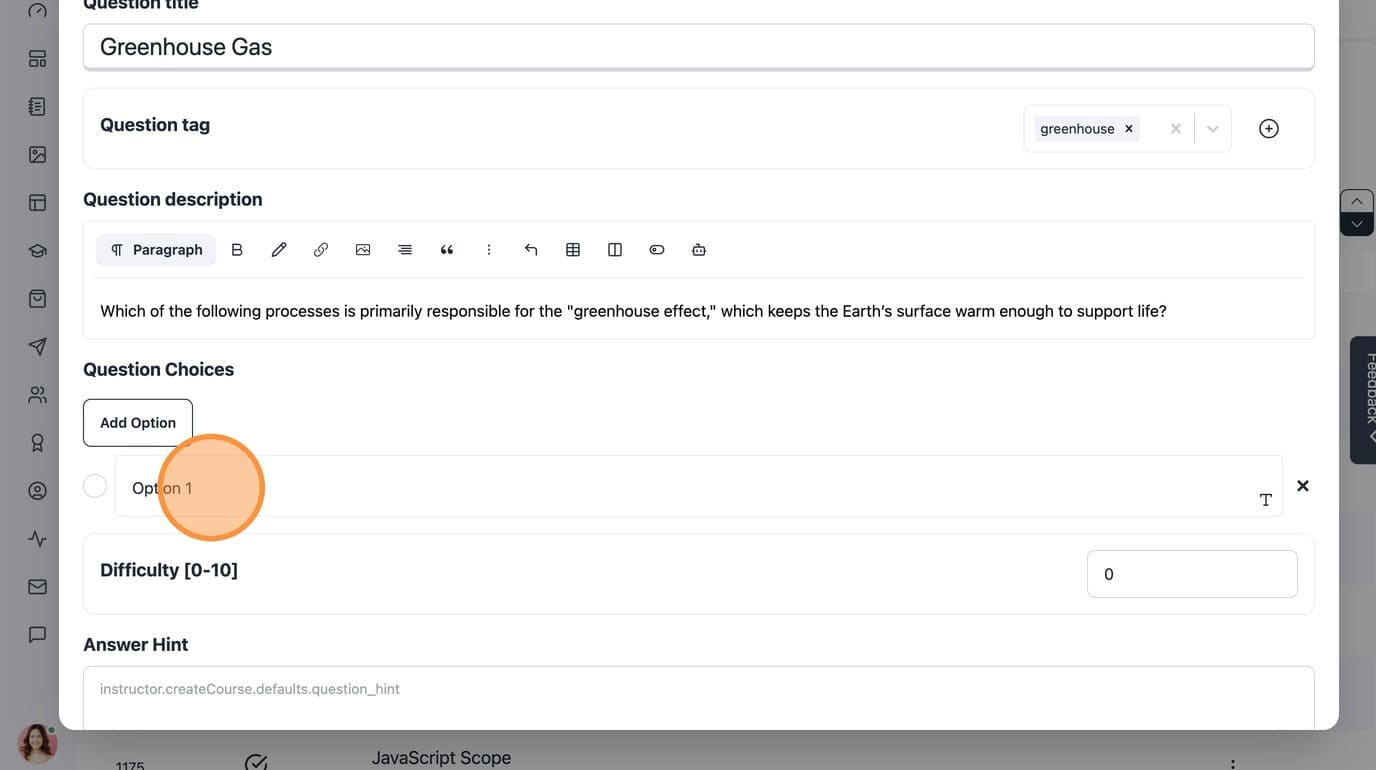
19. Click "Option 1" to edit the text and add multiple options.
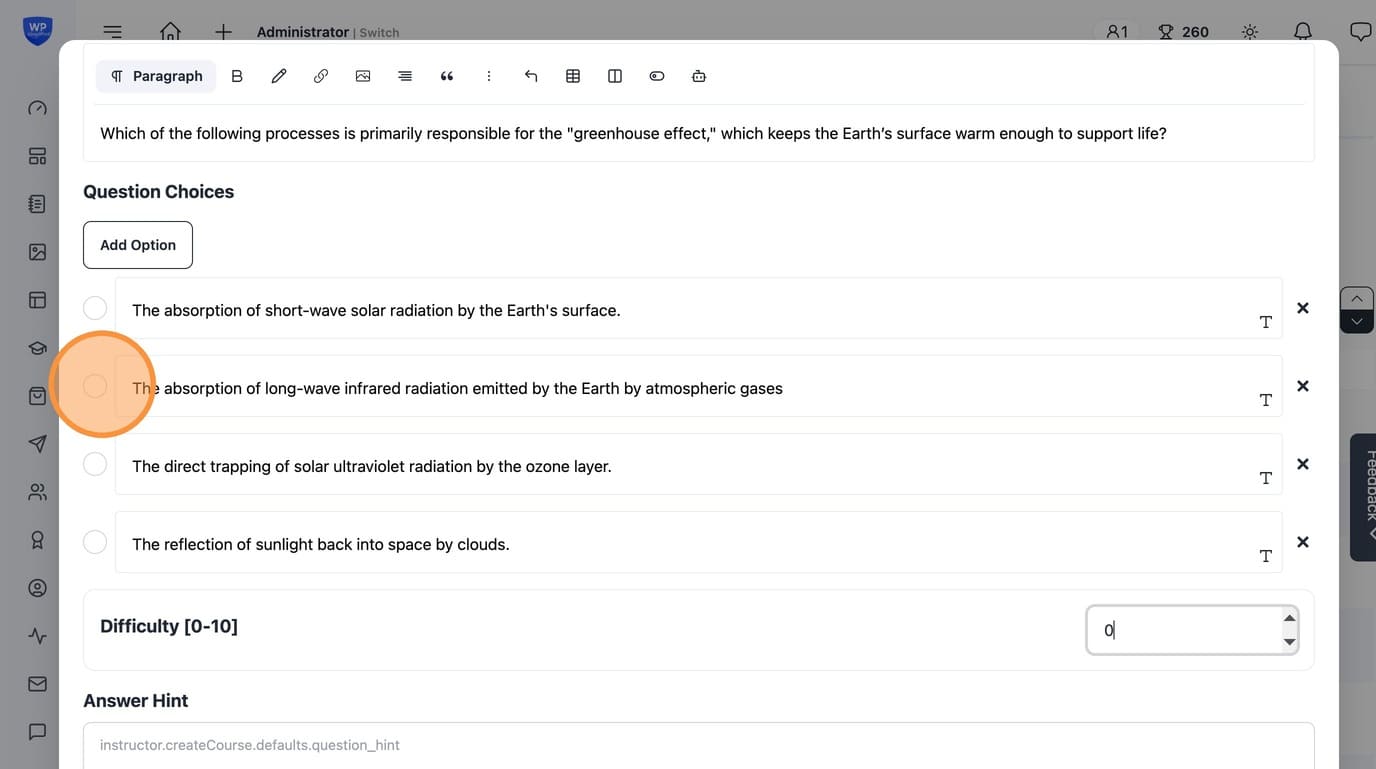
20. Click the radio button to mark the correct option.
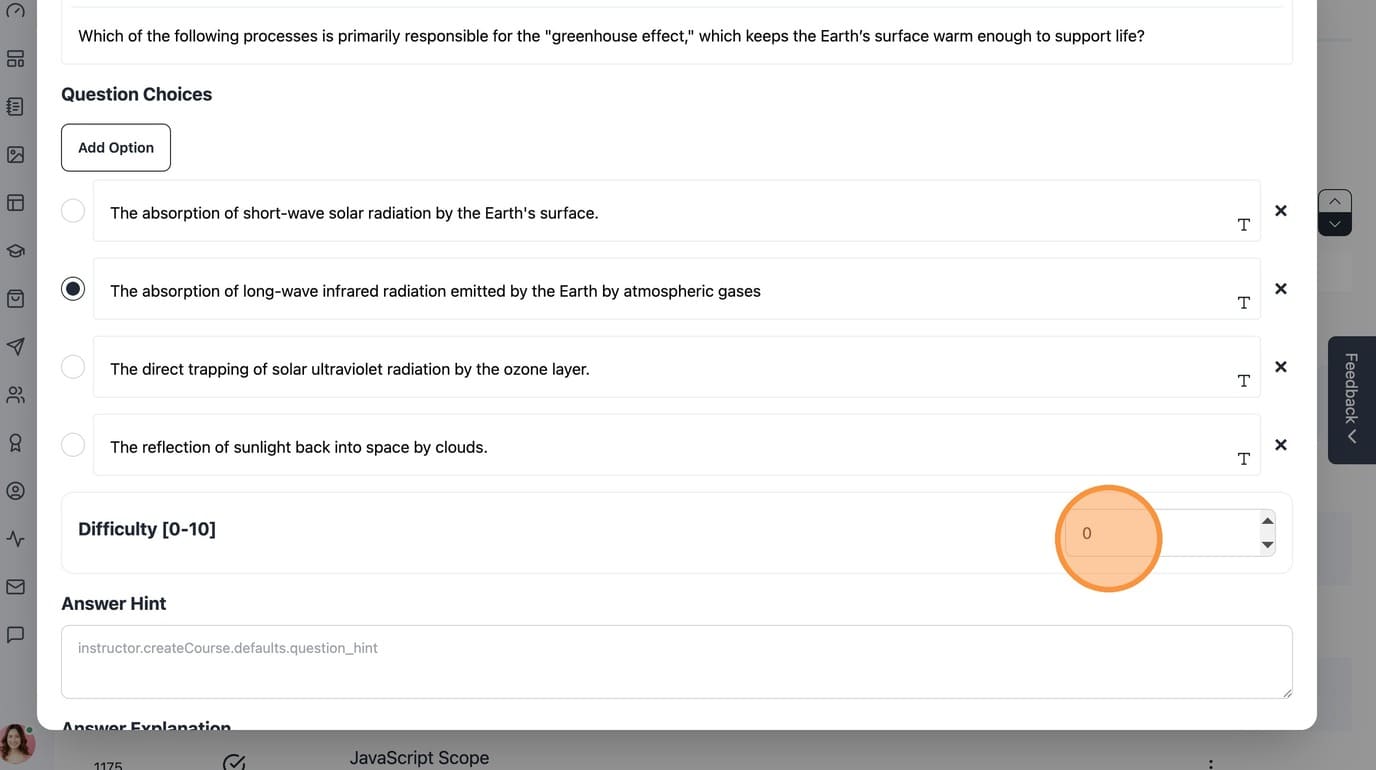
21. Set a difficulty level for the question.
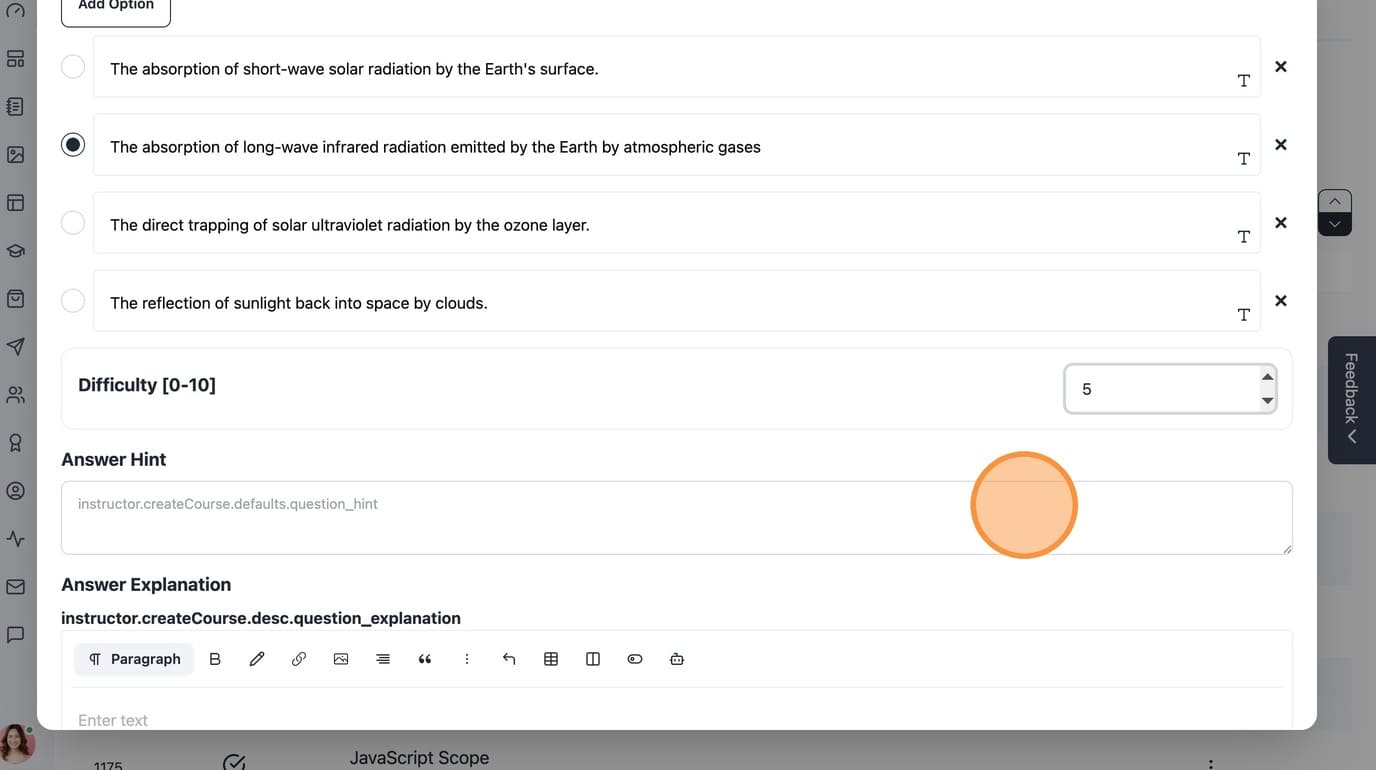
22. Add a Hint. This displays to the user as help text.
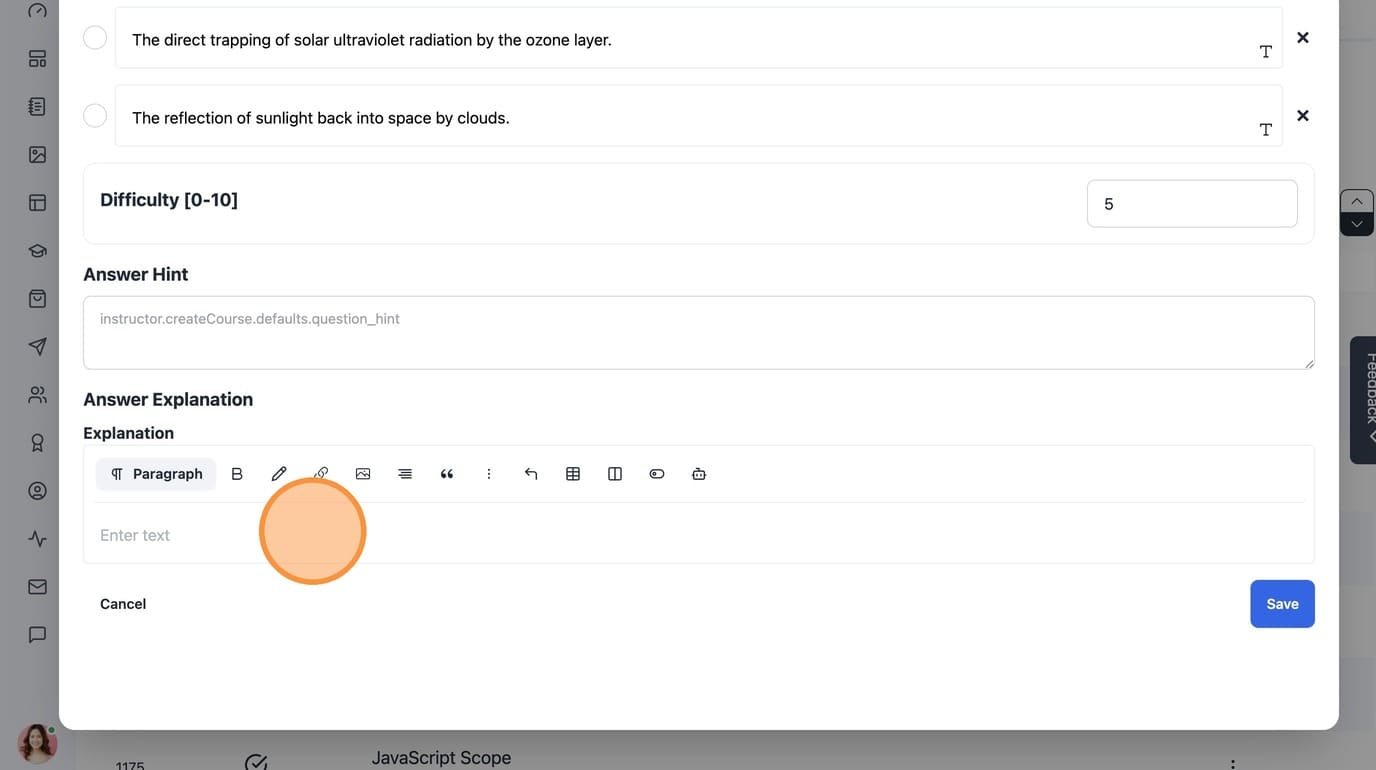
23. Enter the correct answer explanation.
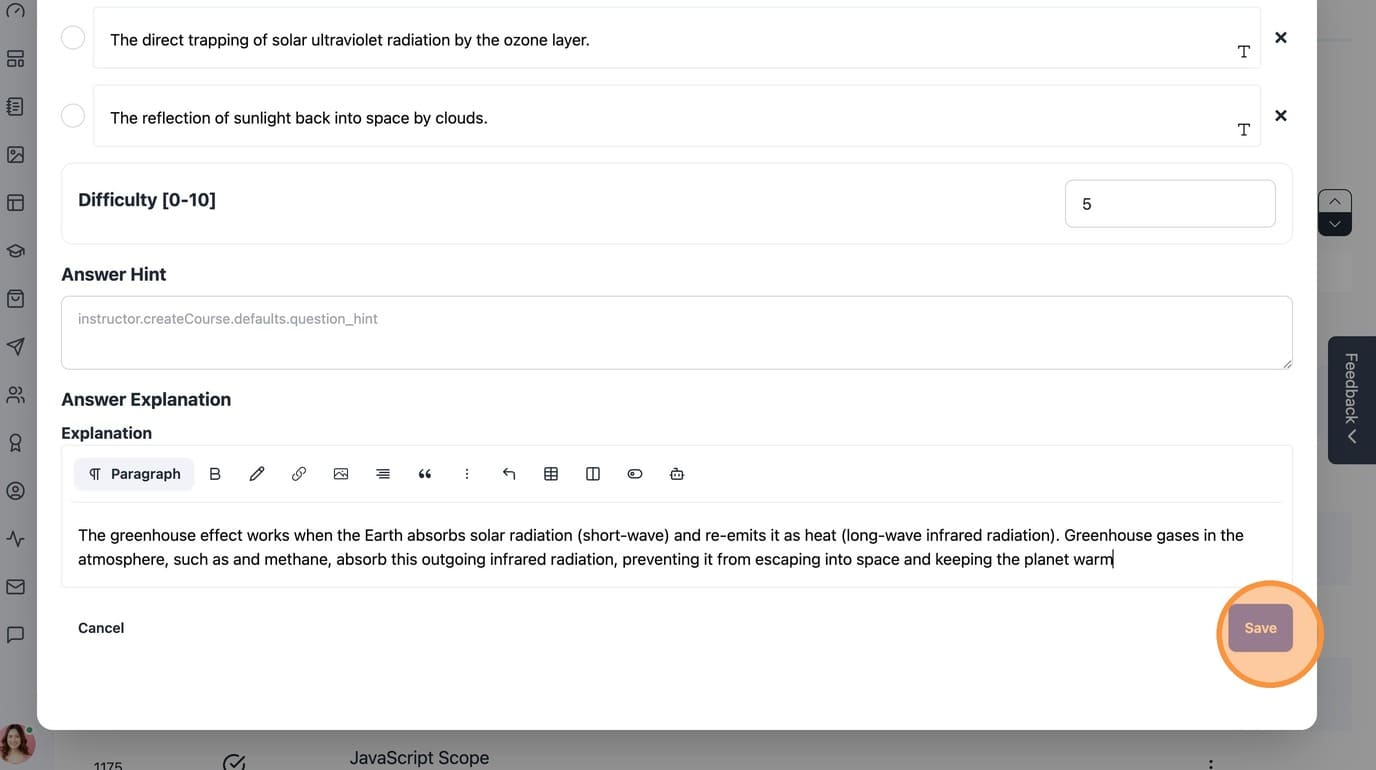
24. Click "Save" to publish the question.
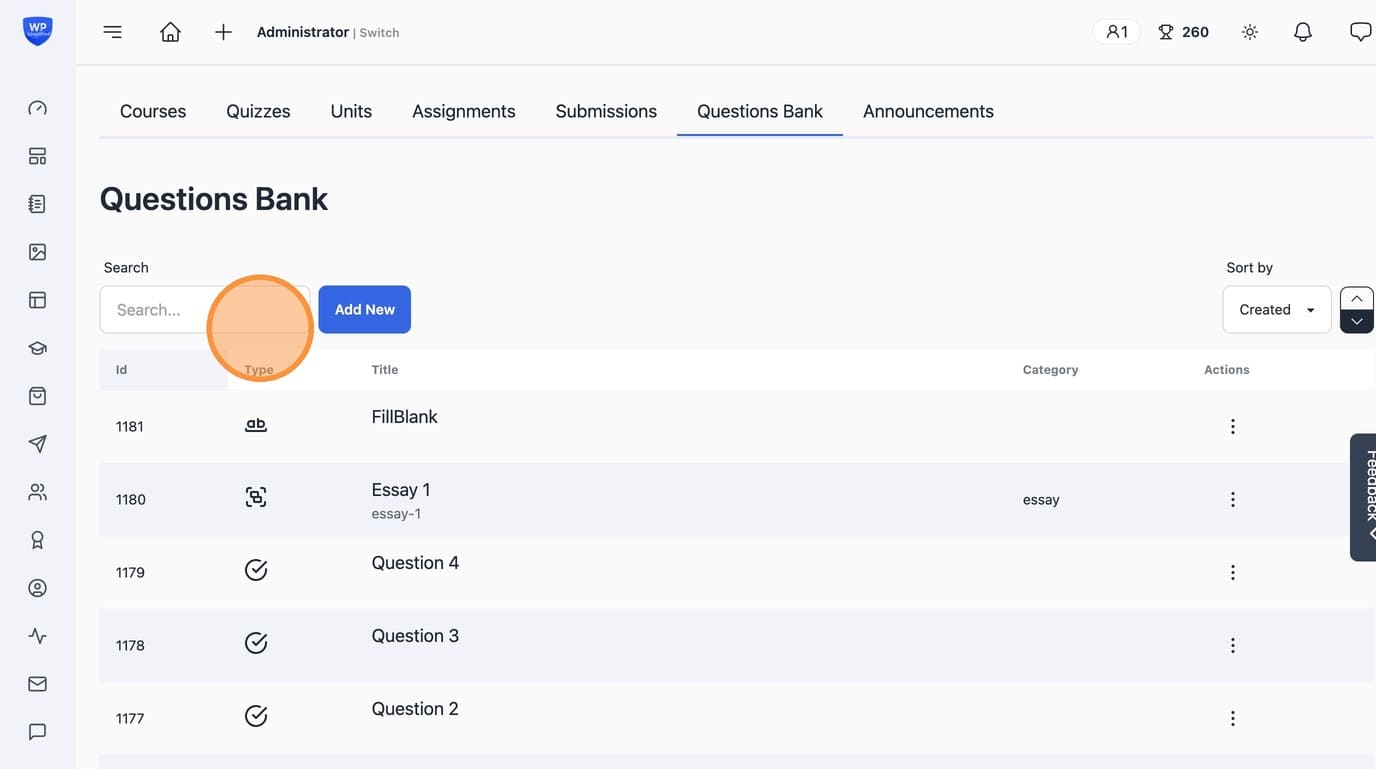
25. Use the "Search..." field to find your newly created question.
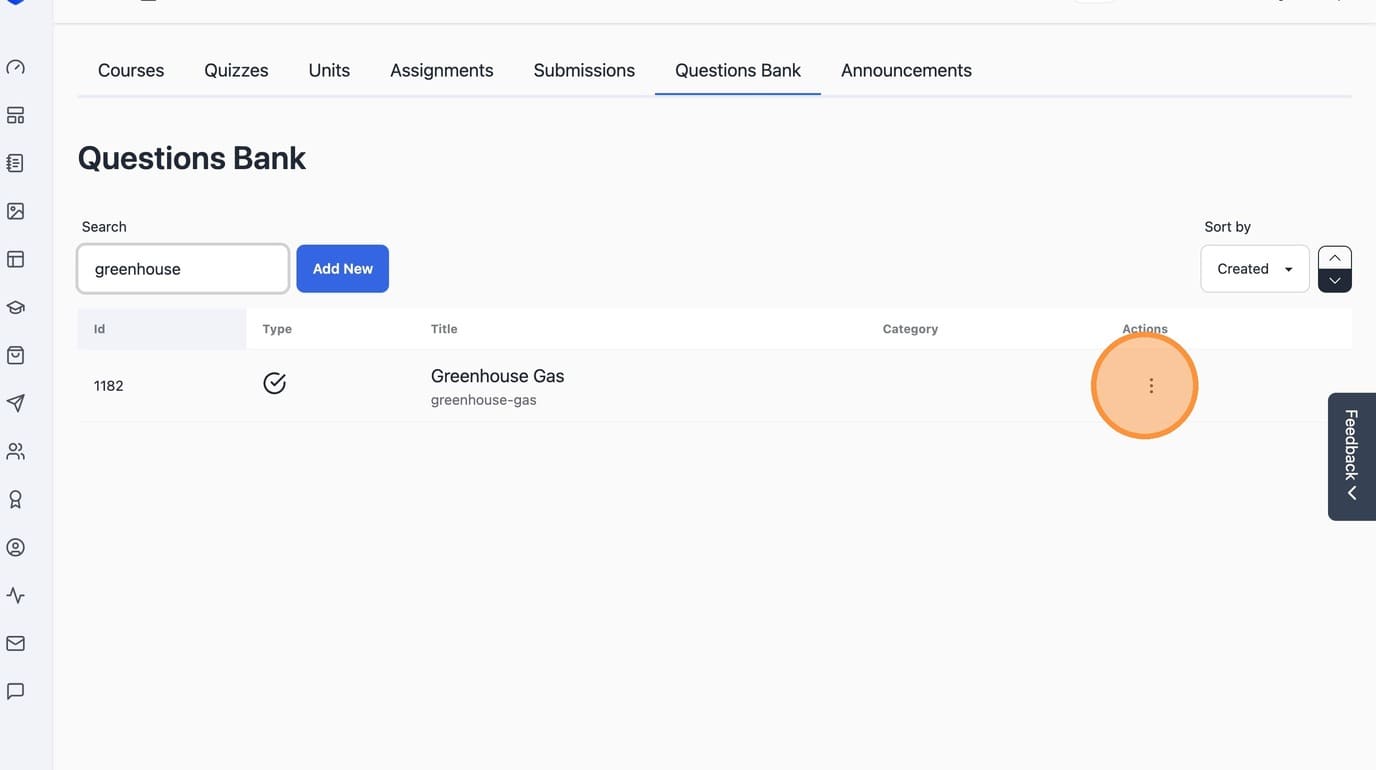
26. Click the options icon to manage the question.
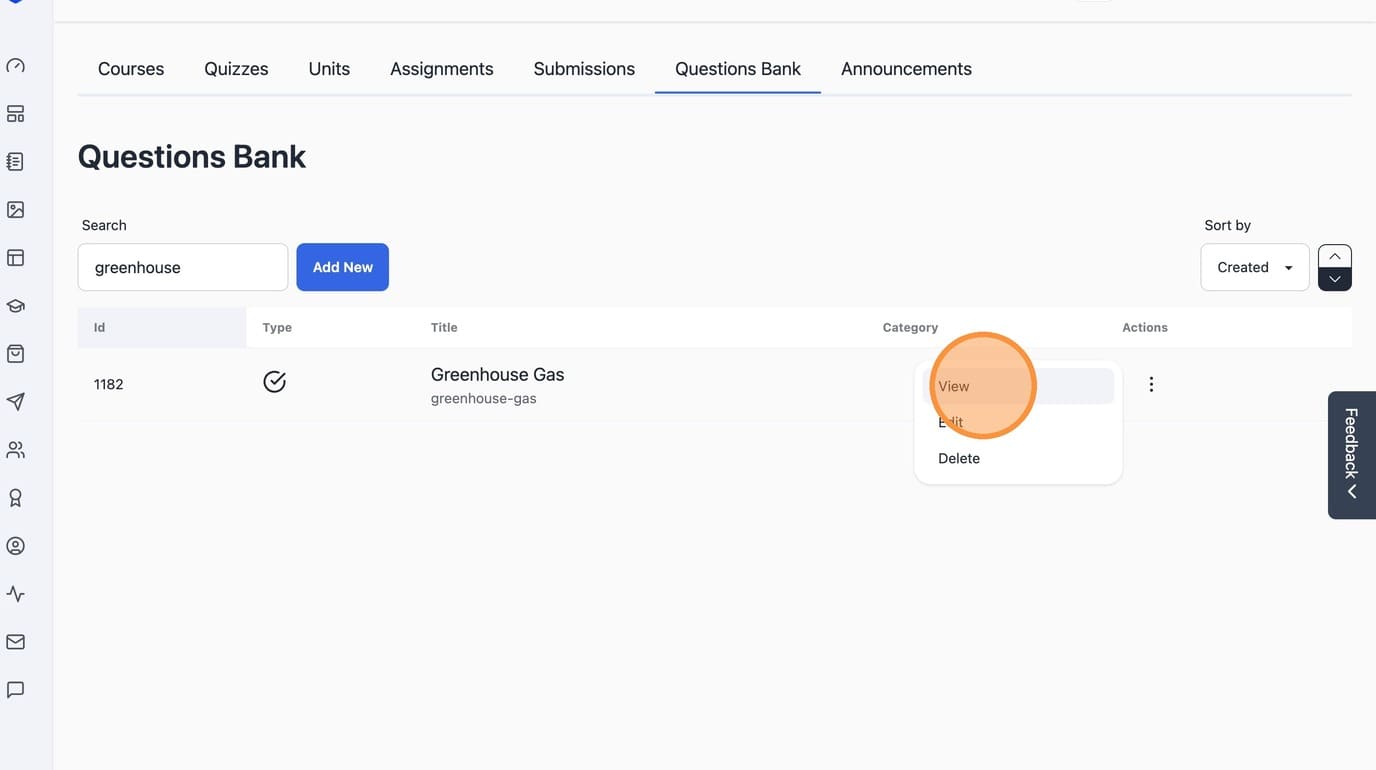
27. Click "View" to preview the question.
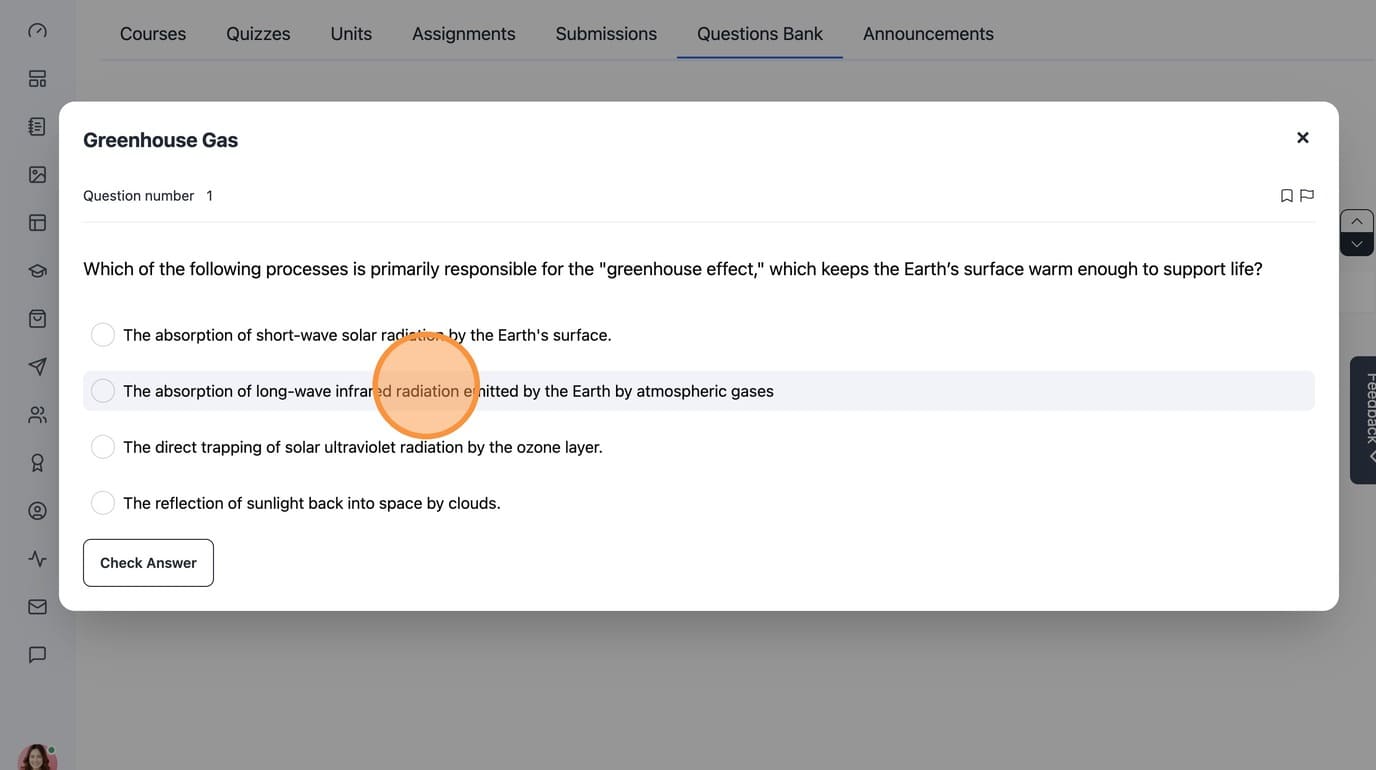
28. Click an option to test it.
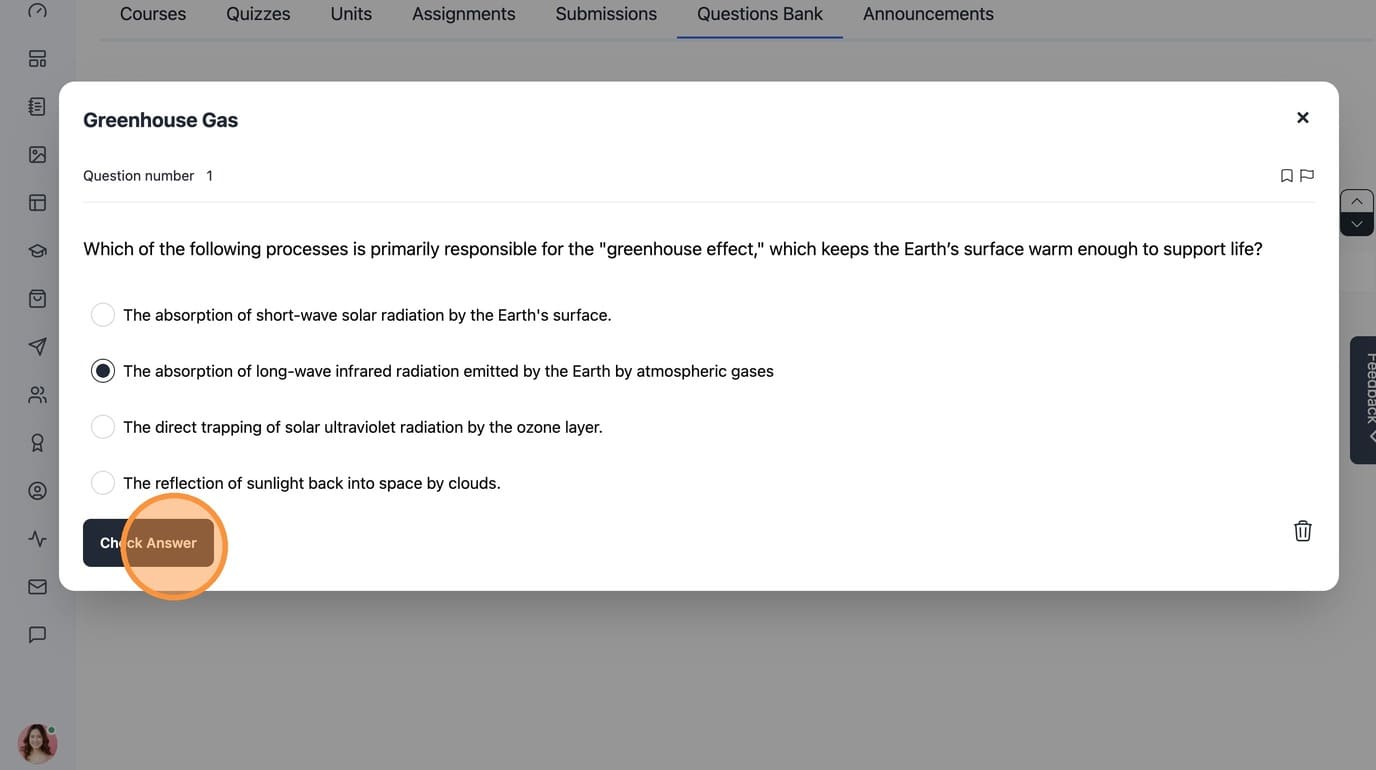
29. Click "Check Answer" to validate the question logic.
