- CMS
- Pages
- Categories
- CMS overview
- Creating and Publishing a New Blog Post
- How to Create and Edit Pages using Page Templates
- Creating PageBuilder Elements
- How To Send A Custom Message With Attachments
- Customizing Your Website Header and Header Settings
- Users
- eLearning
- Managing a Course
- Courses
- eCommerce
- Customize
- Customize Dashboard Menu
- Landing Pages using Claude or Codes
- Customize User Dashboard
- Gamification
- Use leaderboards and monitor program health
- Review the points log
- Plan badges, levels, and rewards
- Create and manage point rules
- Gamification overview
- Interface
- How to switch between roles ?
Creating and Publishing a New Blog Post
Learn how to efficiently draft, format, and publish a new blog post using the Vibe Academy dashboard. This guide covers everything from adding images and categories to optimizing your content with keywords and meta descriptions.
1. Navigate to your AcademyLauncher site
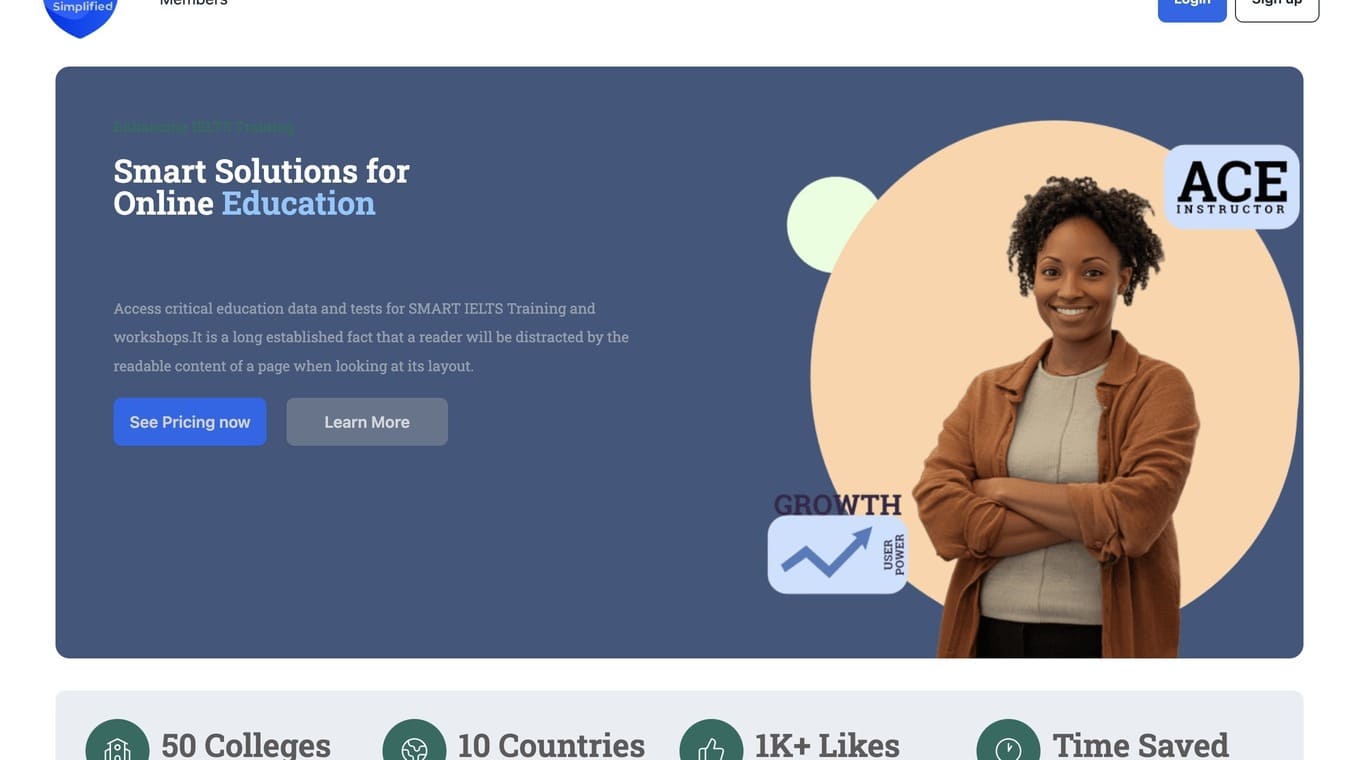
2. Click "Login"
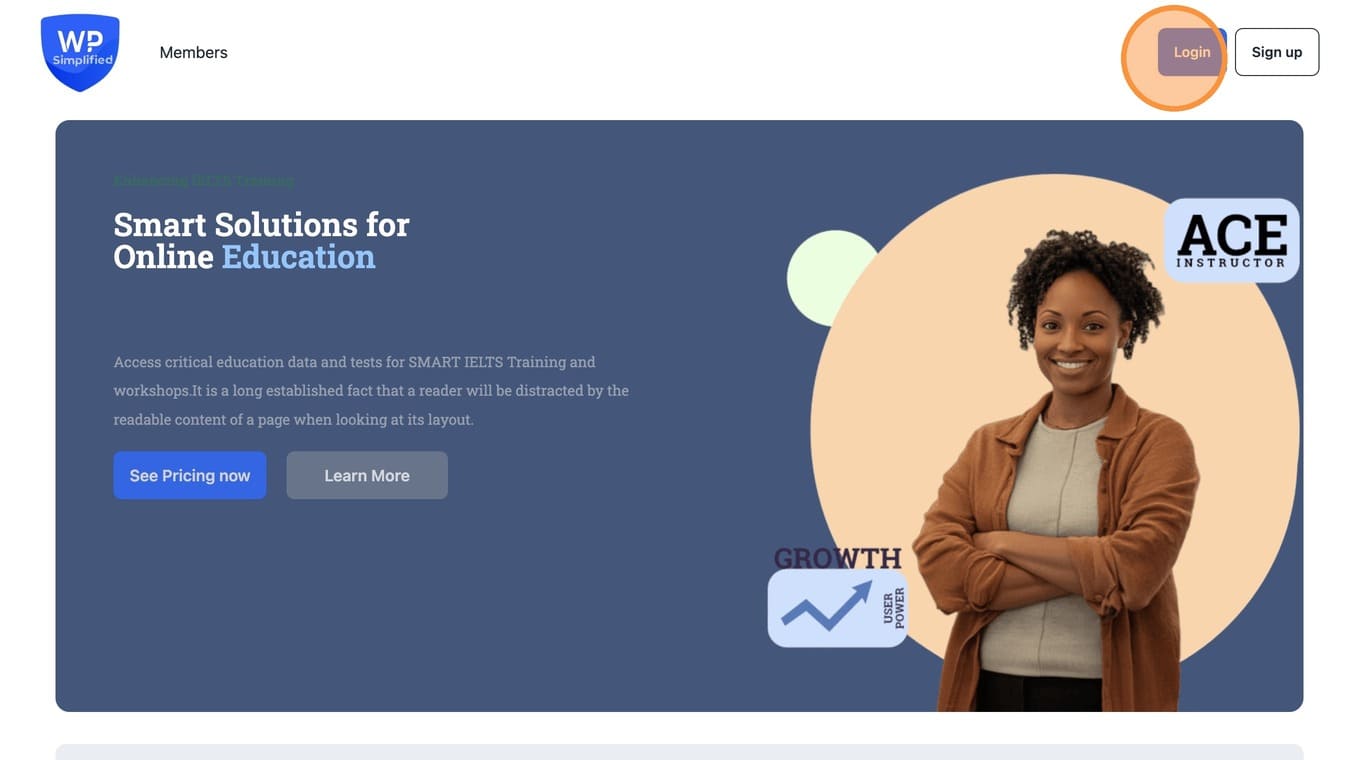
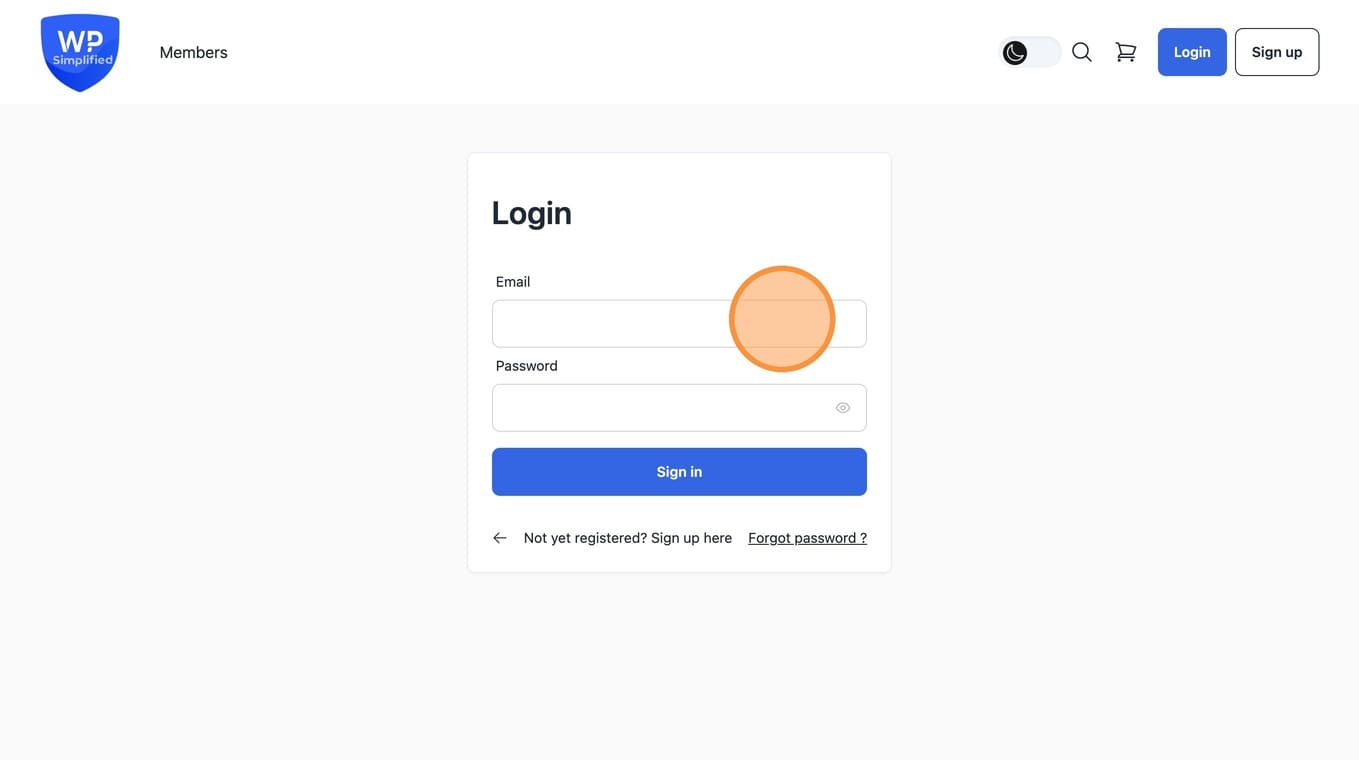
3. Login to your Administrator account
4. Go to Posts section
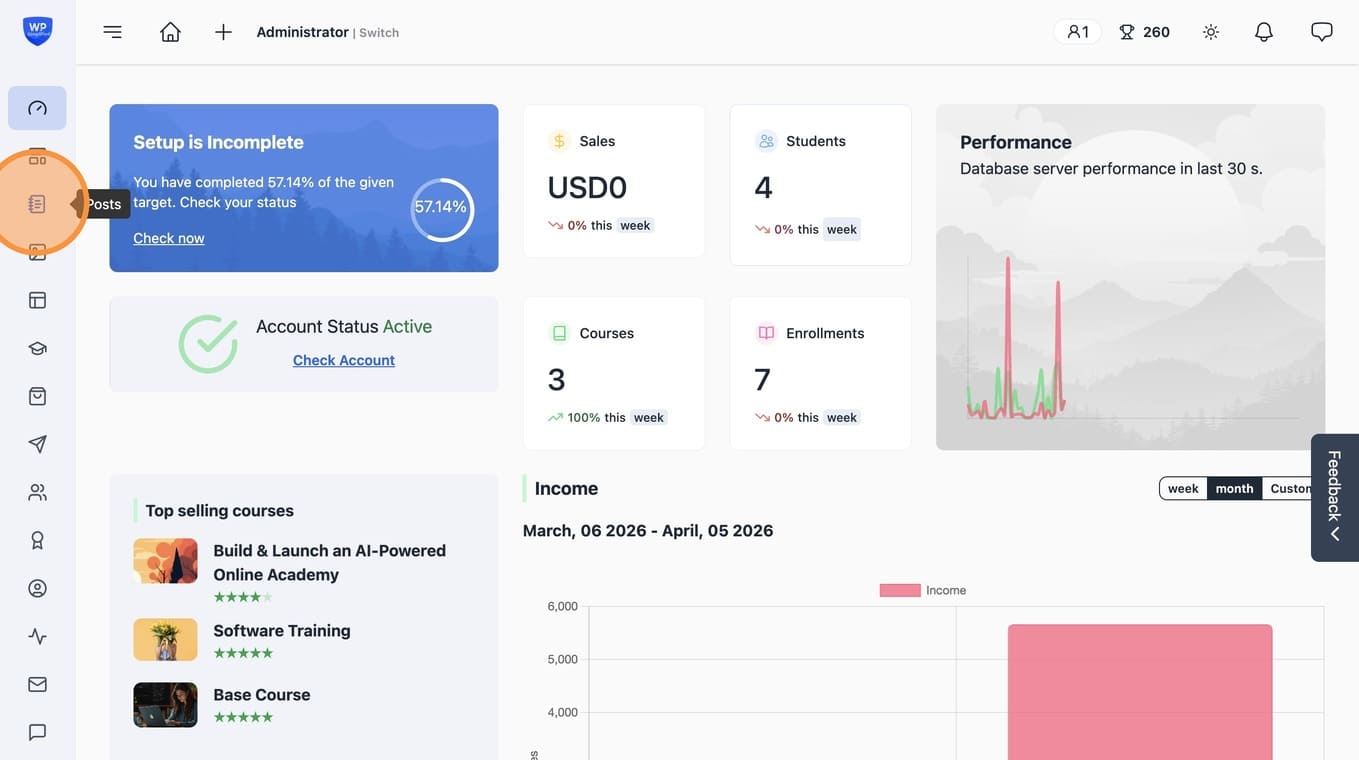
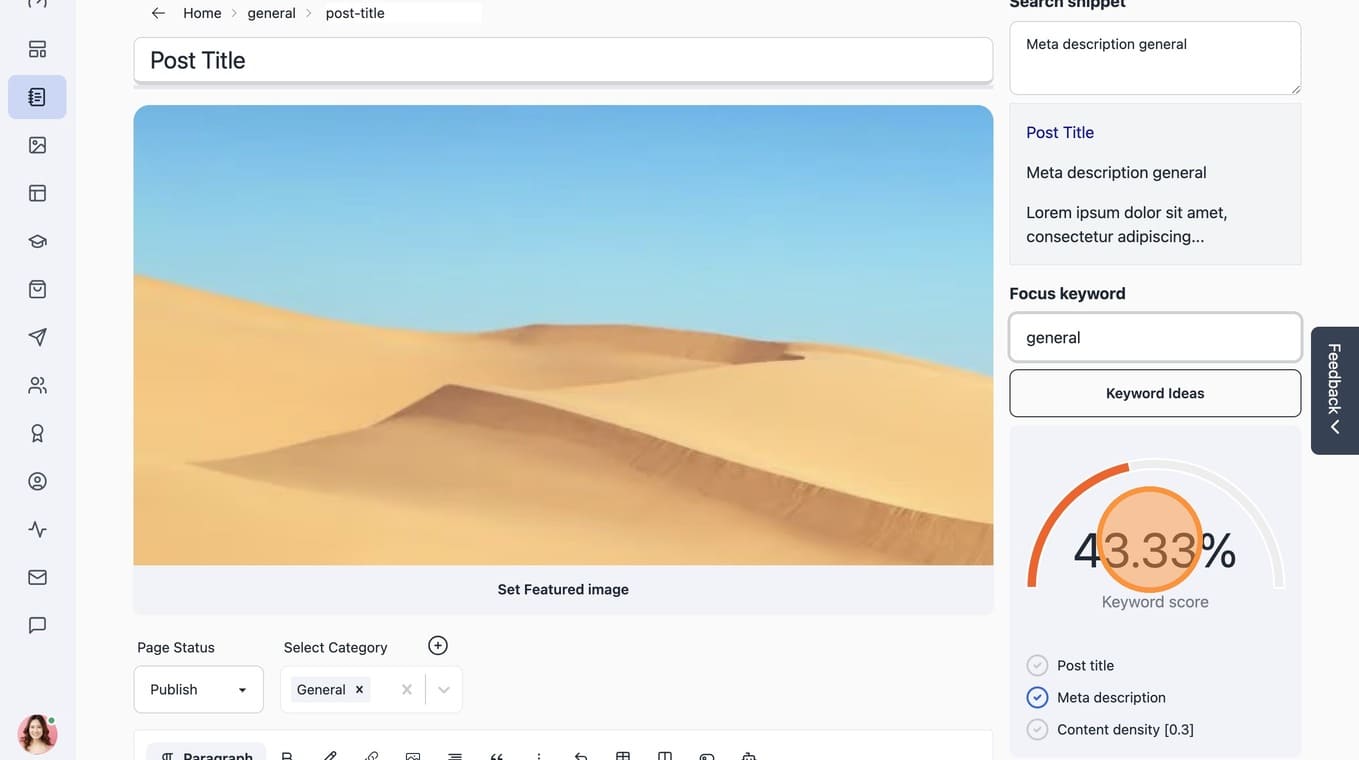
5. Click "Add New"
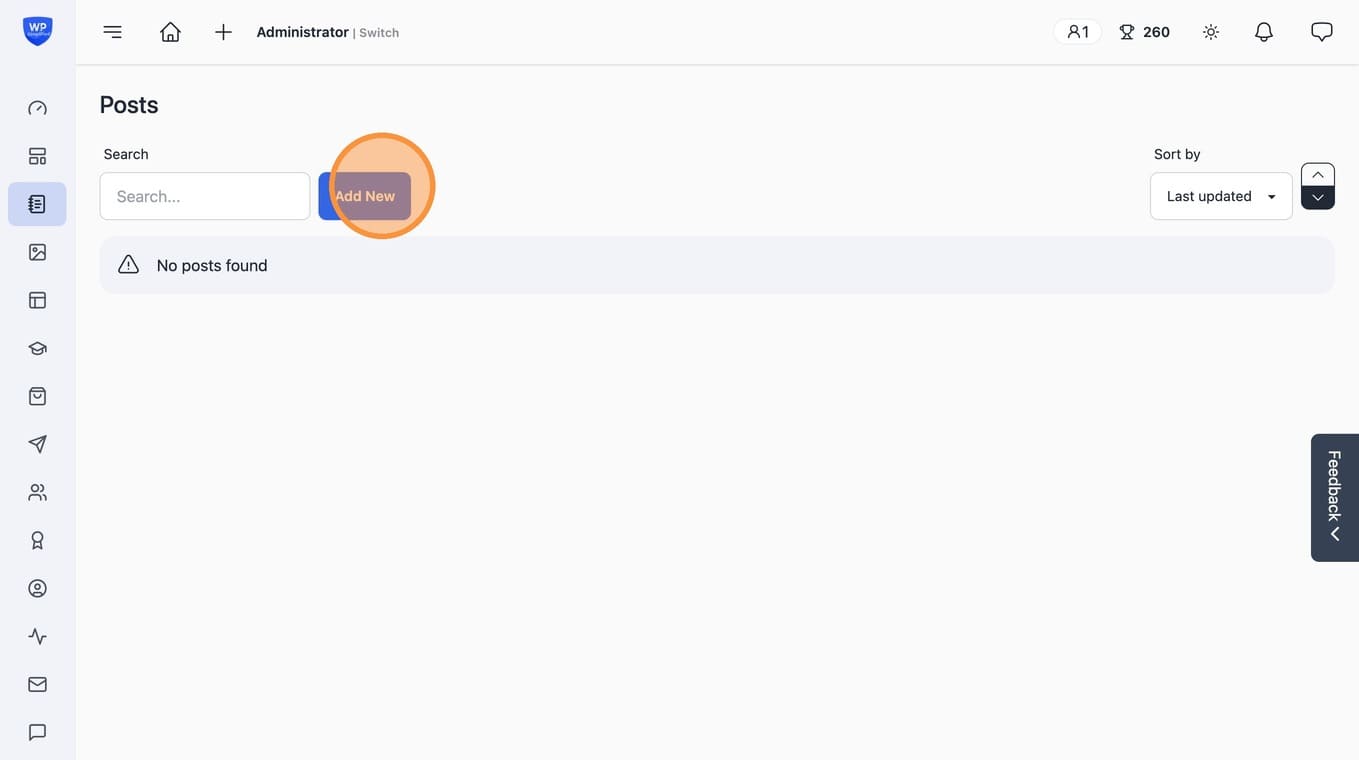
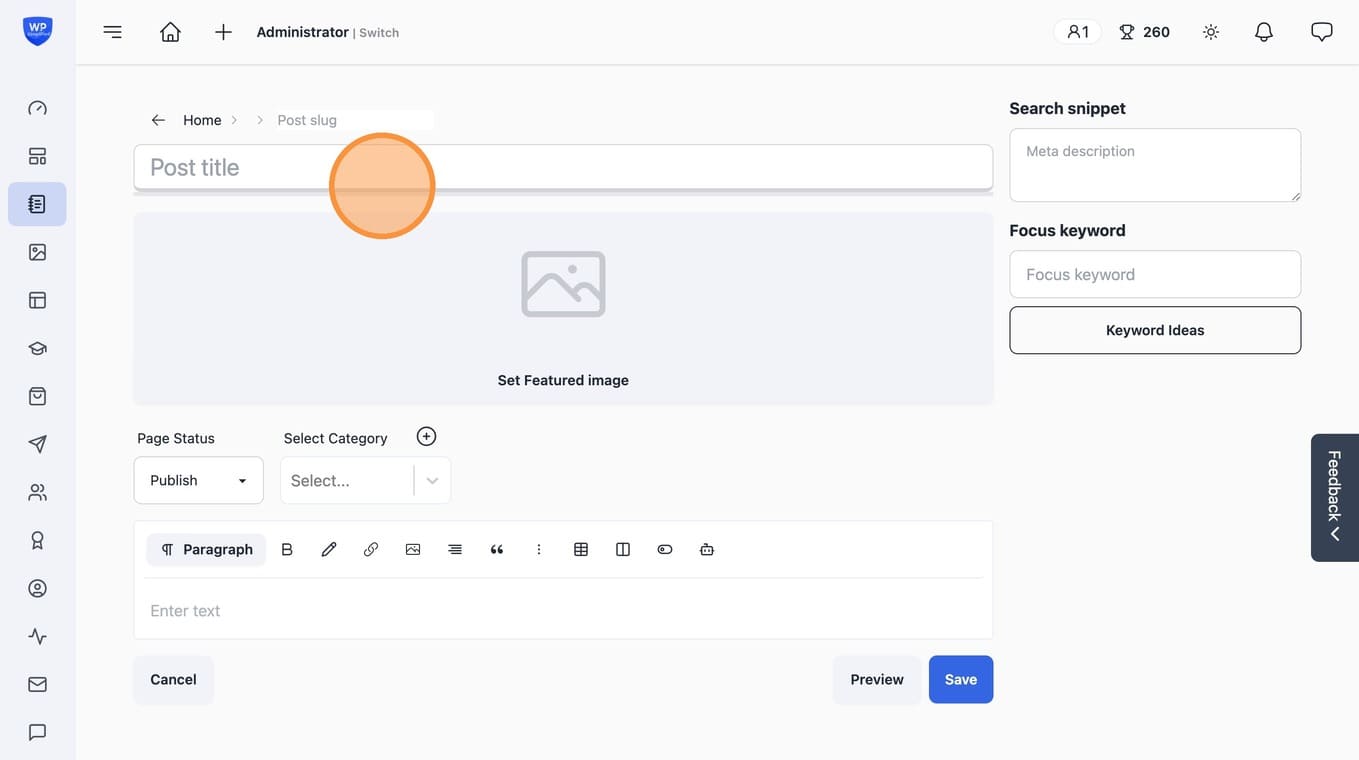
6. Click the "Post title" field.
7. Click "Set Featured image"
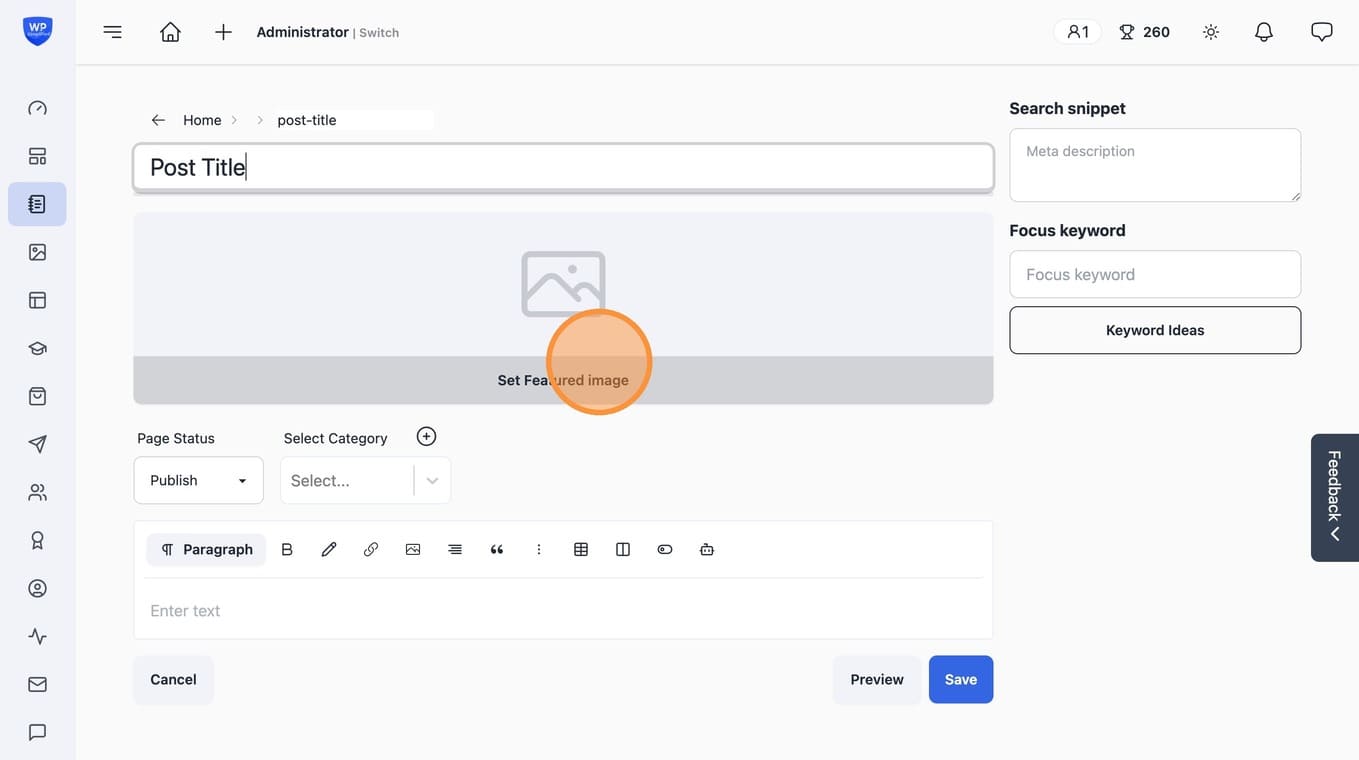
8. Upload a feature image
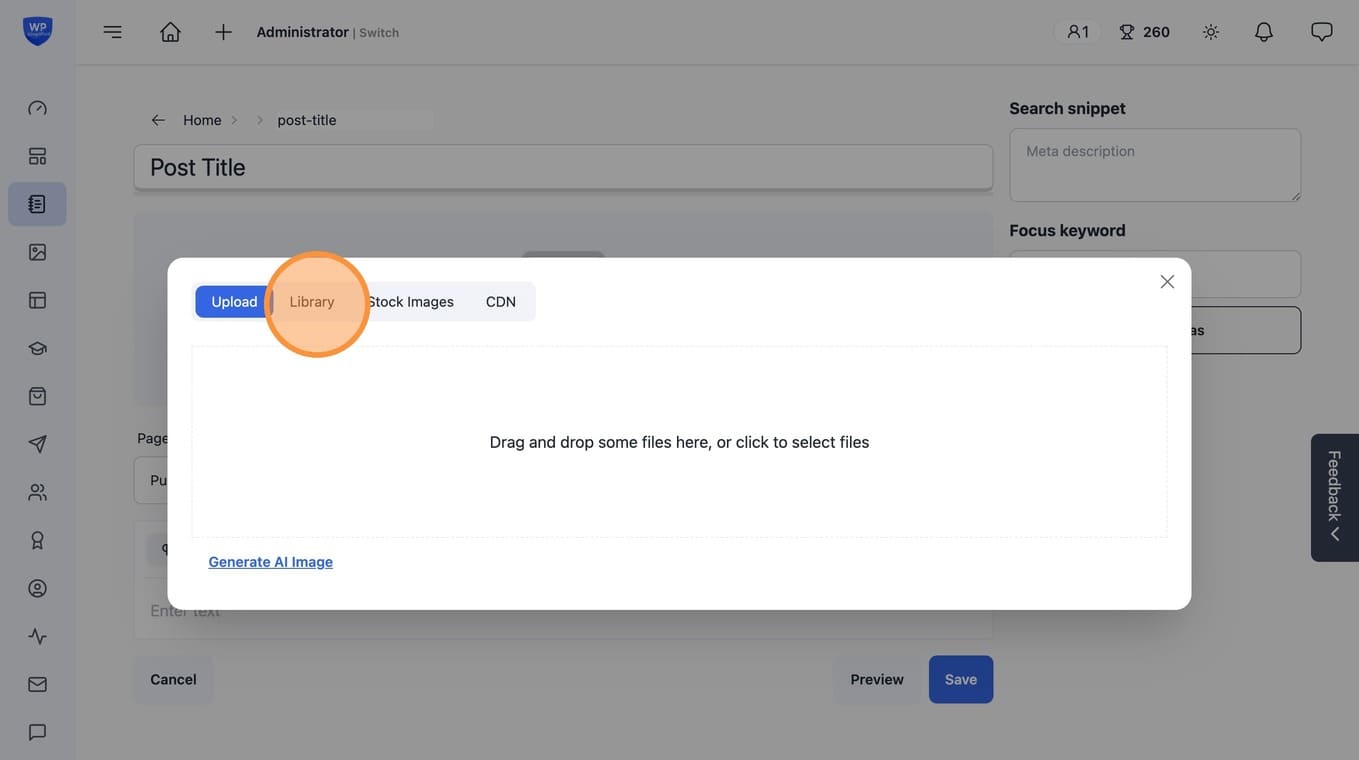
9. Or Select an existing image
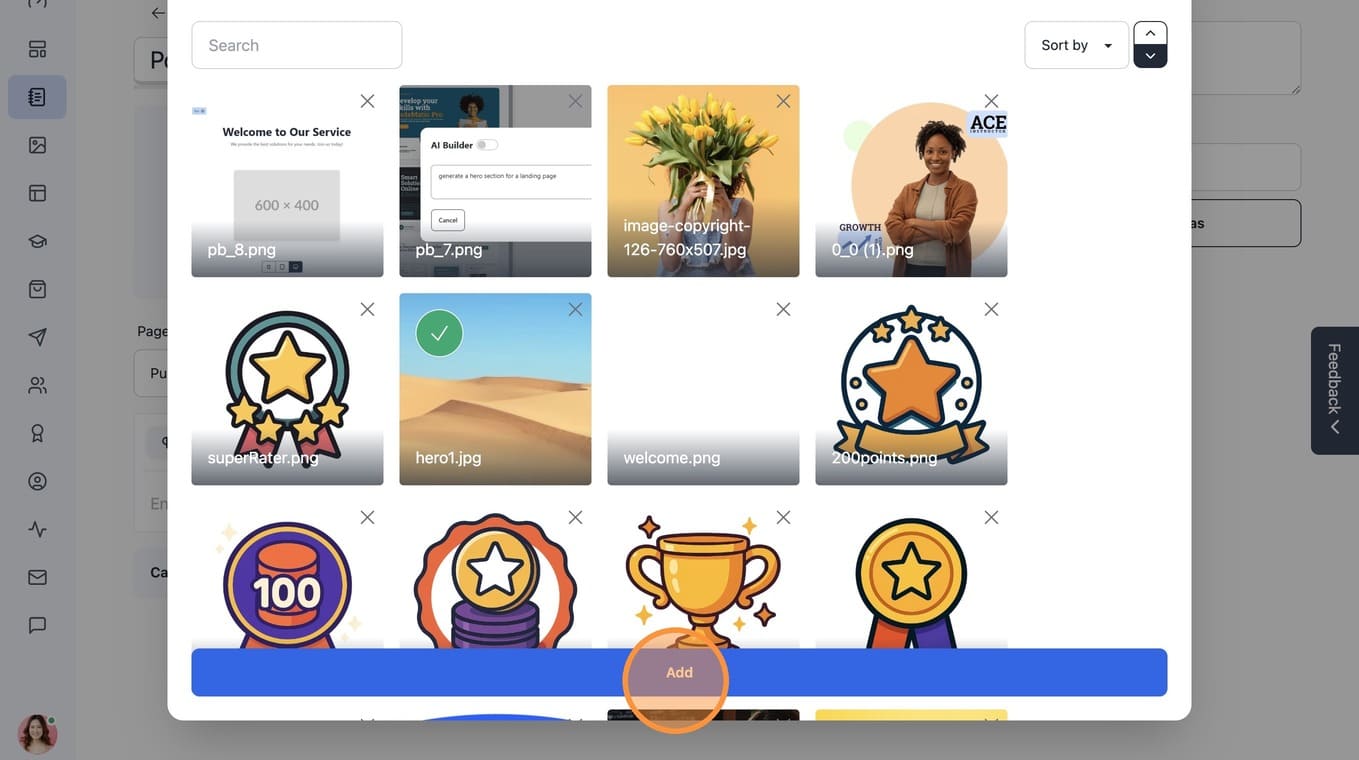
10. Write content for the blog post
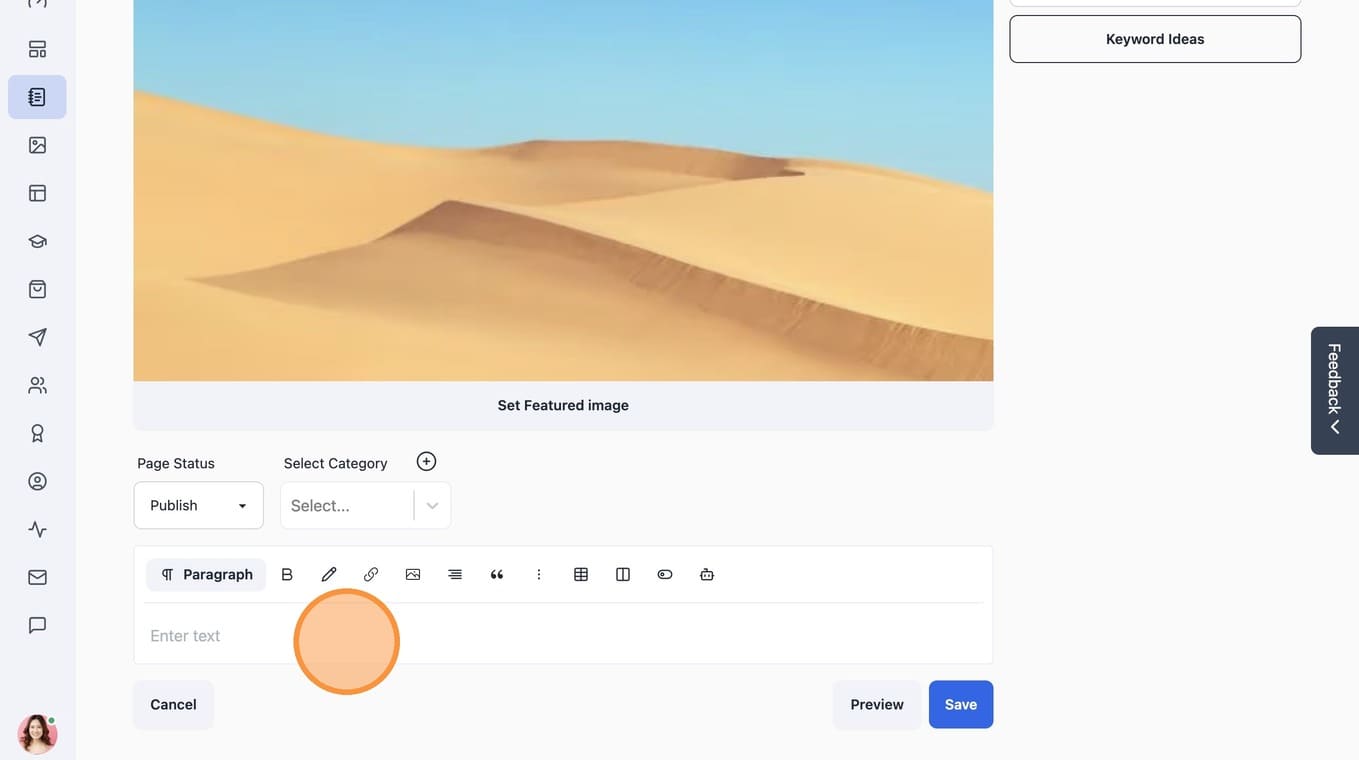
11. Optionally use AI to genreate content
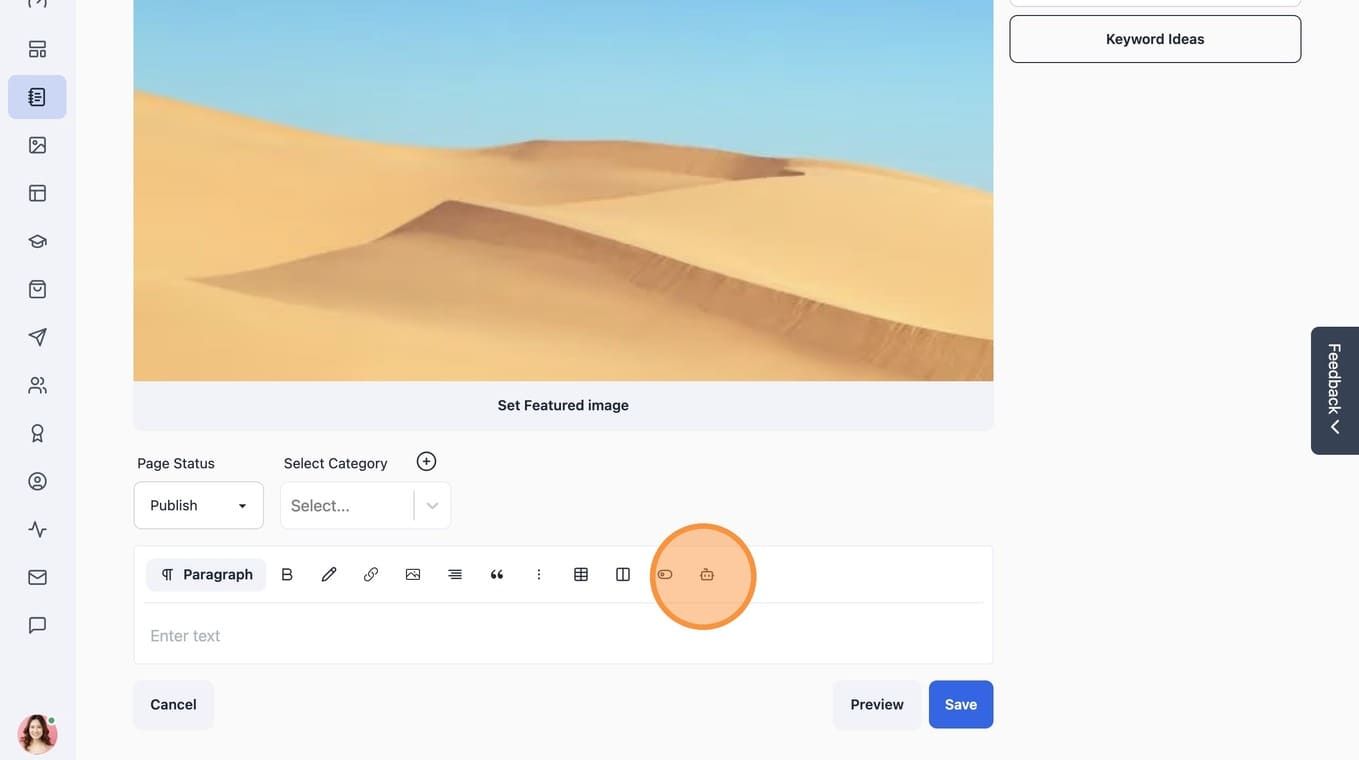
12. Select the Blog post AI Template
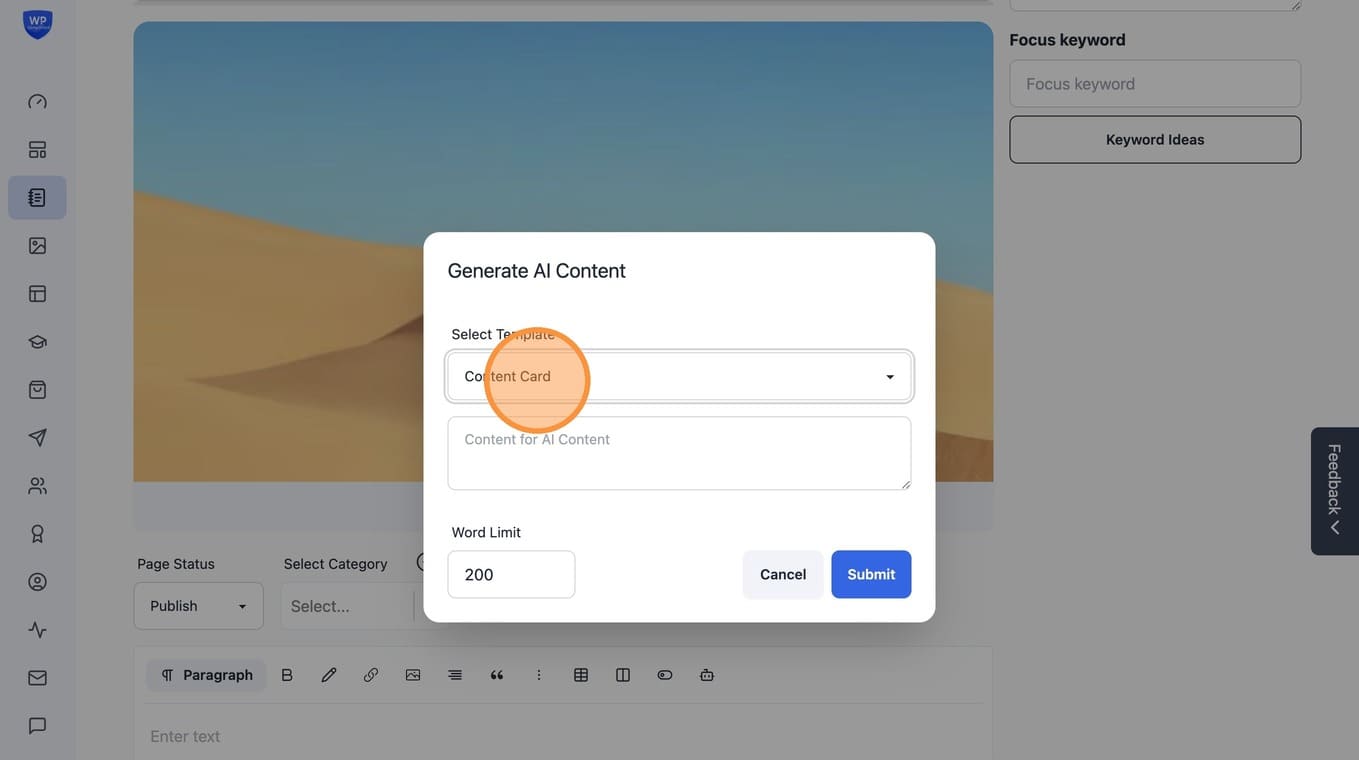
13. Write Description for AI to generate content from
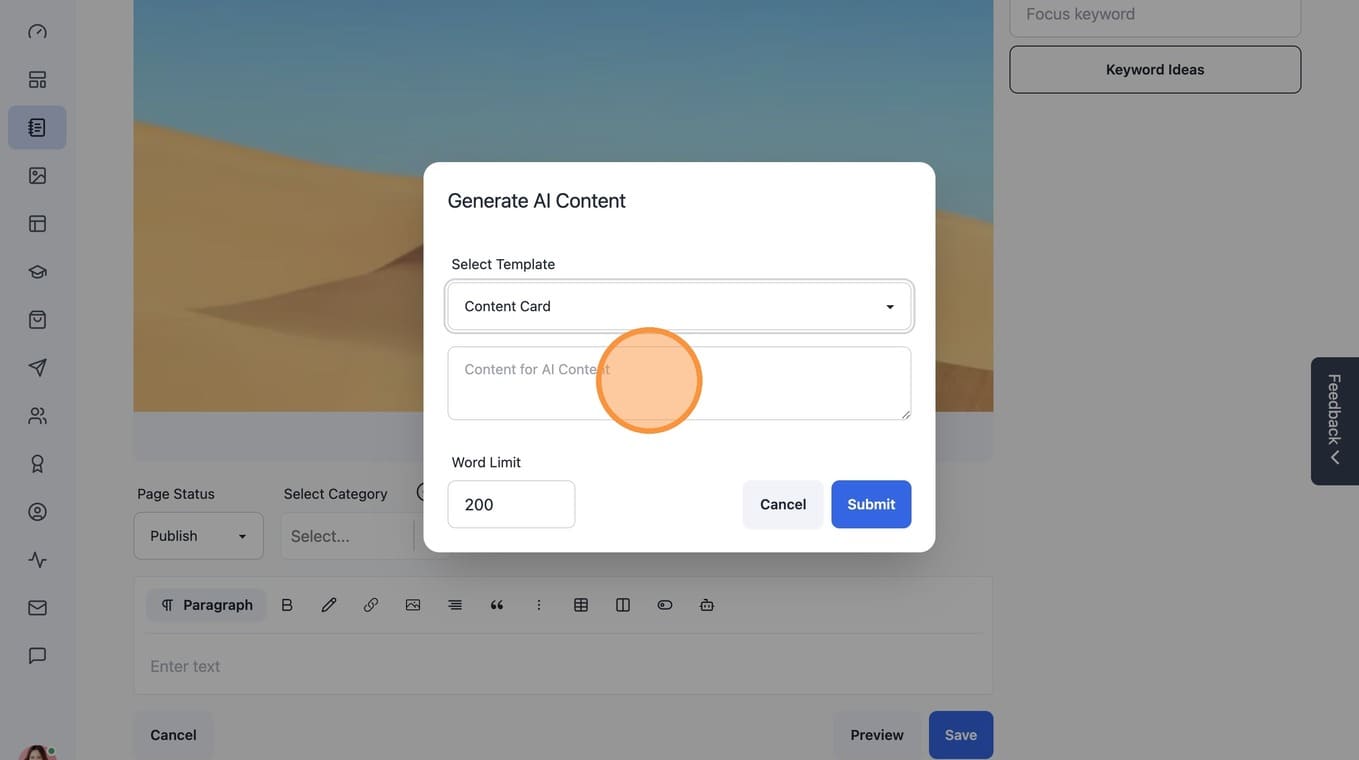
14. Switch to tab New Post"
15. Click this icon.
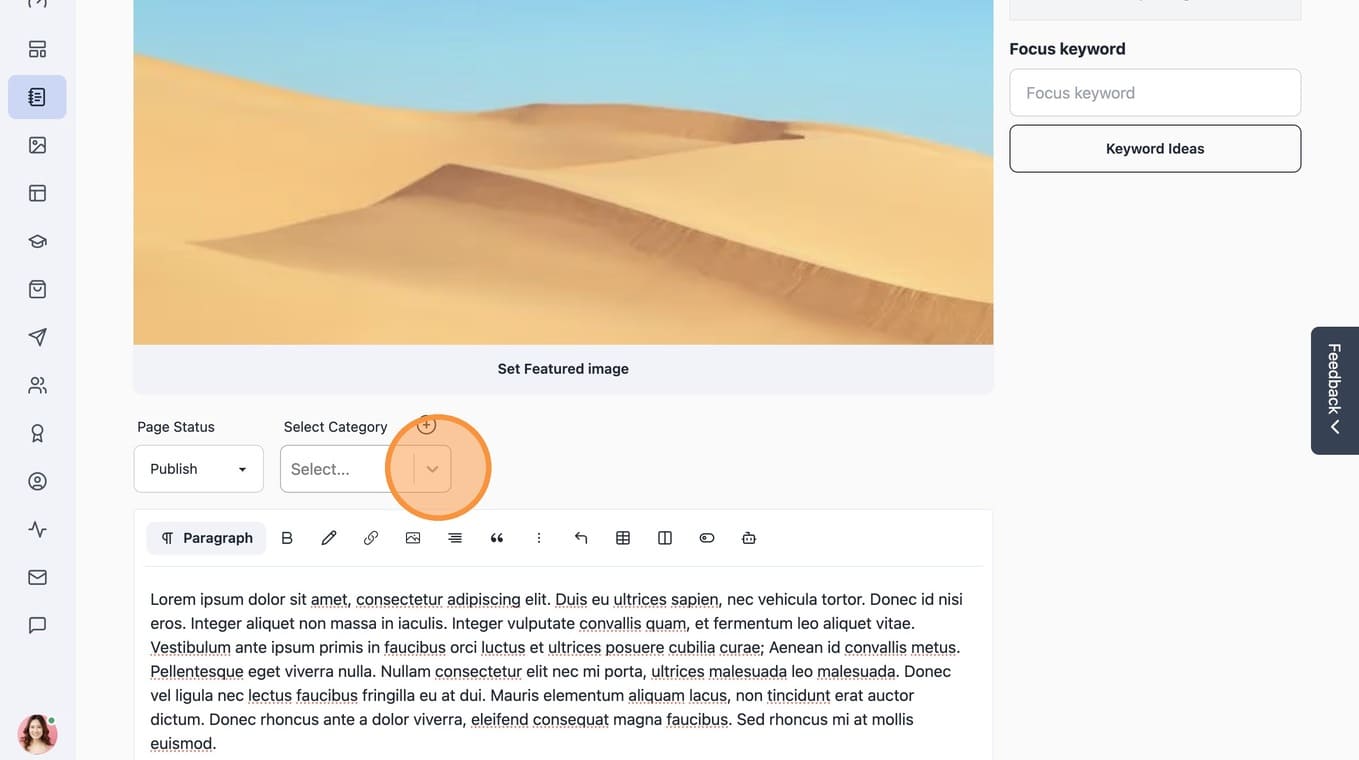
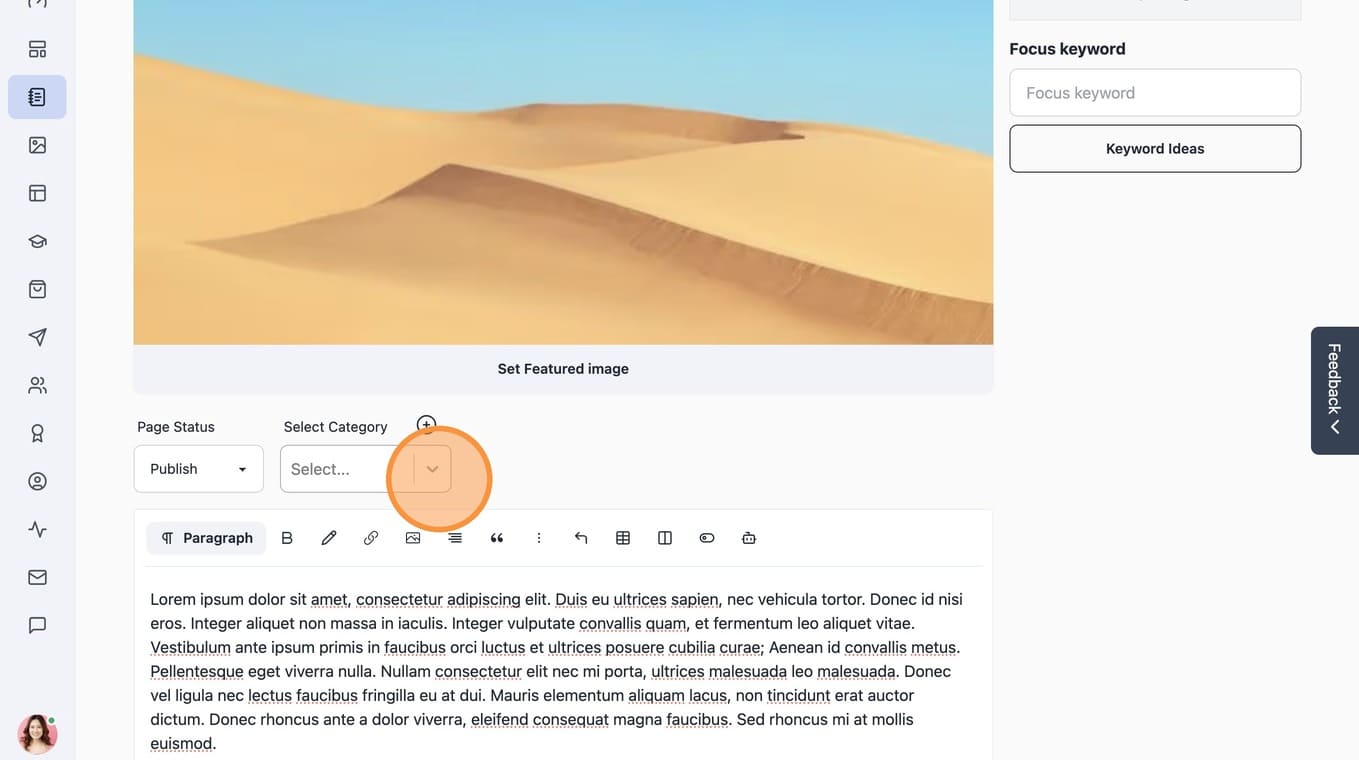
16. Select blog post category
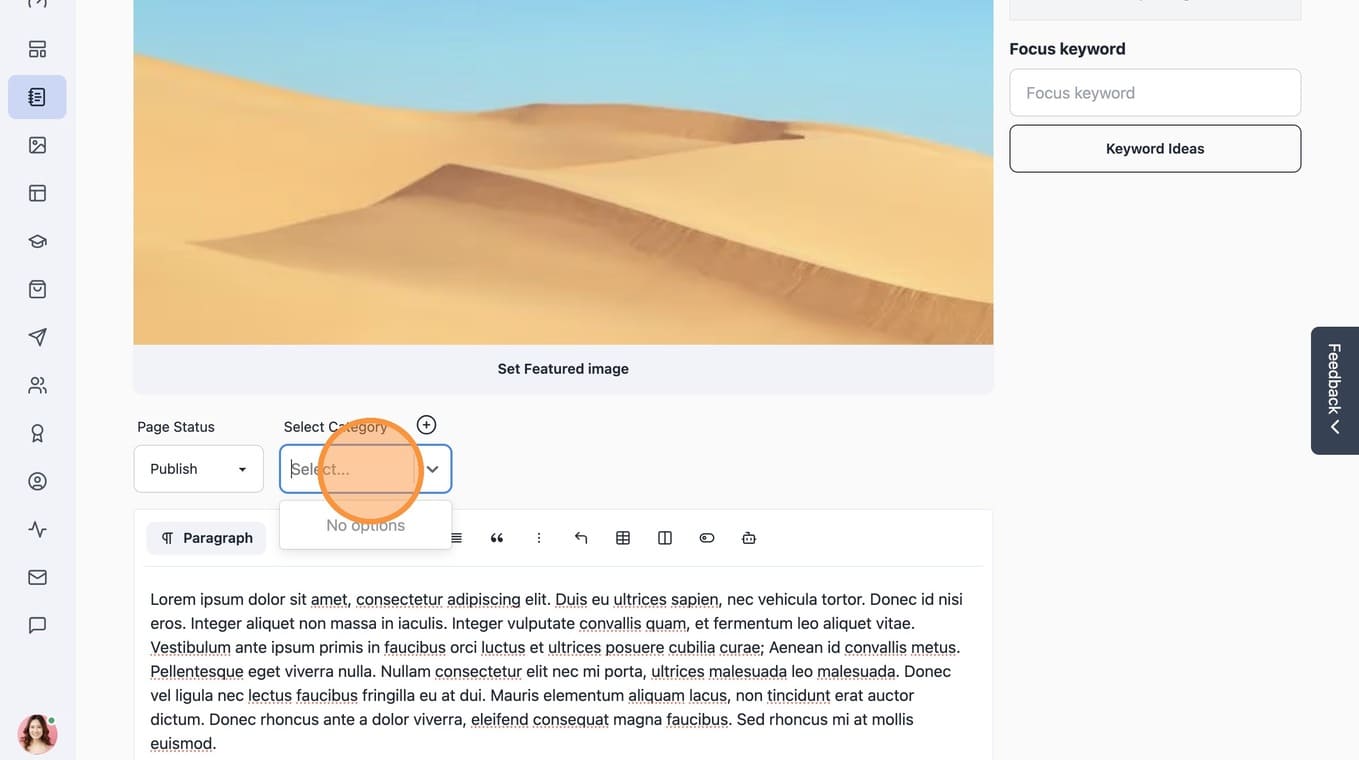
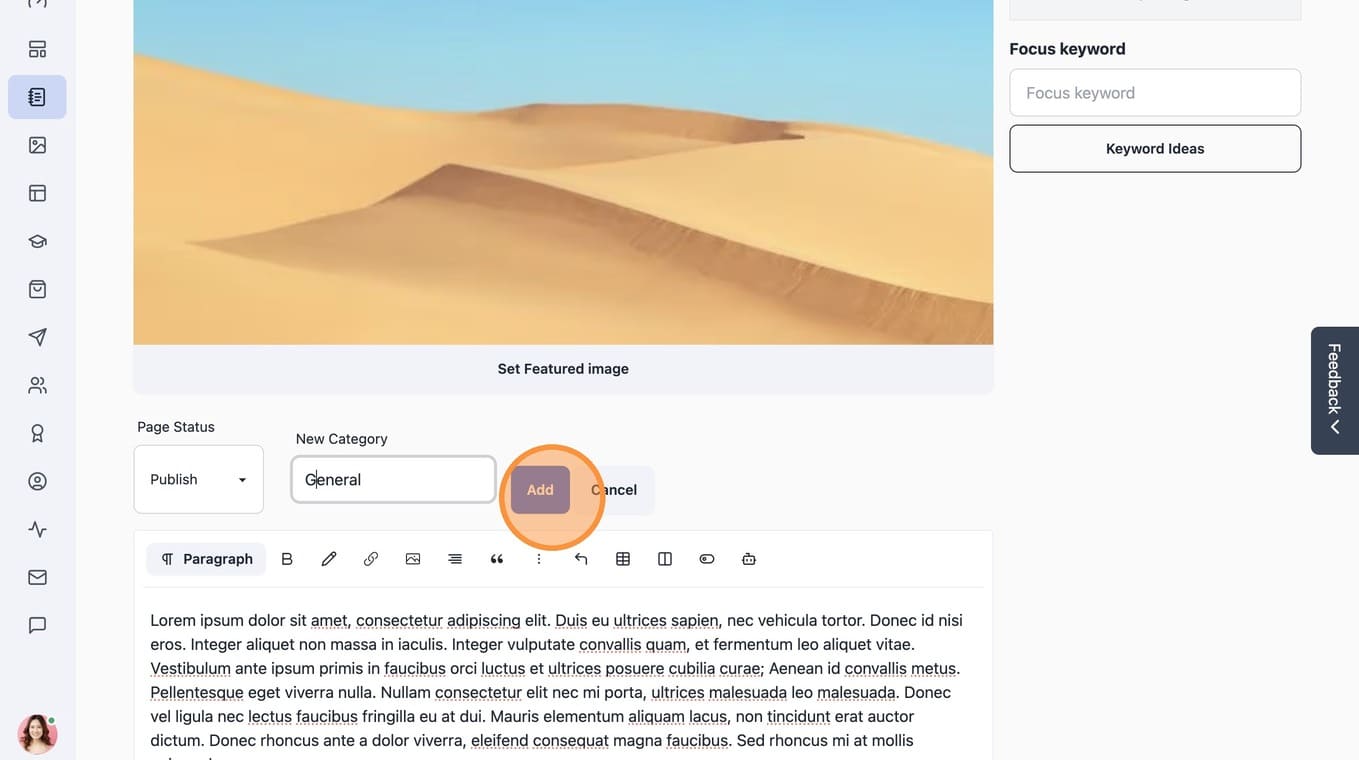
17. Or Create a new post category
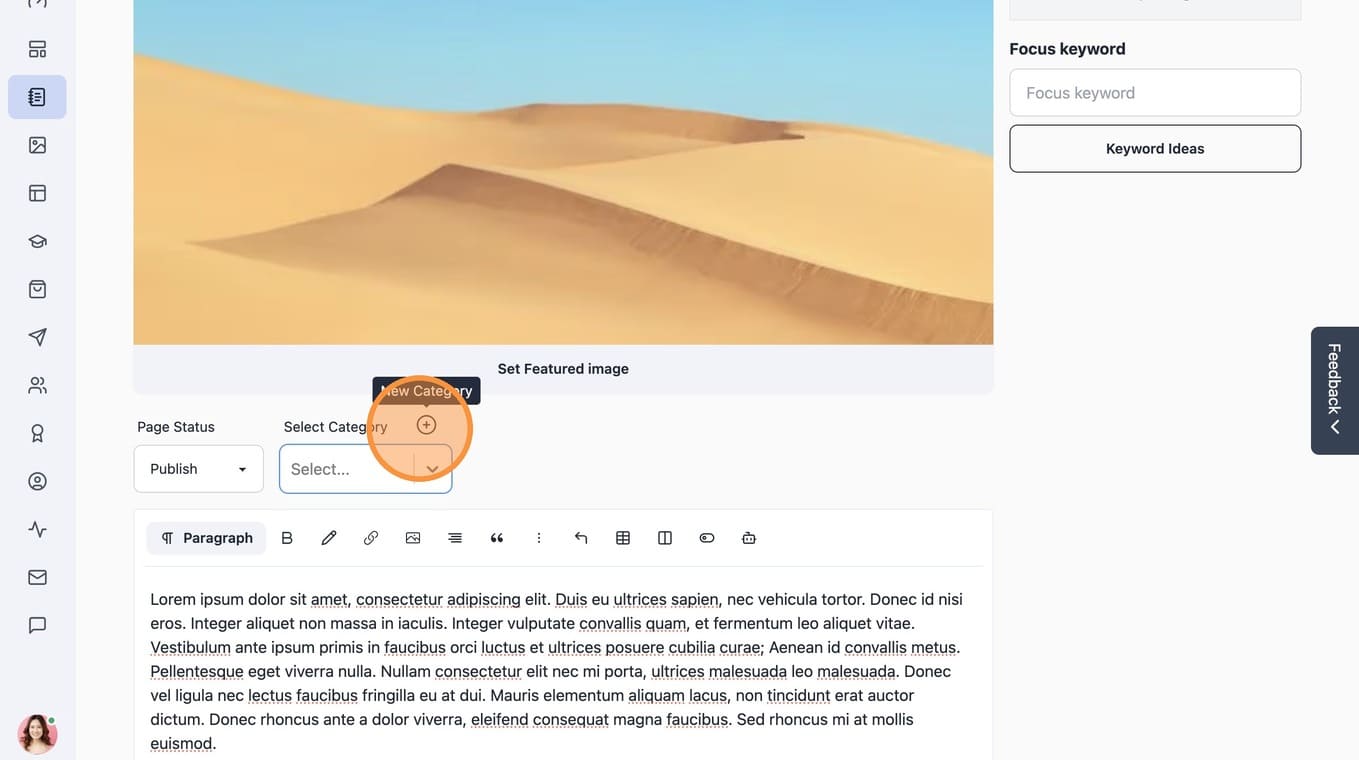
18. Enter category title and click Add to add the category.
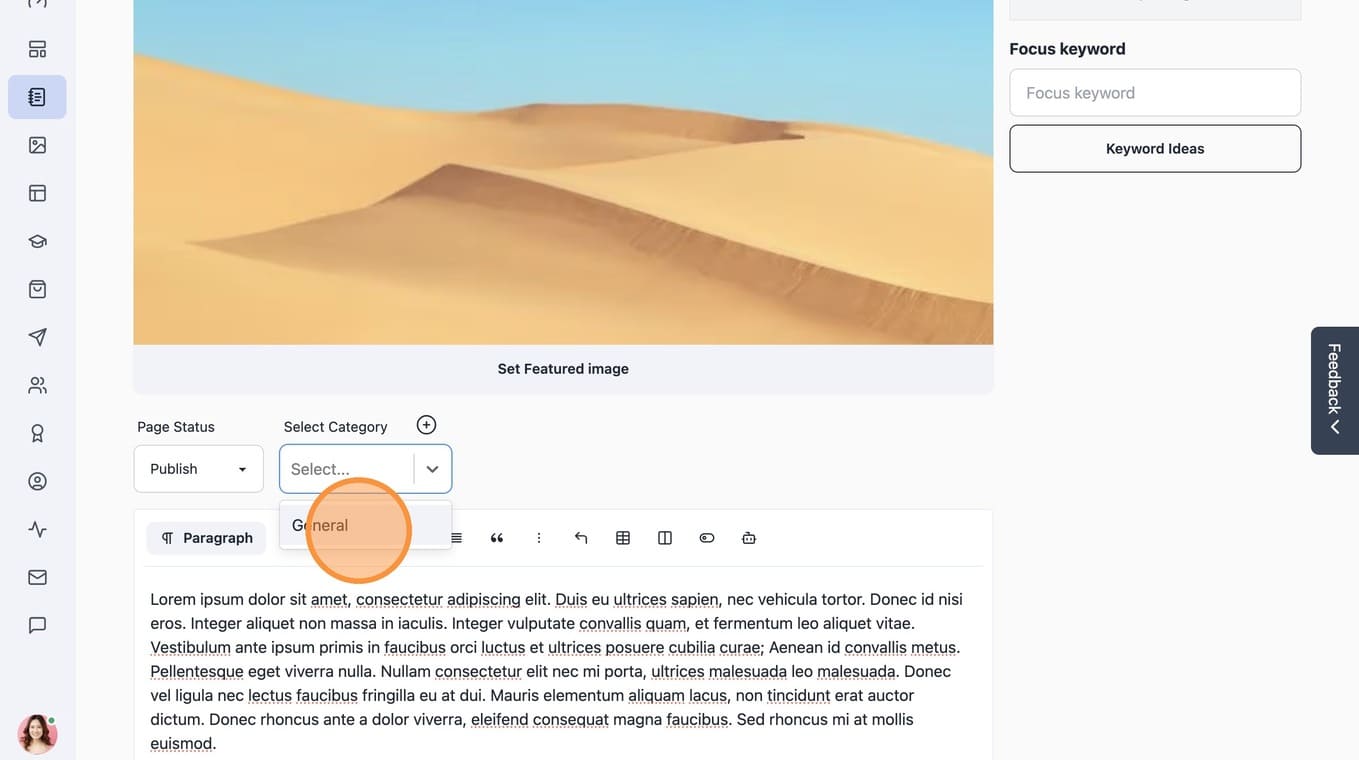
19. Select the assign the category to the blog psot
20. Click "General"
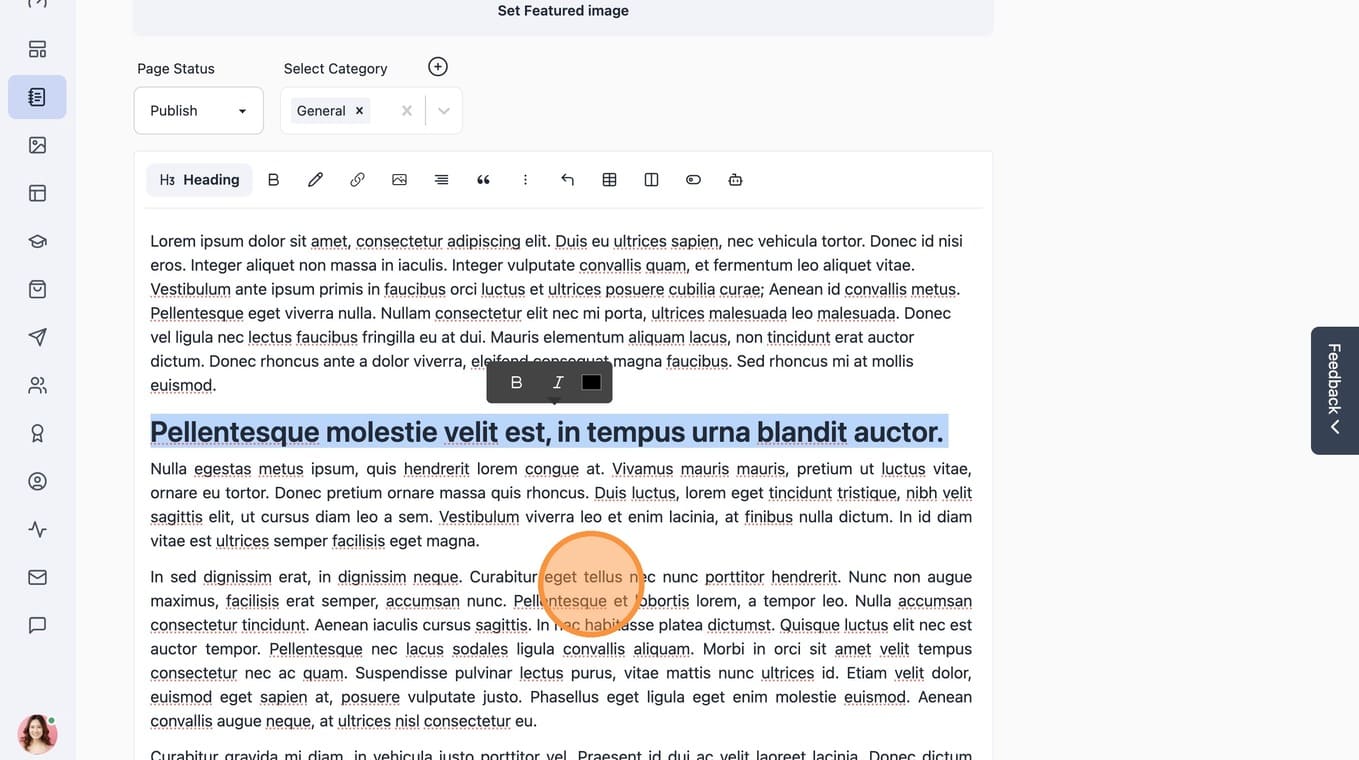
21. Use editor functions to mark headings, bold and links to the content
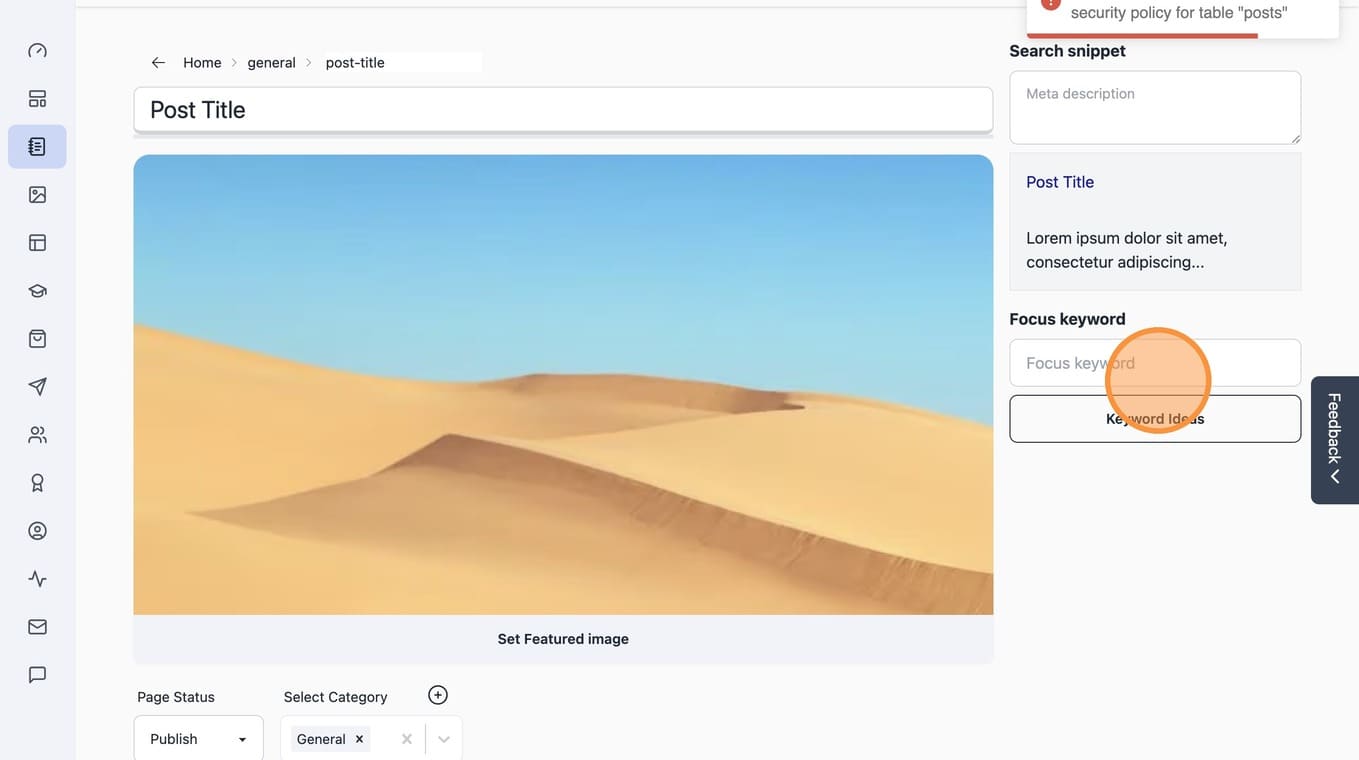
22. Set a focus keyword for SEO analysis
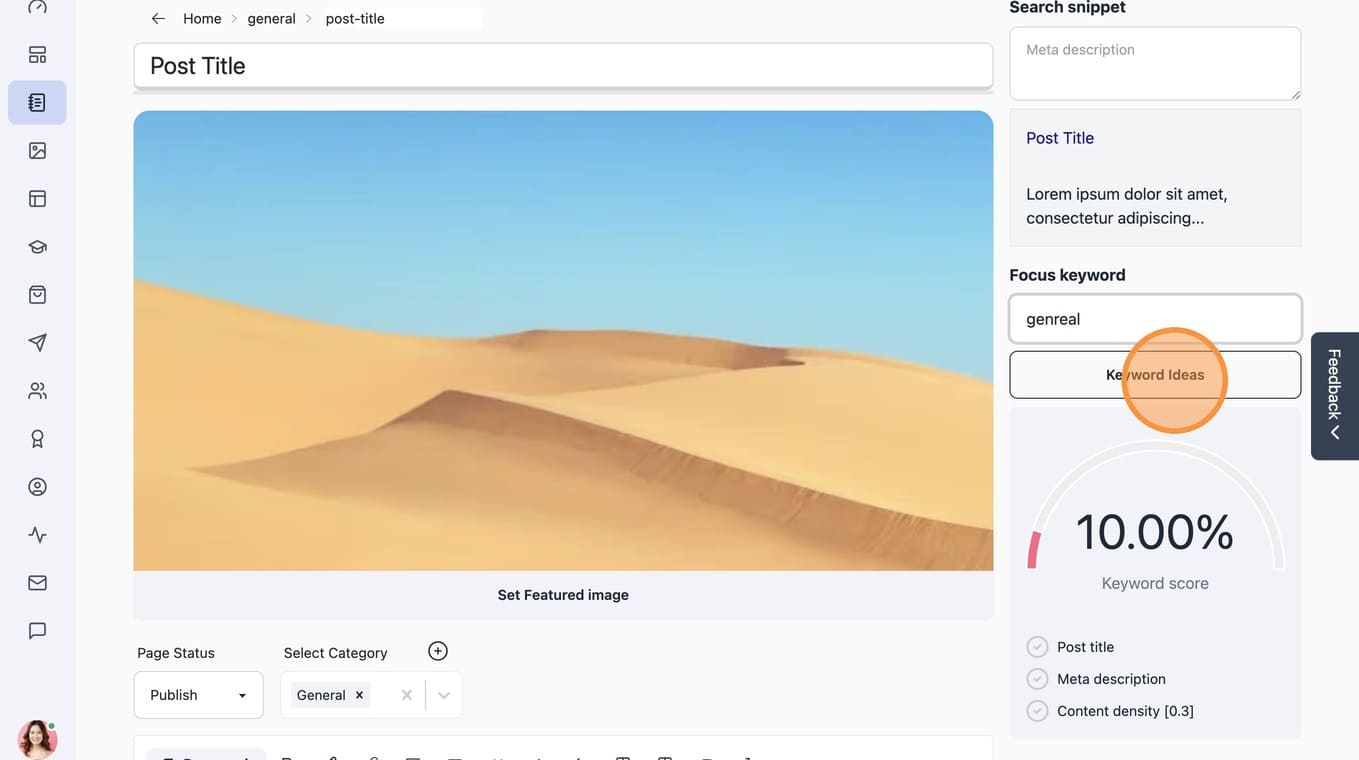
23. Optionally get Keyword ideas from the Content
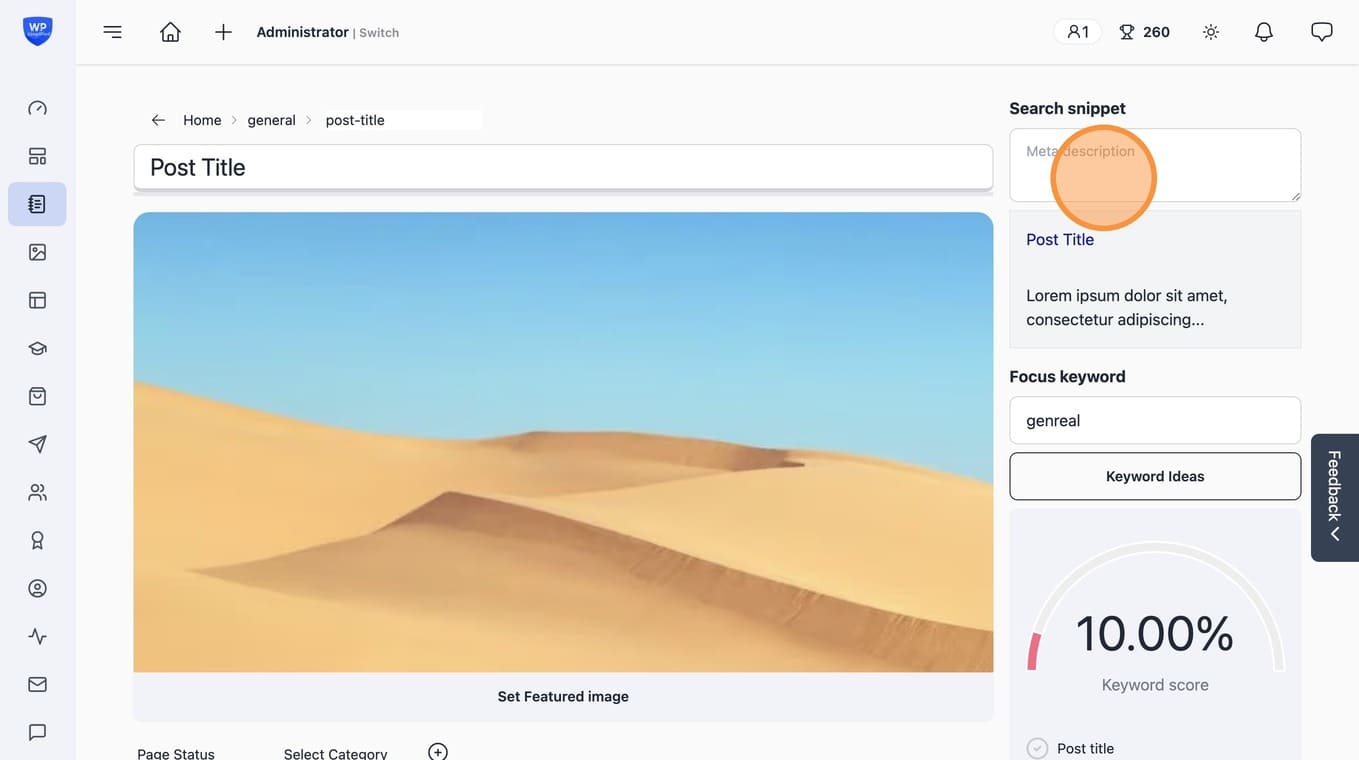
24. Set a "Meta description" field.
25. Optionally increase / decrease keyword density so that the score increases
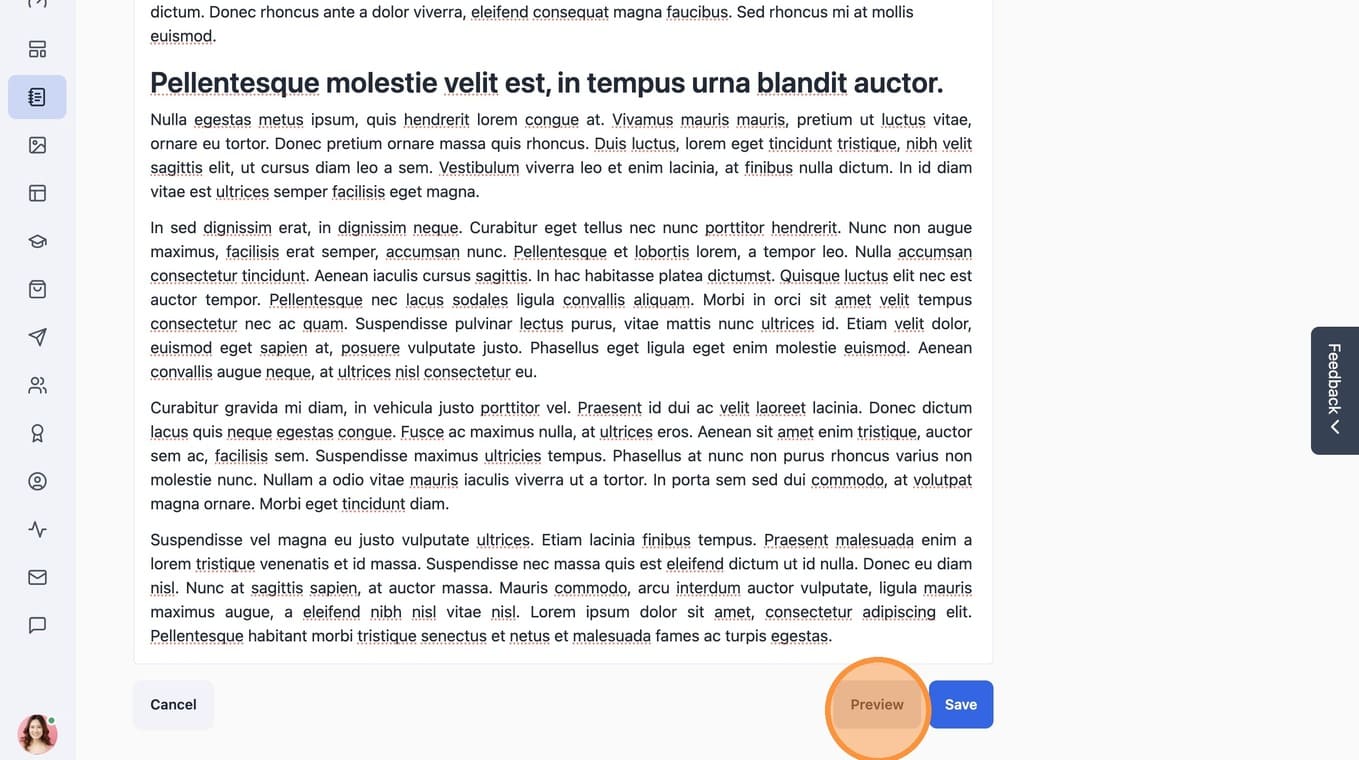
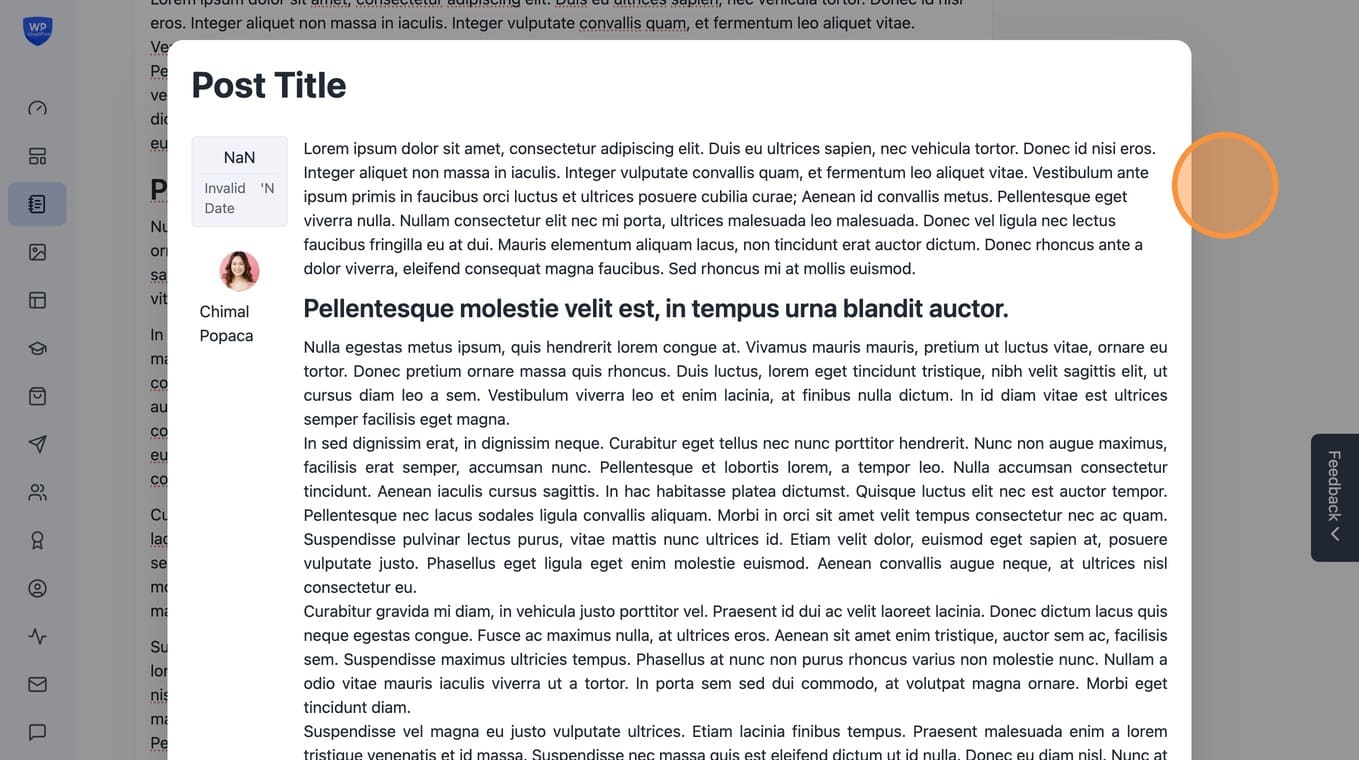
26. Click "Preview" to preview the blog post before publish
27. Close by clicking outside. After verifying the preview.
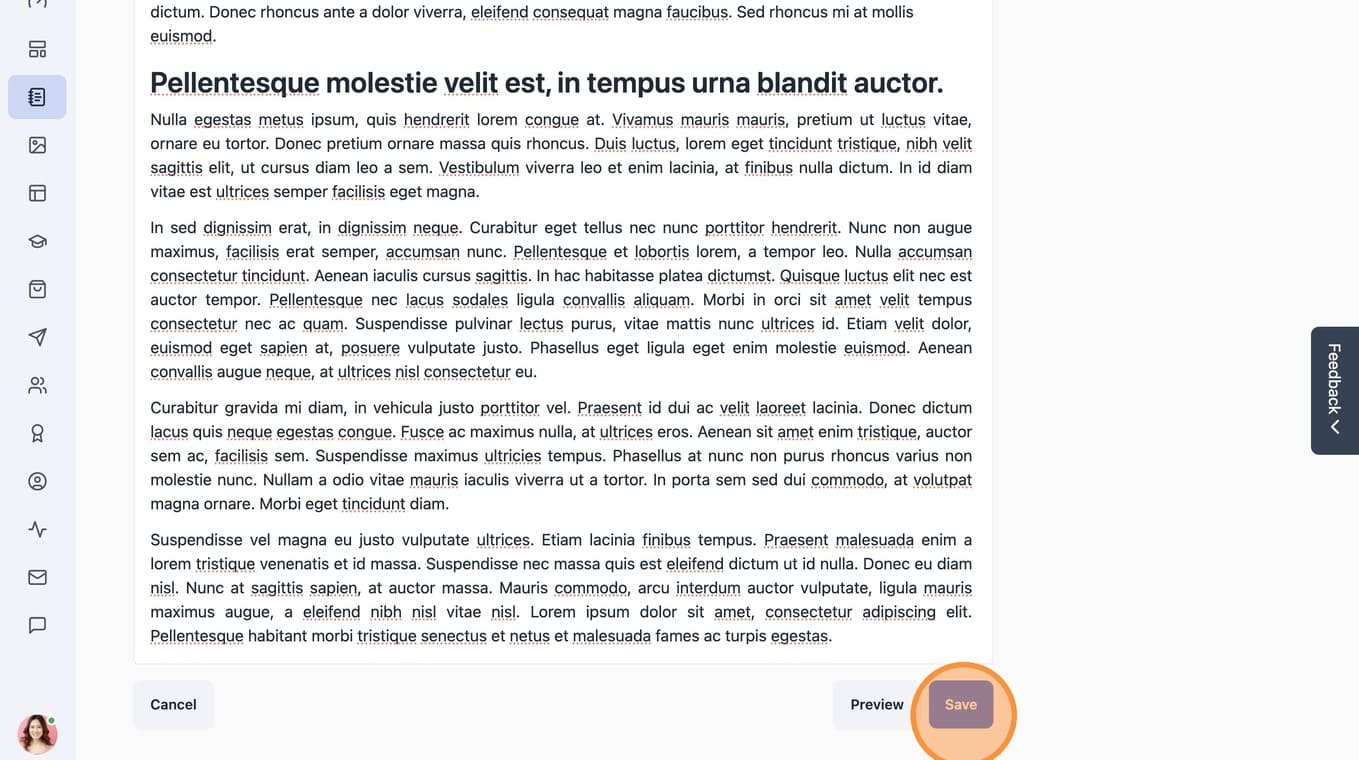
28. Click "Save" to publish or confirm the edit
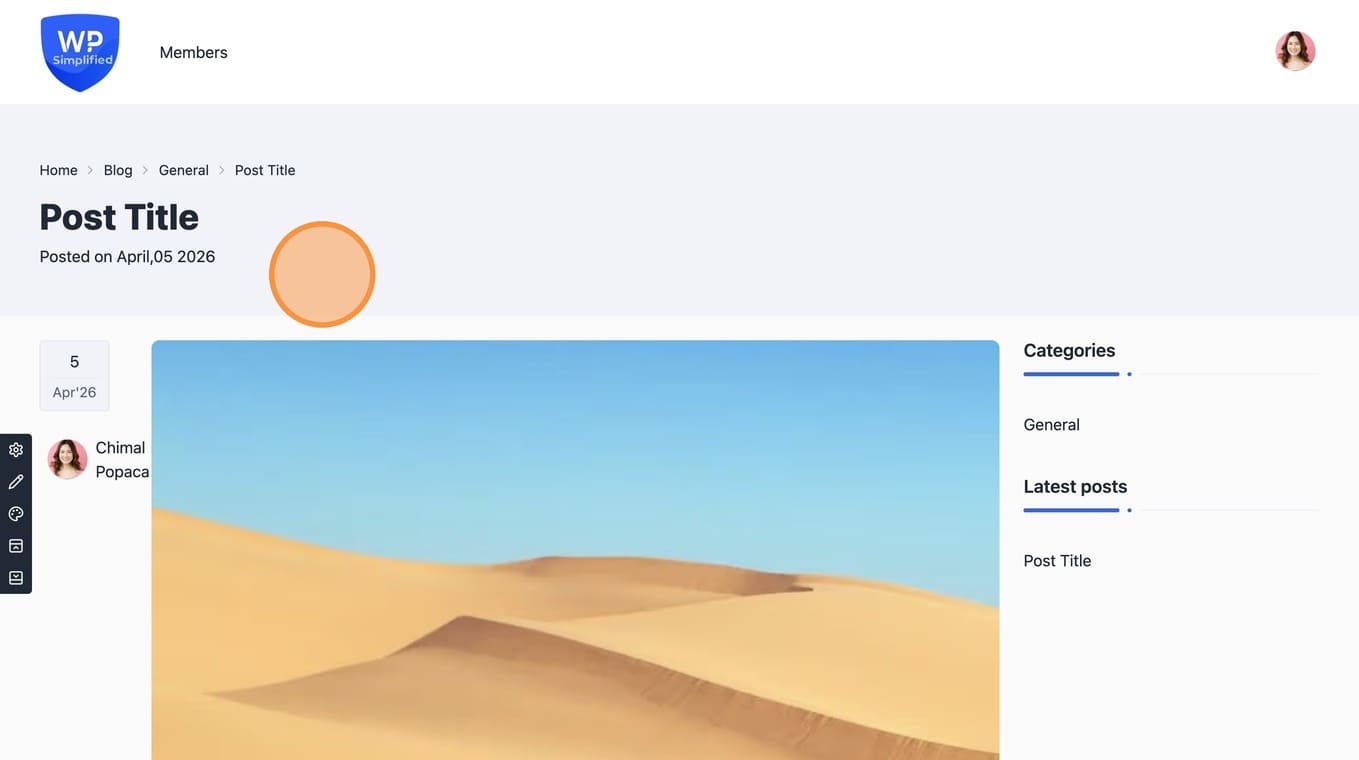
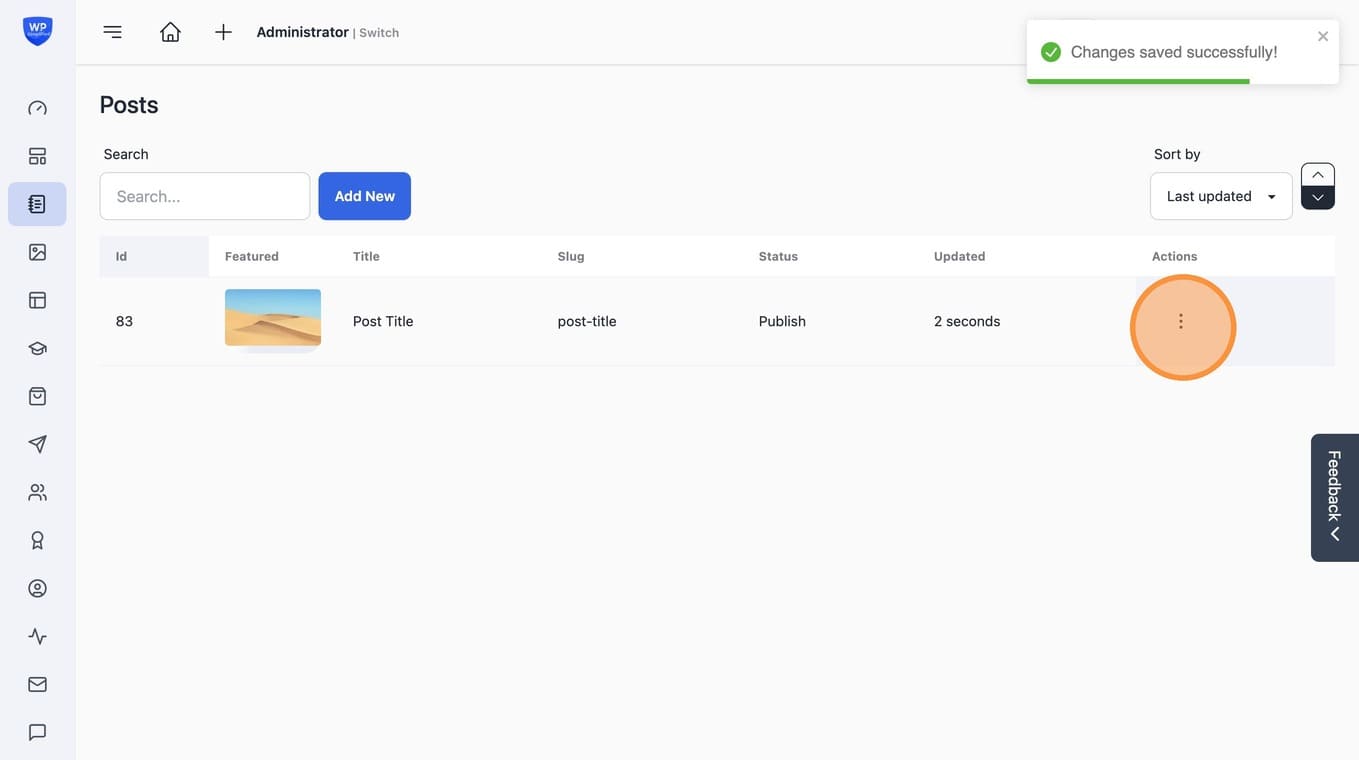
29. Click this icon. To view post.
30. Click "View post"
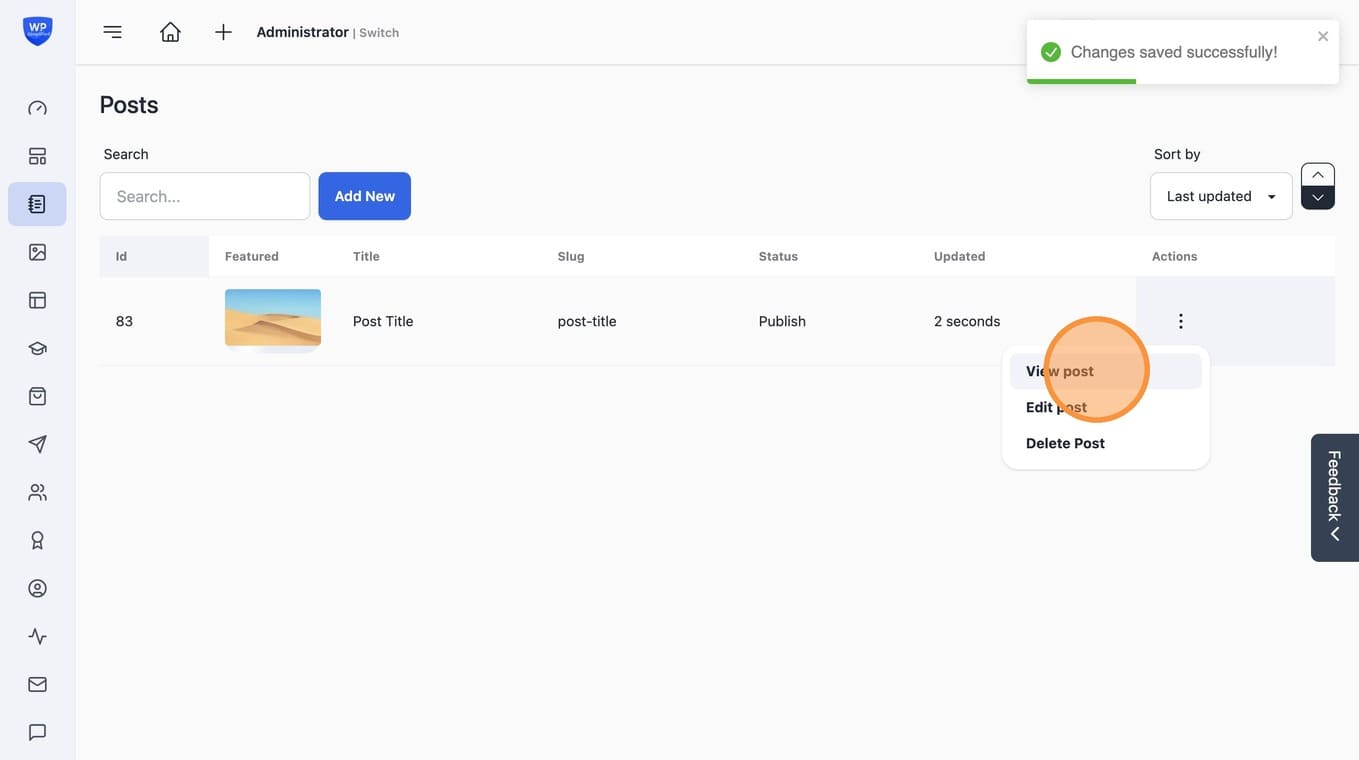
31. Your blog post is now Live.