- CMS
- Pages
- Categories
- CMS overview
- Creating and Publishing a New Blog Post
- How to Create and Edit Pages using Page Templates
- Creating PageBuilder Elements
- How To Send A Custom Message With Attachments
- Customizing Your Website Header and Header Settings
- Users
- eLearning
- Managing a Course
- Courses
- eCommerce
- Customize
- Customize Dashboard Menu
- Landing Pages using Claude or Codes
- Customize User Dashboard
- Gamification
- Use leaderboards and monitor program health
- Review the points log
- Plan badges, levels, and rewards
- Create and manage point rules
- Gamification overview
- Interface
- How to switch between roles ?
How To Send A Custom Message With Attachments
Learn how to efficiently compose and send messages with embedded stock images and personalized content. This guide covers the entire workflow from selecting media to finalizing and dispatching your message.
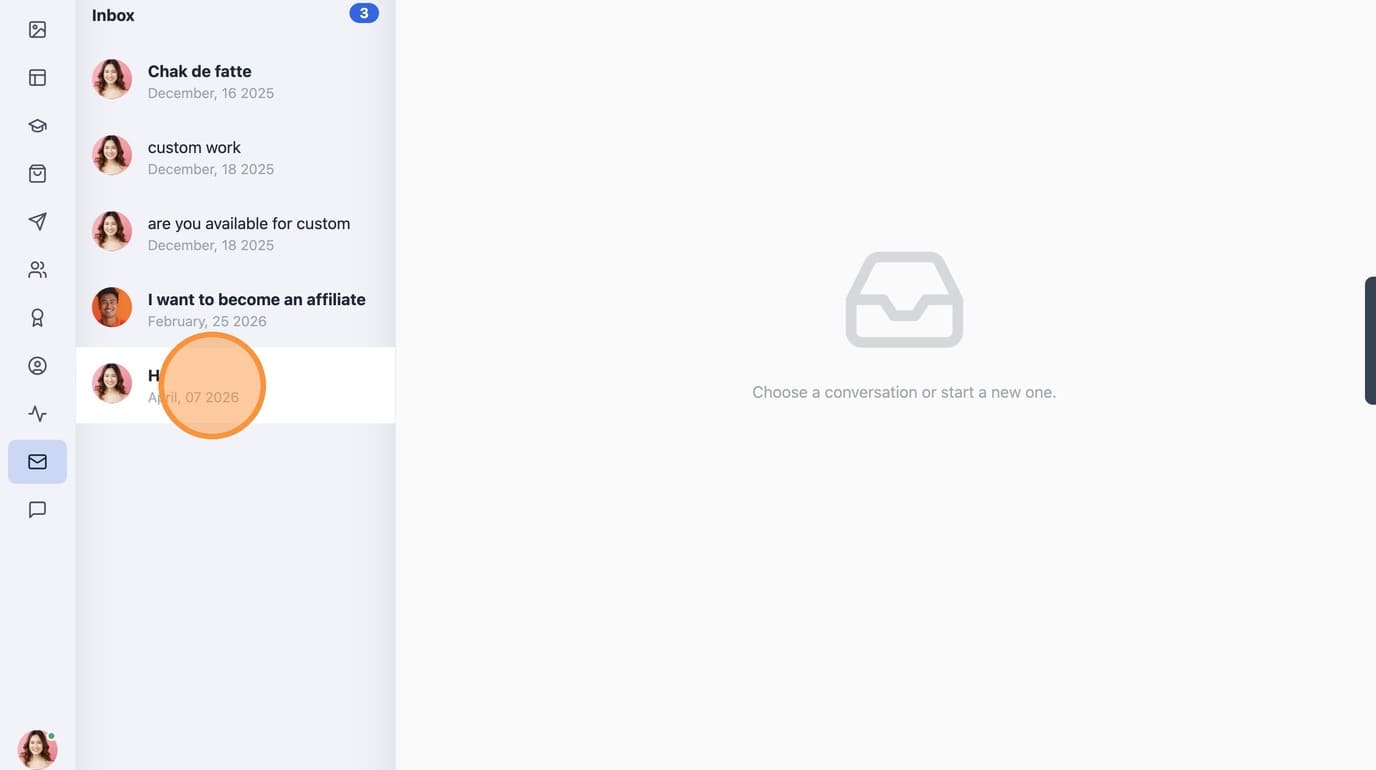
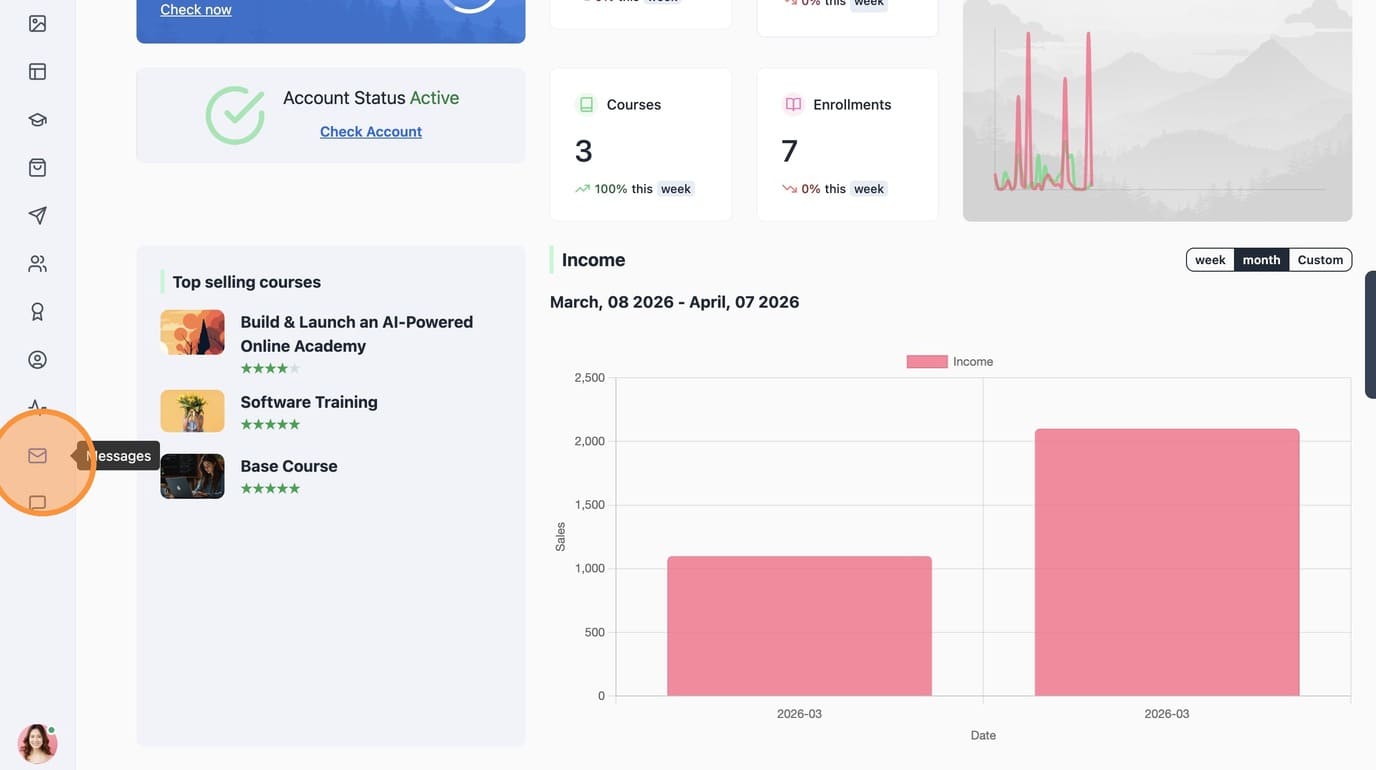
1. Go to Messages in your Dashboard Menu.
2. Click on any Message to view its contents. Unread messages display in bold.
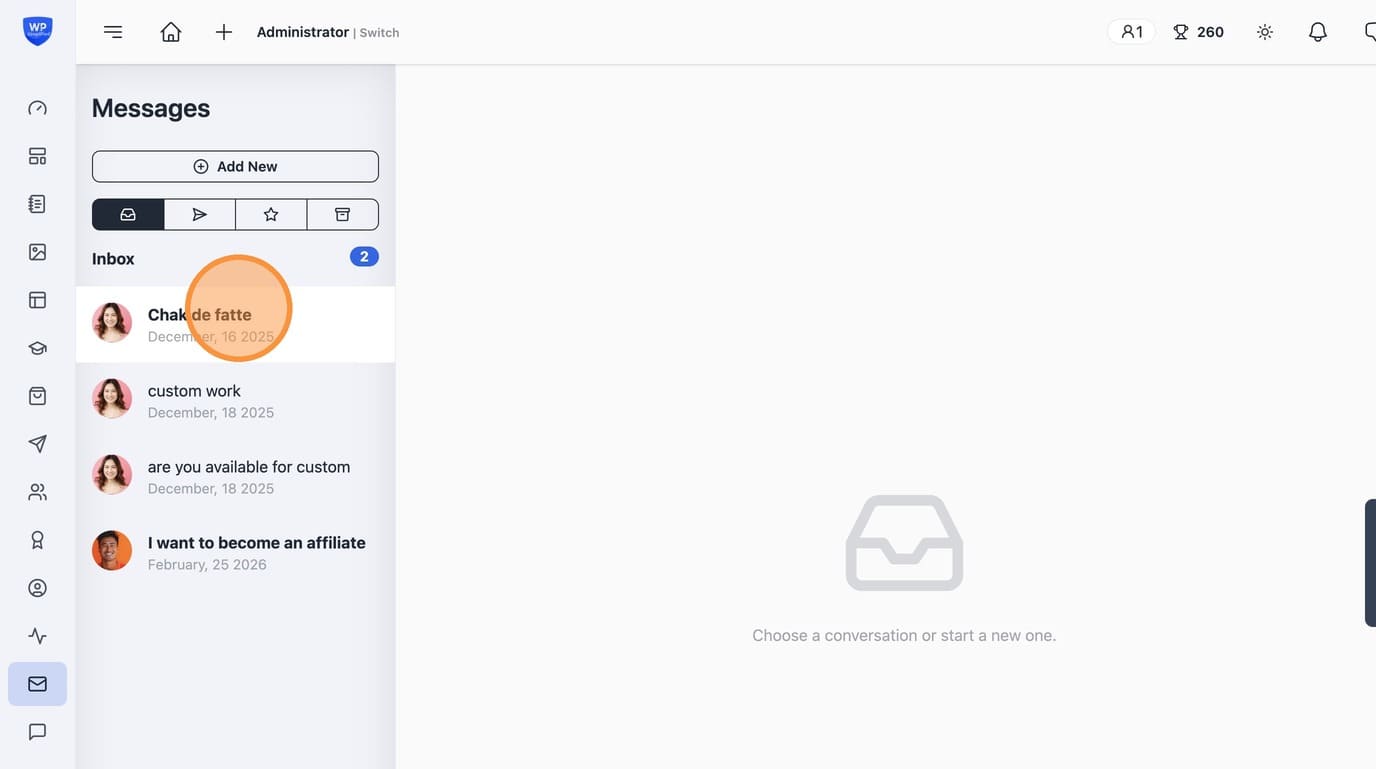
3. On Clicking the message automatically marked as "read".
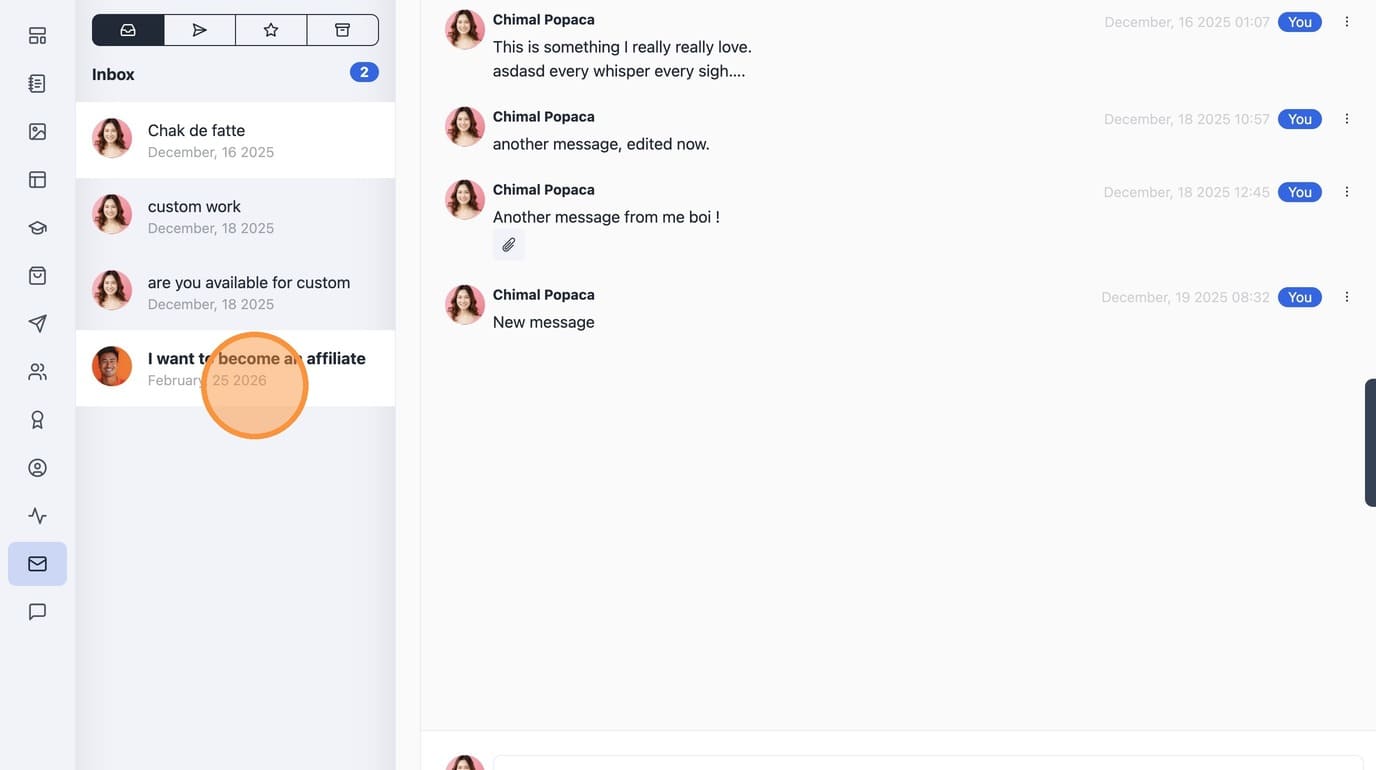
4. To reply to a message locate the reply textbox at the bottom.
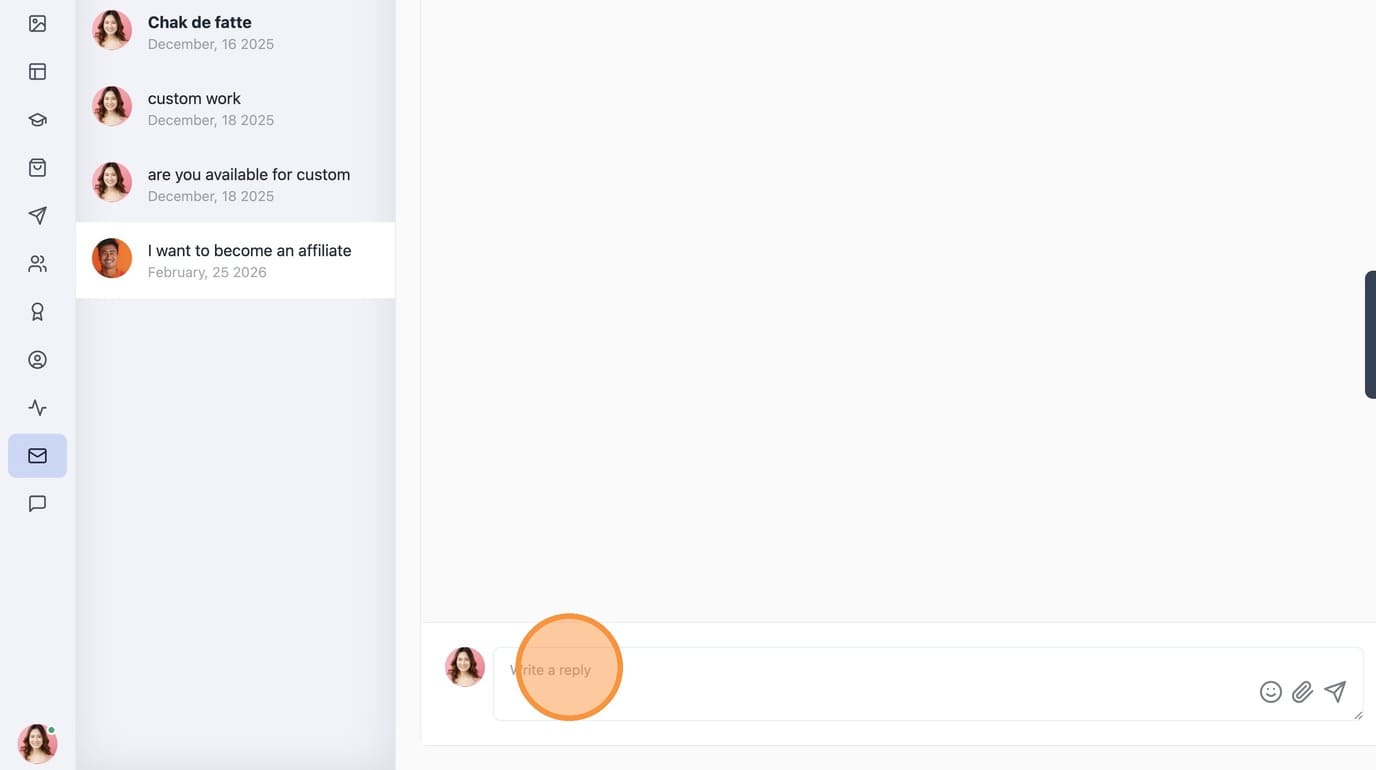
5. Use Emoji picker to add Emojis
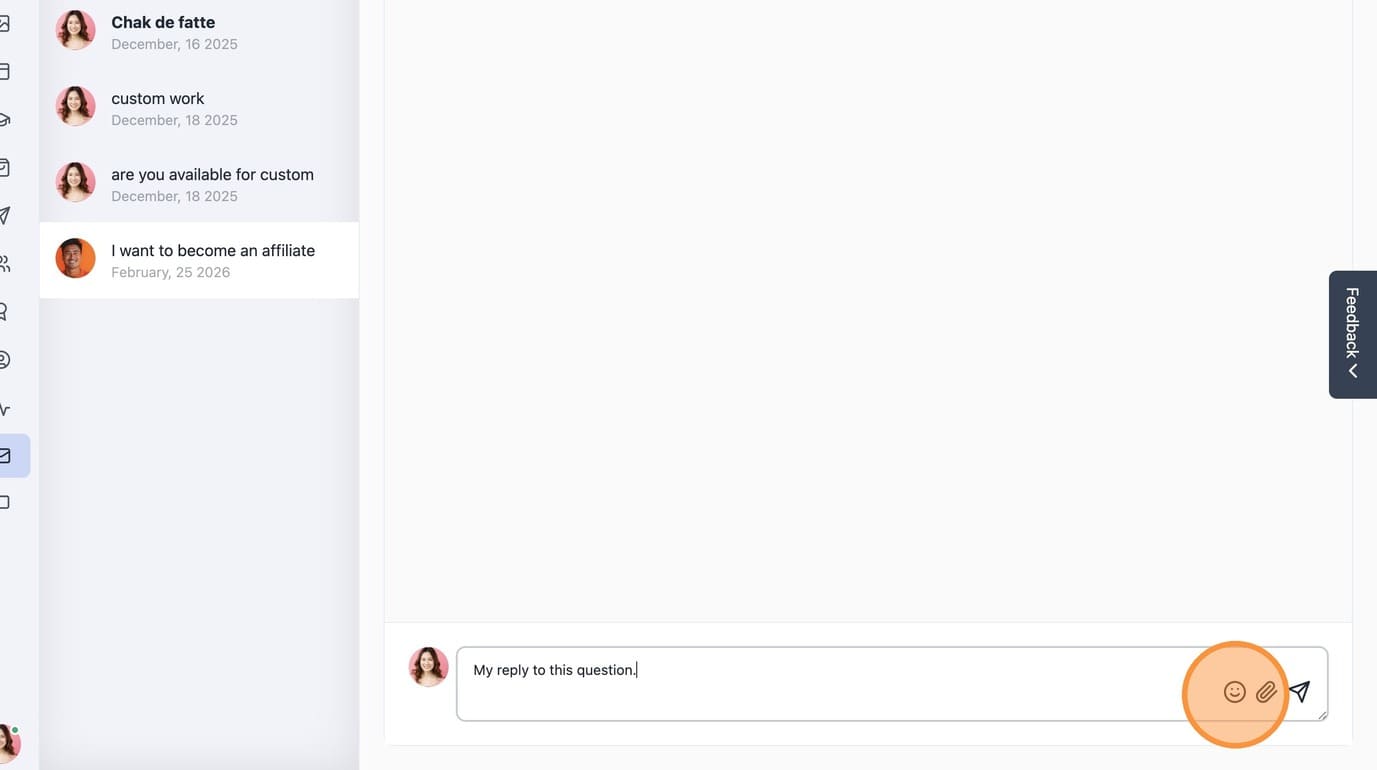
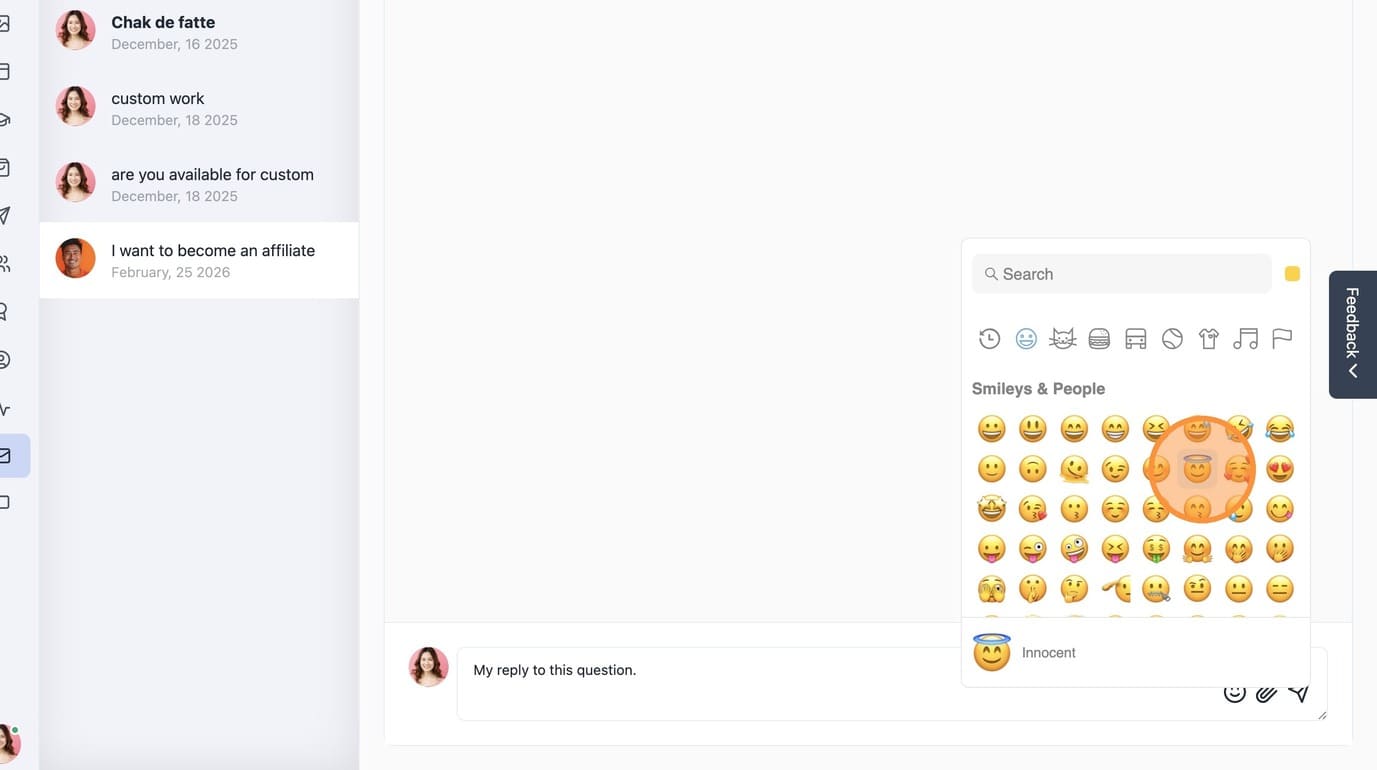
6. Click any emoji to add to message.
7. Use attachments icon to add attachments
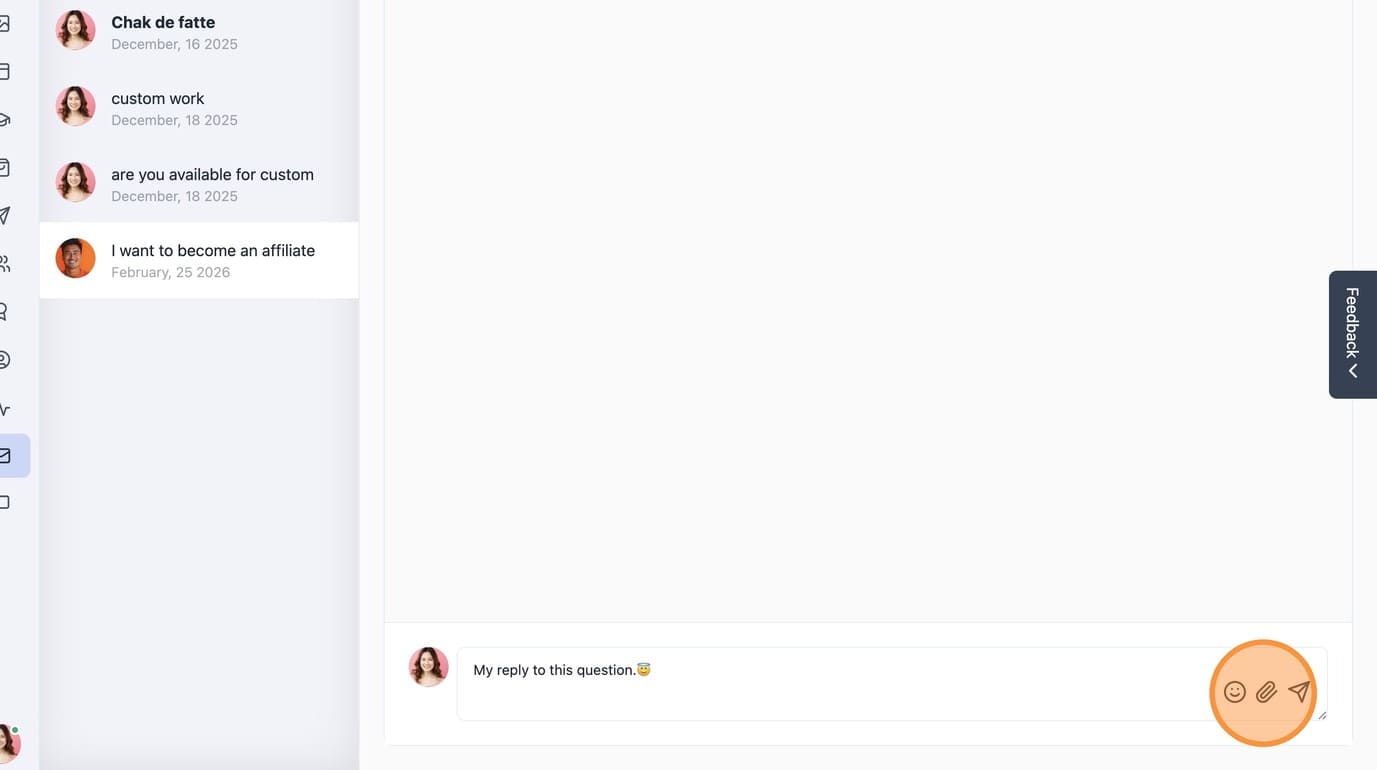
8. Upload of select attachments from the Media panel
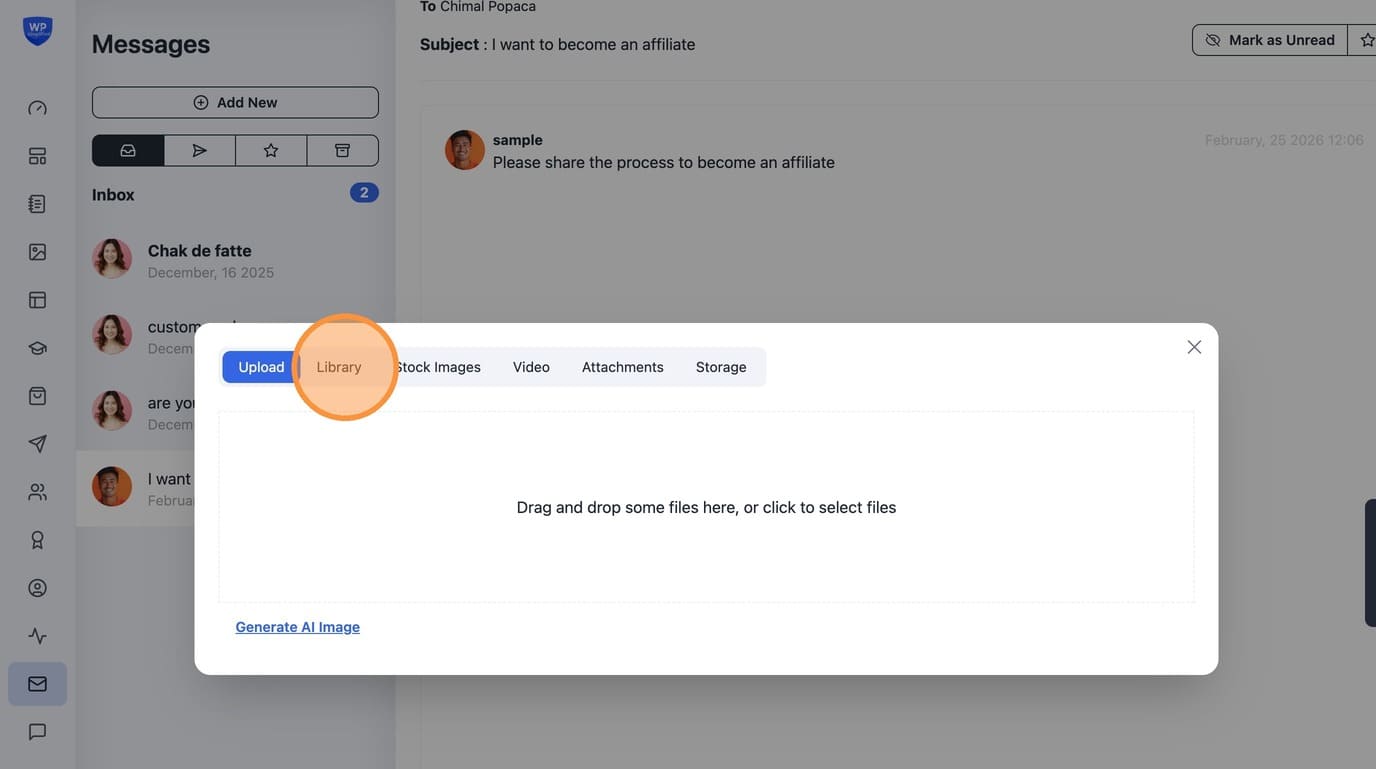
9. Click "Add" to set image as attachment
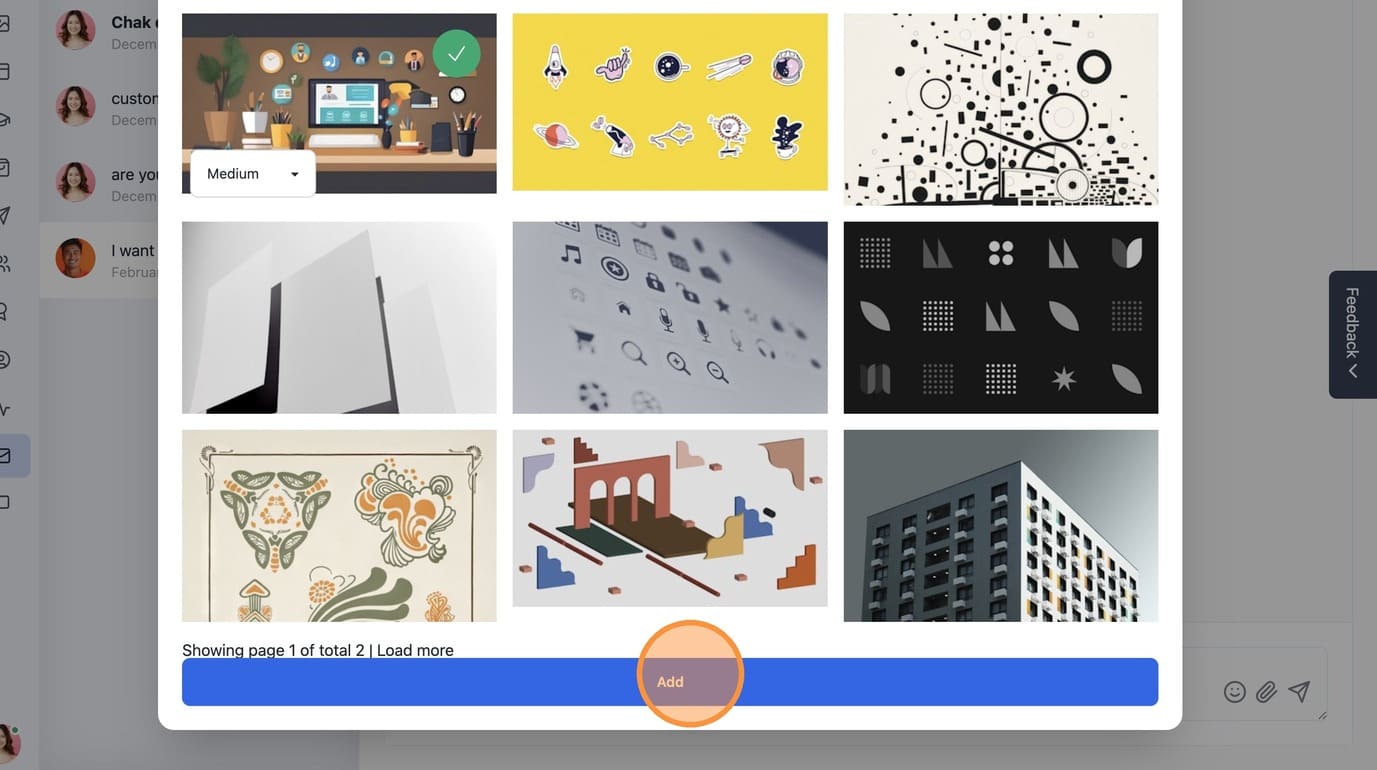
10. Use the send icon to send the message.
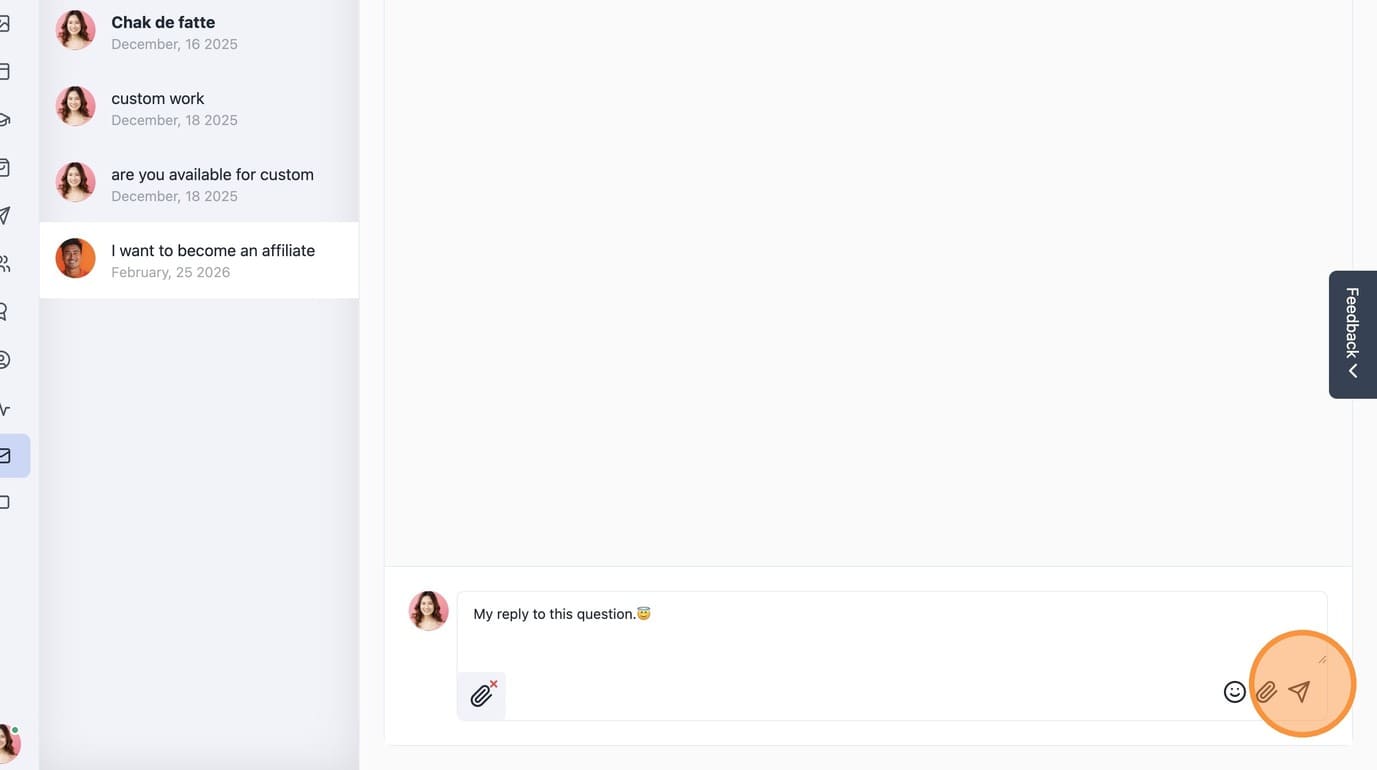
11. View all Sent messages in the Sent box.

12. View all featured messages in the featuredbox.
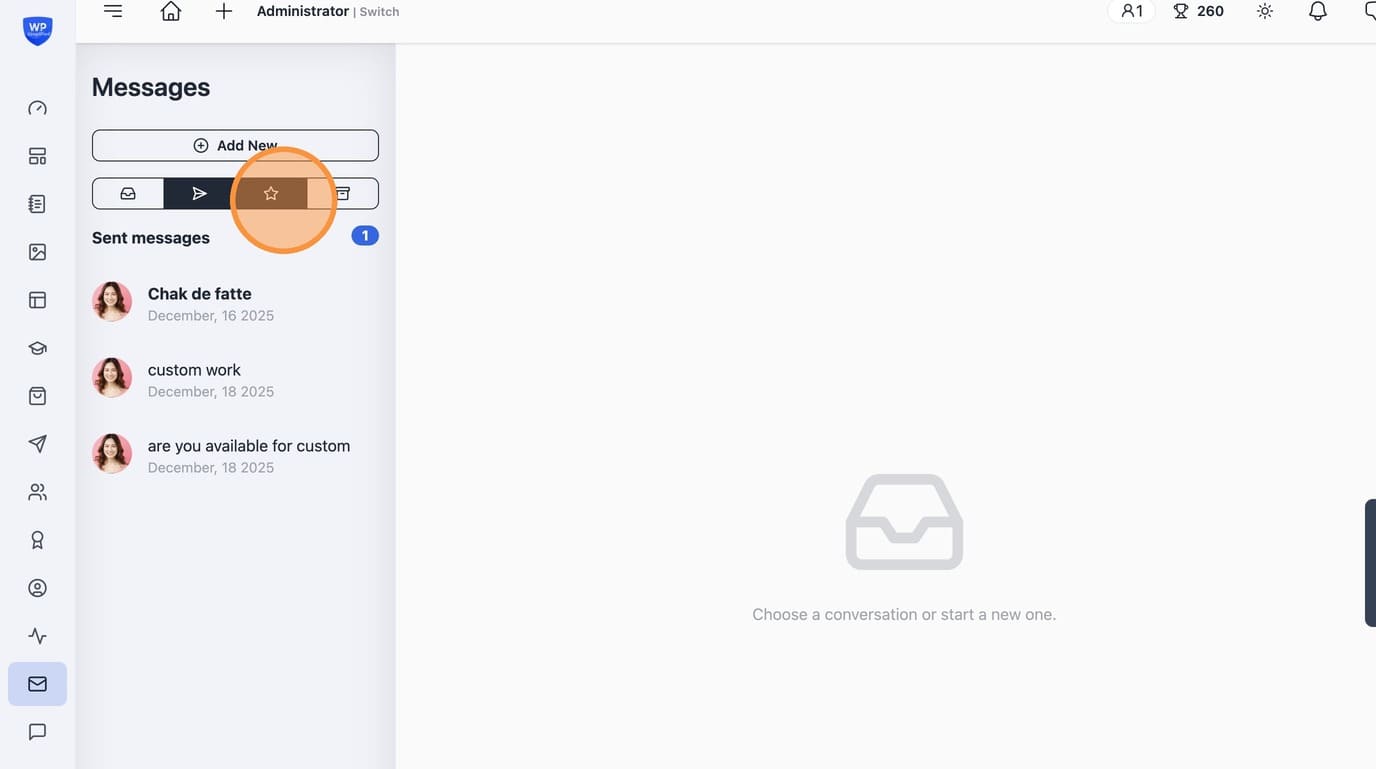
13. See all archived messages in the archived box.
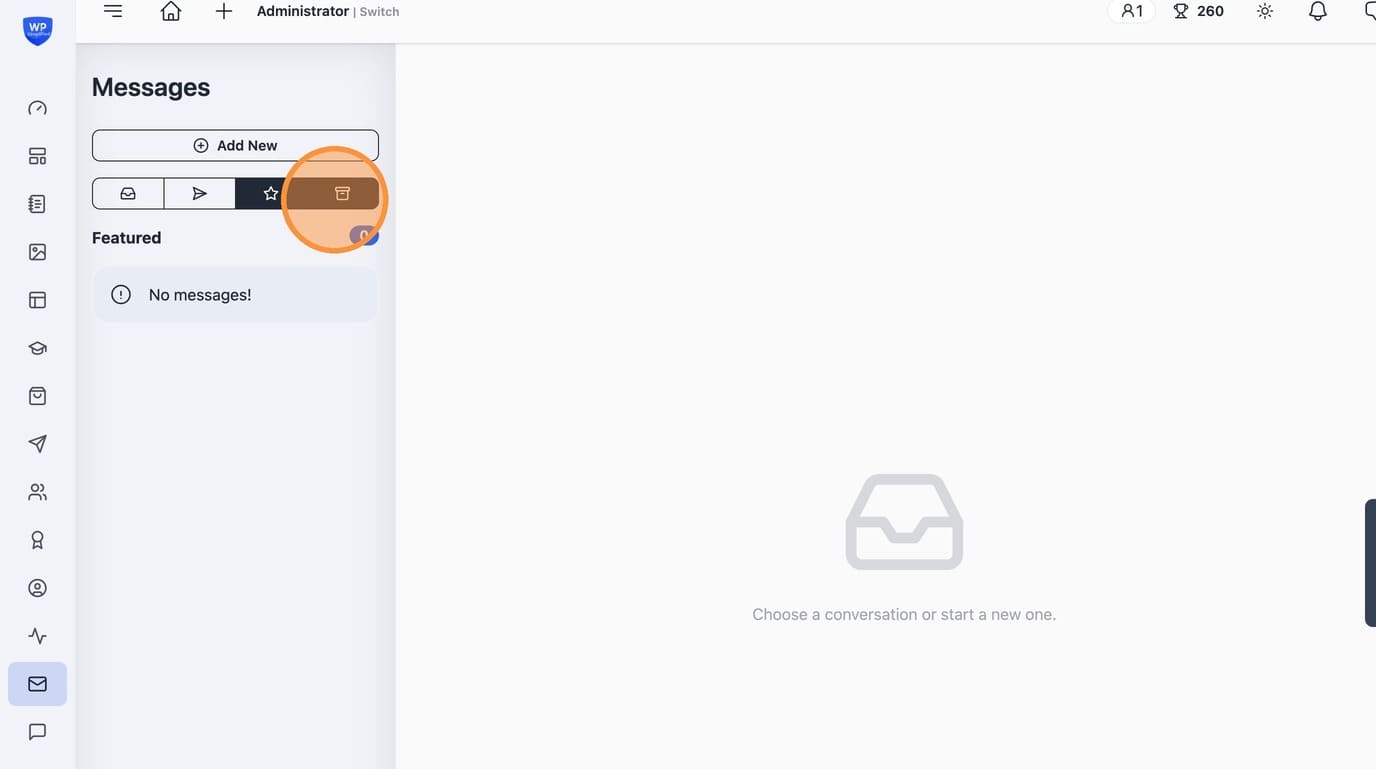
14. Click "Add New" to send a new message
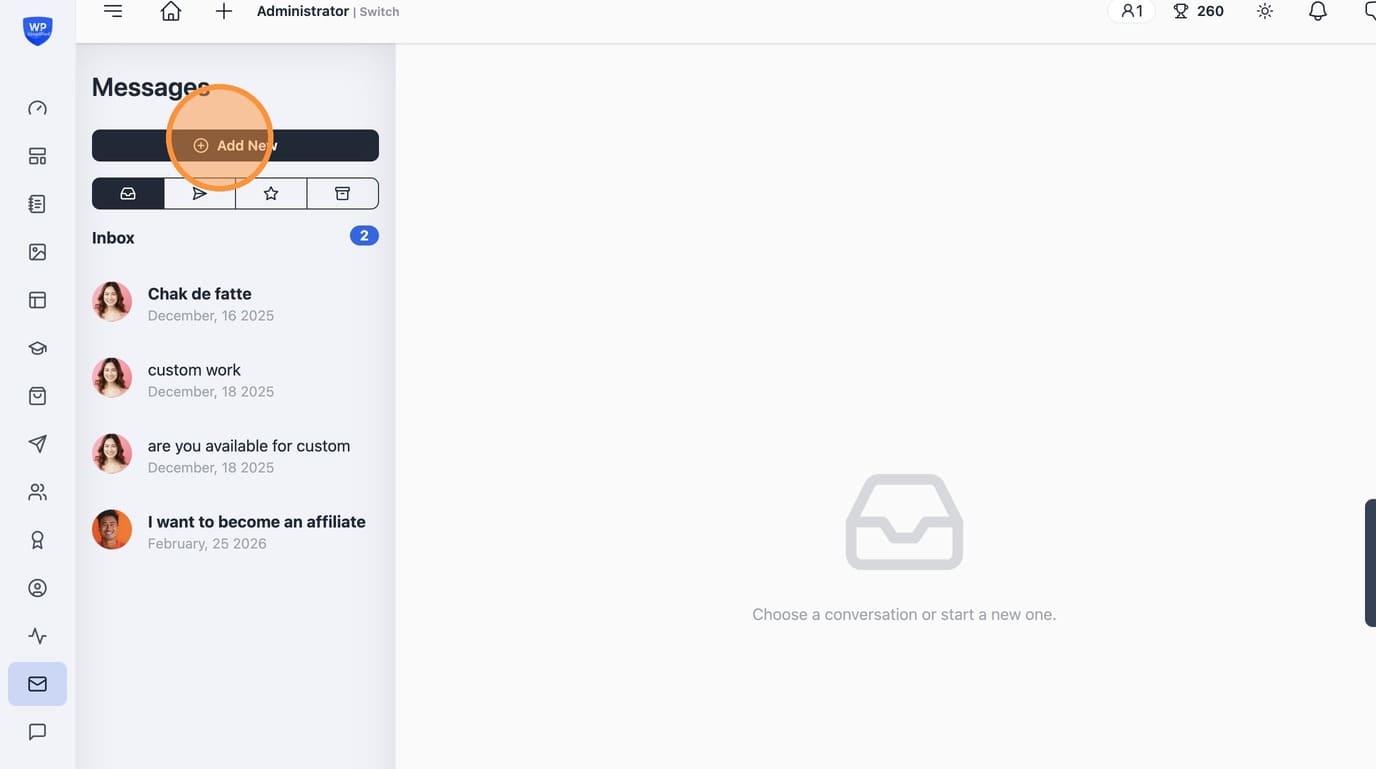
15. Only Administrators see this option which allows sending messages to all the members of the site.
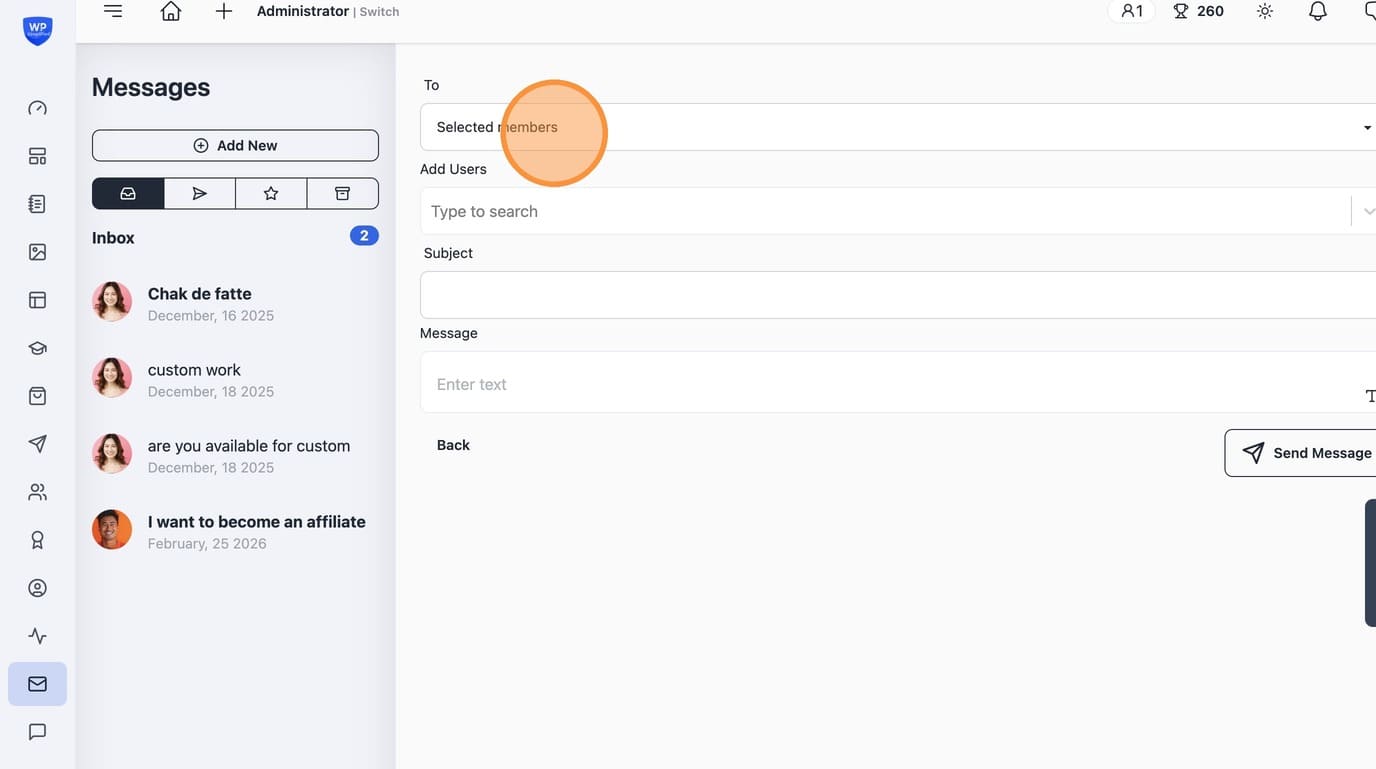
16. Select members to send messages to
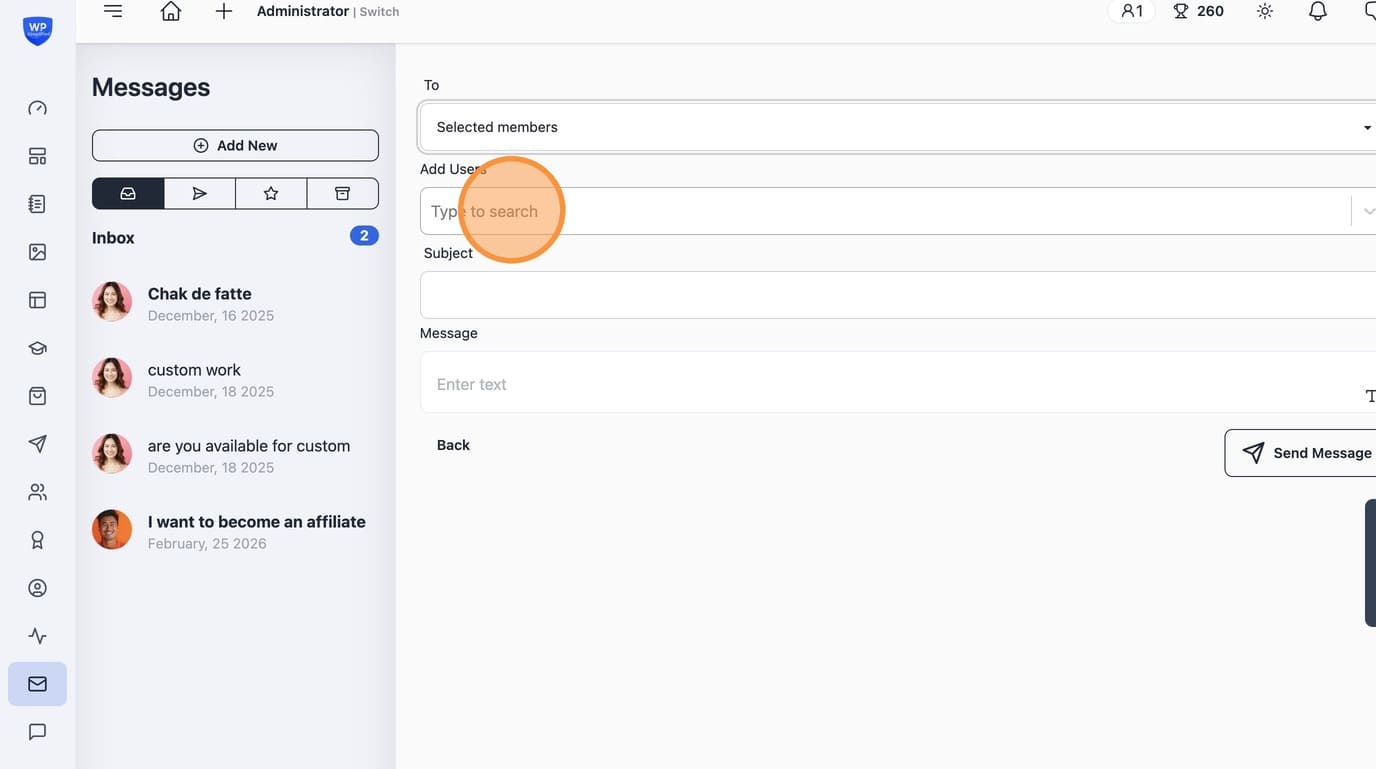
17. Type name of members to search and add
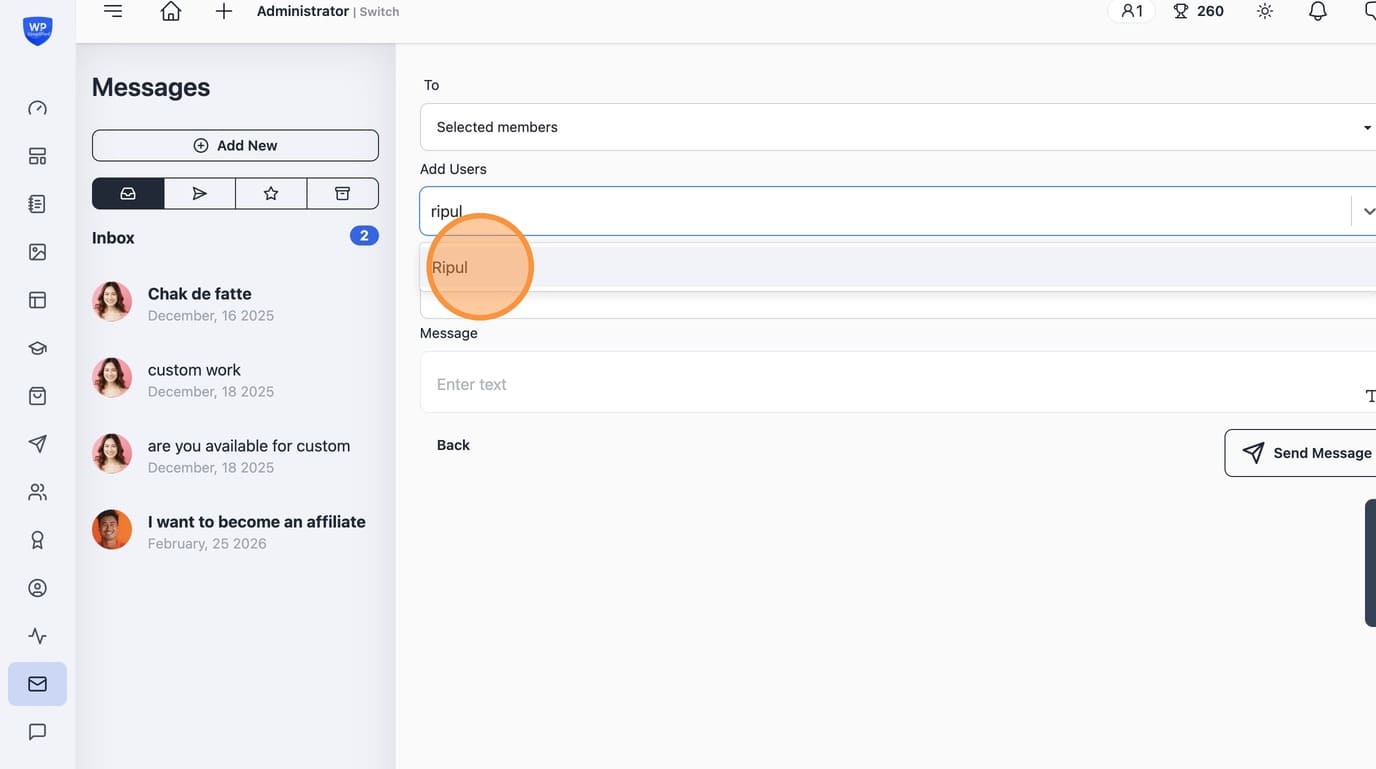
18. Add a subject field.
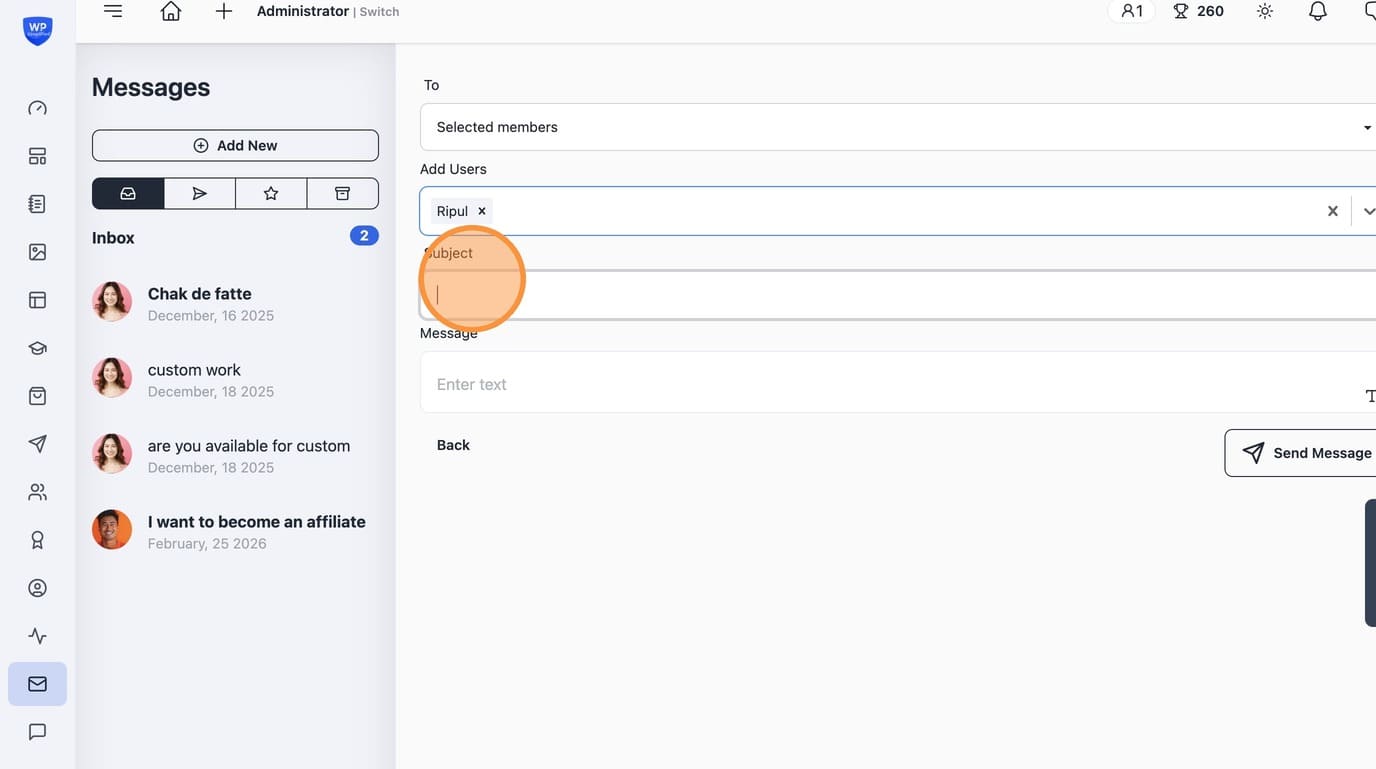
19. Add content in the message. Attachments are available only in replies.
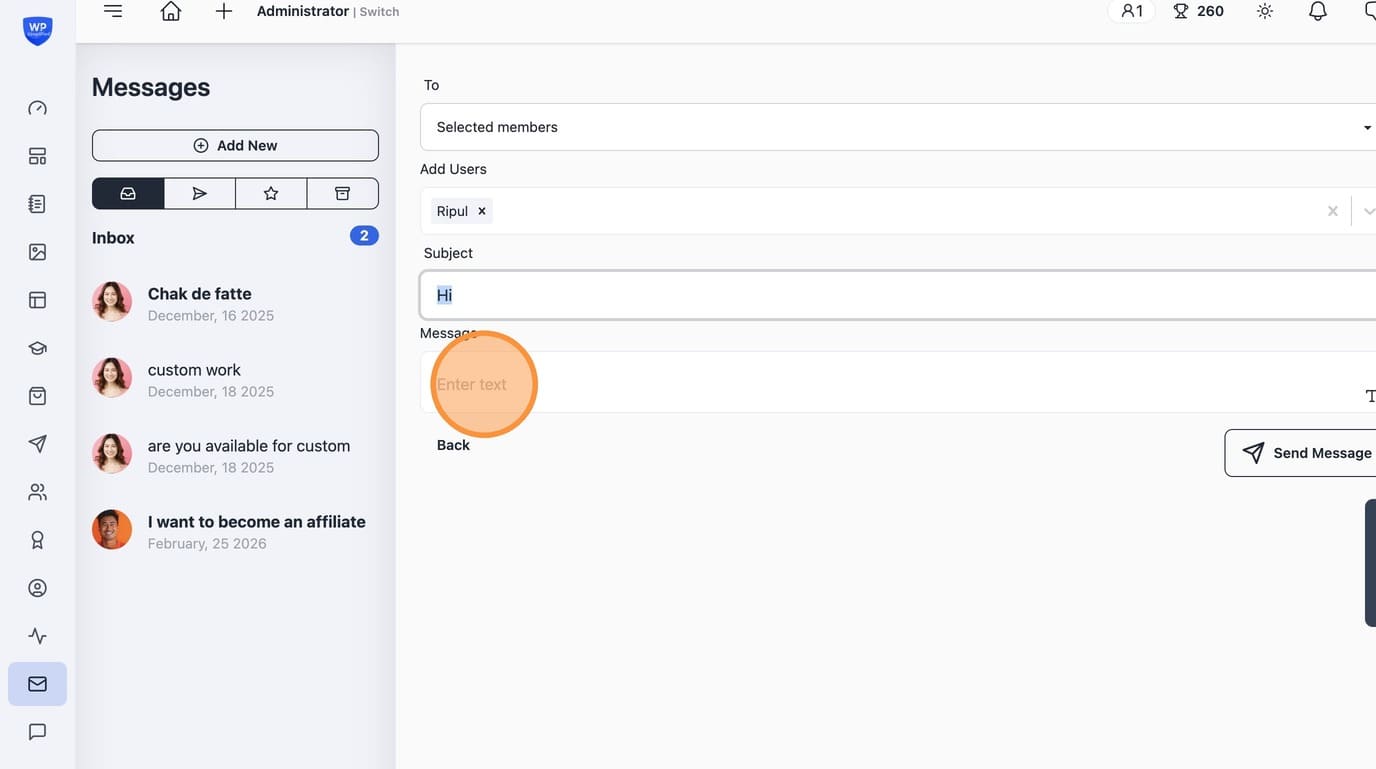
20. Click this icon to open full text editor
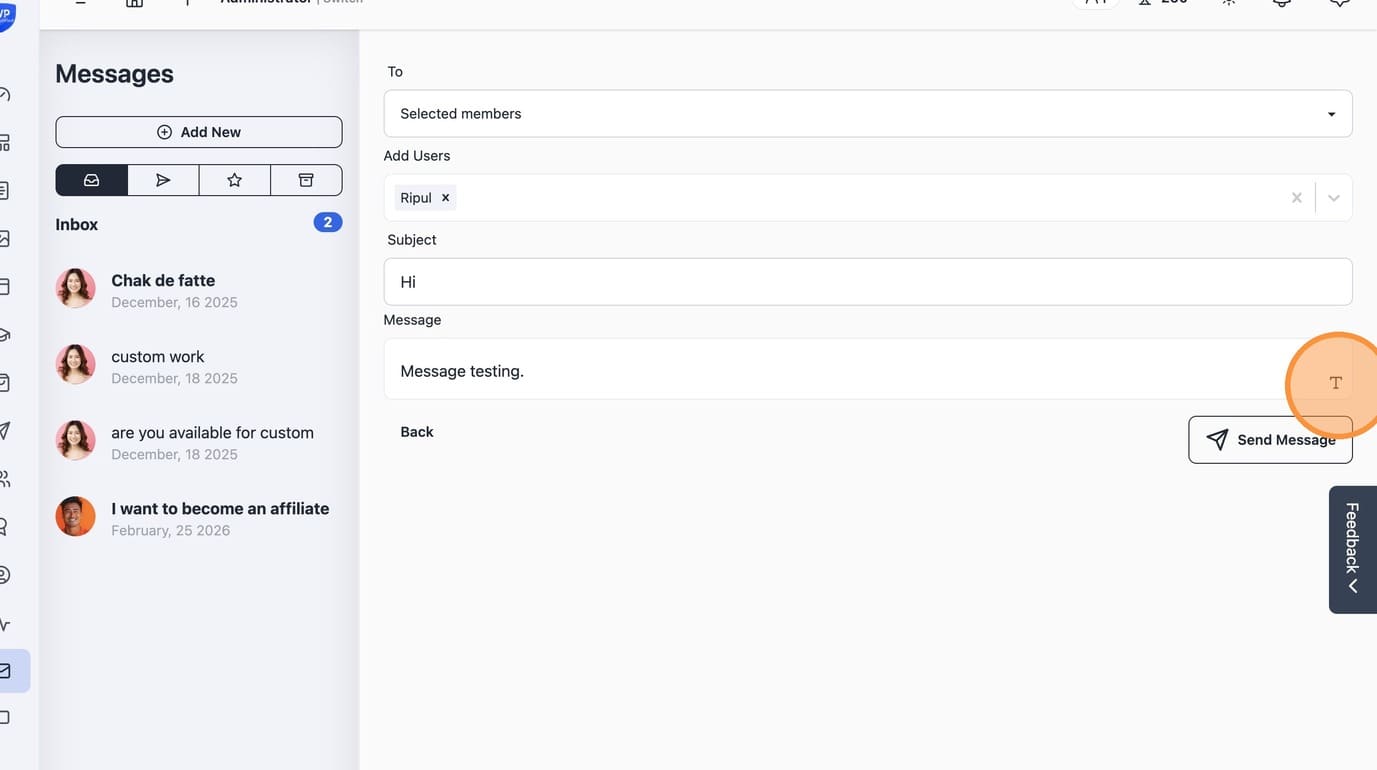
21. Enter your message
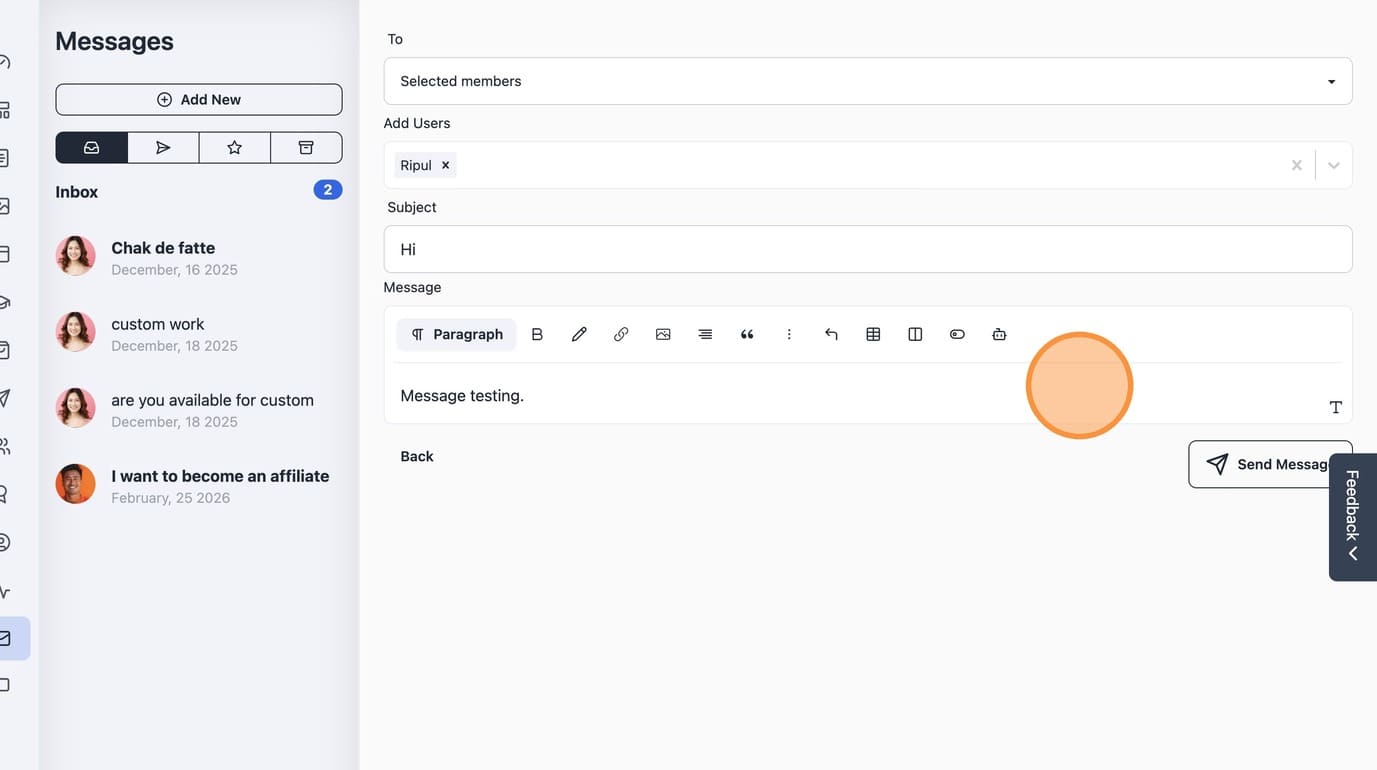
22. Click "Send Message" to send the message
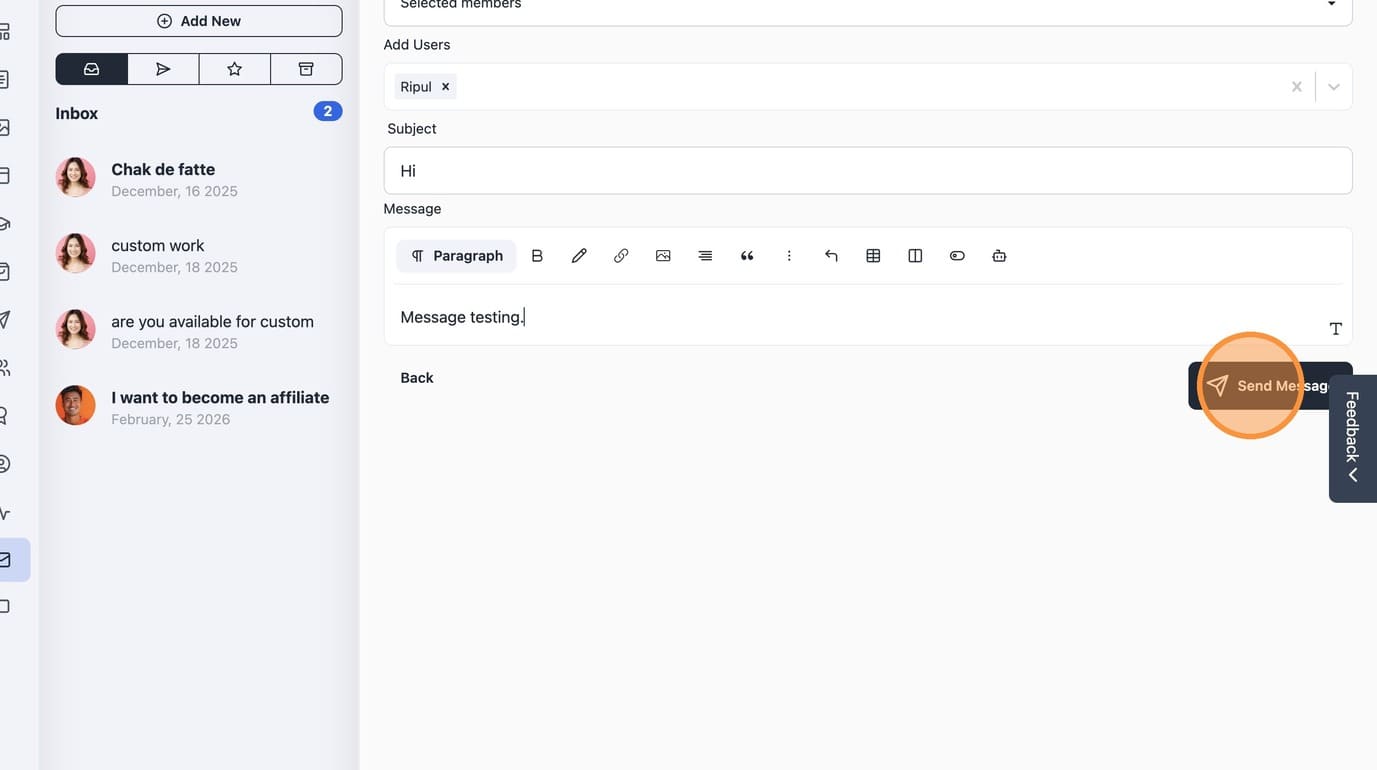
23. The message would show up in your box.