- About
- Objective
- Features
- Documentation
- Documentation Builder
- Setup
- Setup Domain
- Page Builder
- BYOS
- LMS
- About LMS
- Creating Courses
- Course Management
- CMS
- Site Features
- Posts
- Media
- Live Customizer
- Workshops
- Zoom Meetings in AcademyLauncher
- Google Meet in Workshops & Google login
- Community
- Community features
- Users
- eCommerce
- Products
- Memberships
- Orders
- Subscriptions
- Payments
- Configuring Stripe
- Payment Settings
- Configuring Razorpay
- Reports
- Dashboard
- Course reports
- Administrator
- Policy
- Privacy Policy
- FAQ
- Default Storage
- Setting up site logo, title
- Customize Dashboard Menu
- Account
- Account workspace overview
- Manage plan, imports, policies, and ownership
- Manage workspace features
- Manage domains, URLs, and sitemap
- Manage data and privacy requests
- Configure role navigation
- Configure dashboard layout
Configure Site Menus
Learn how to effectively organize your website navigation by adding and customizing menu items. This guide provides a step-by-step walkthrough for linking external pages, internal content, and categories to create a user-friendly layout.
1. Navigate to Website Live customizer in your Dashboard
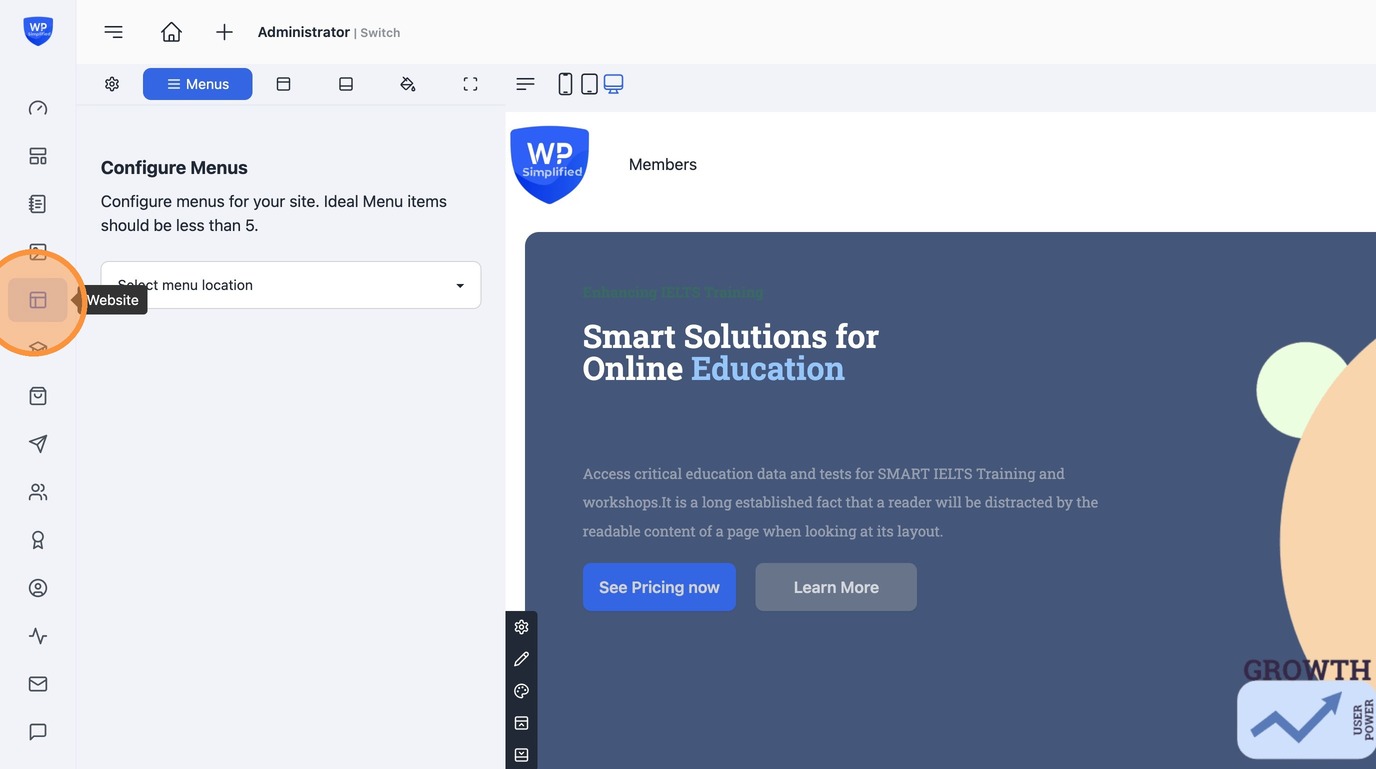
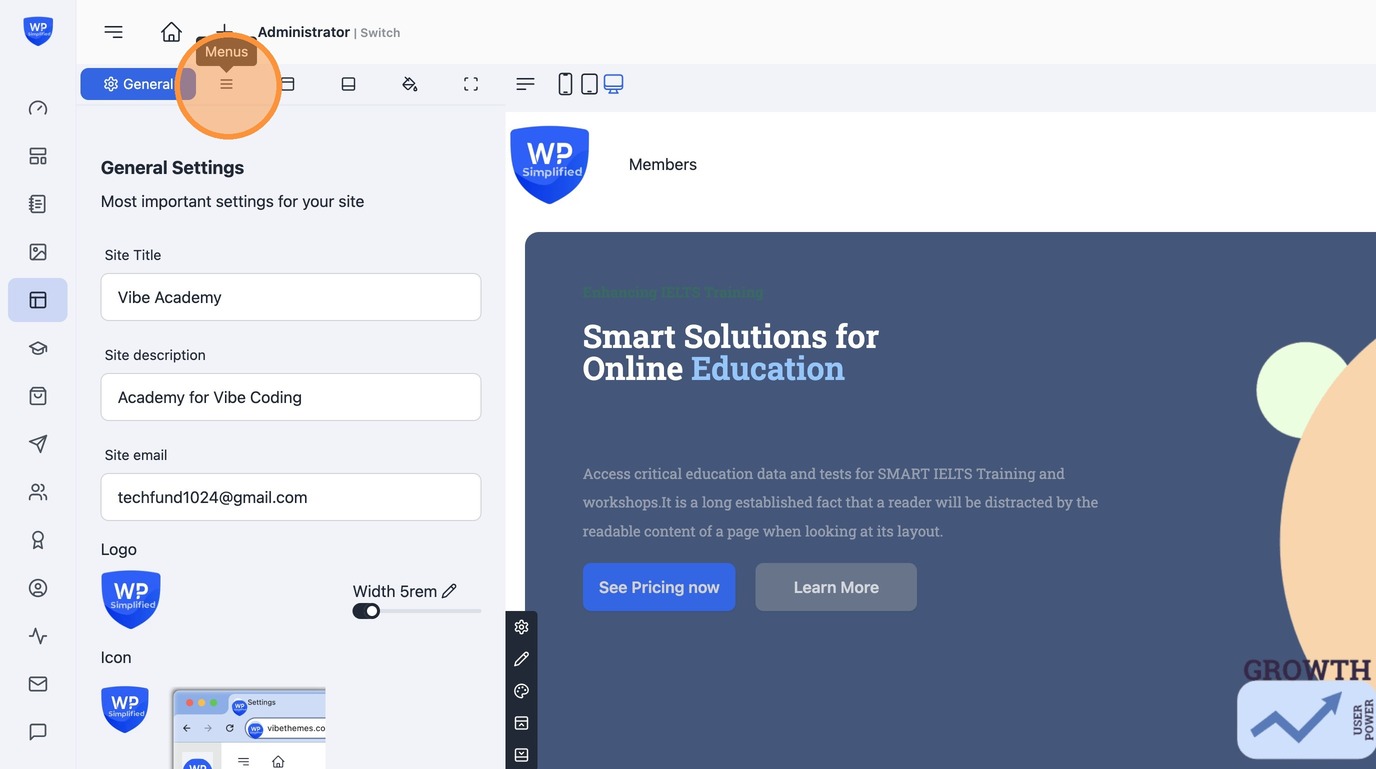
2. Click on Menus icon to start creating or editing menu for your site
3. You can setup Menus for various locations. The main menu is the Header location.
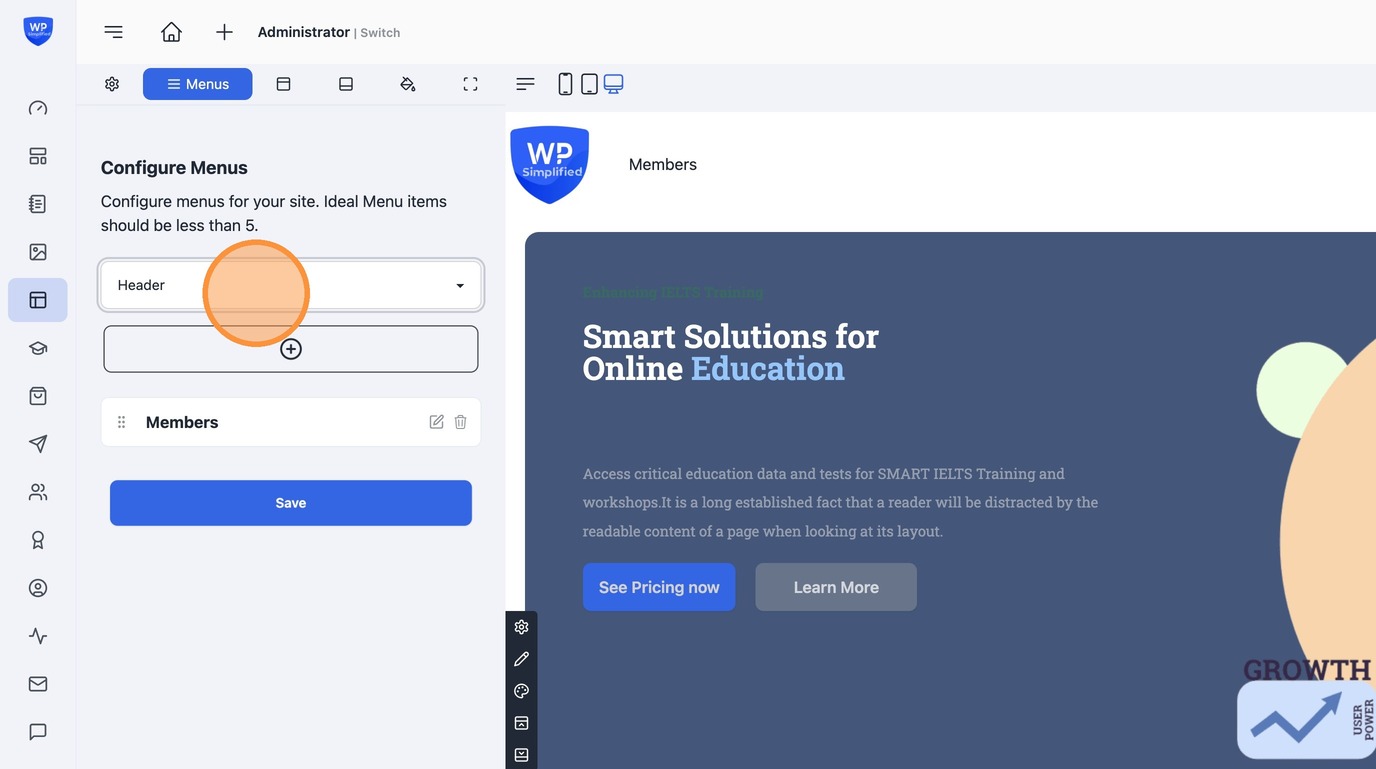
4. Click Plus icon to add new menu item
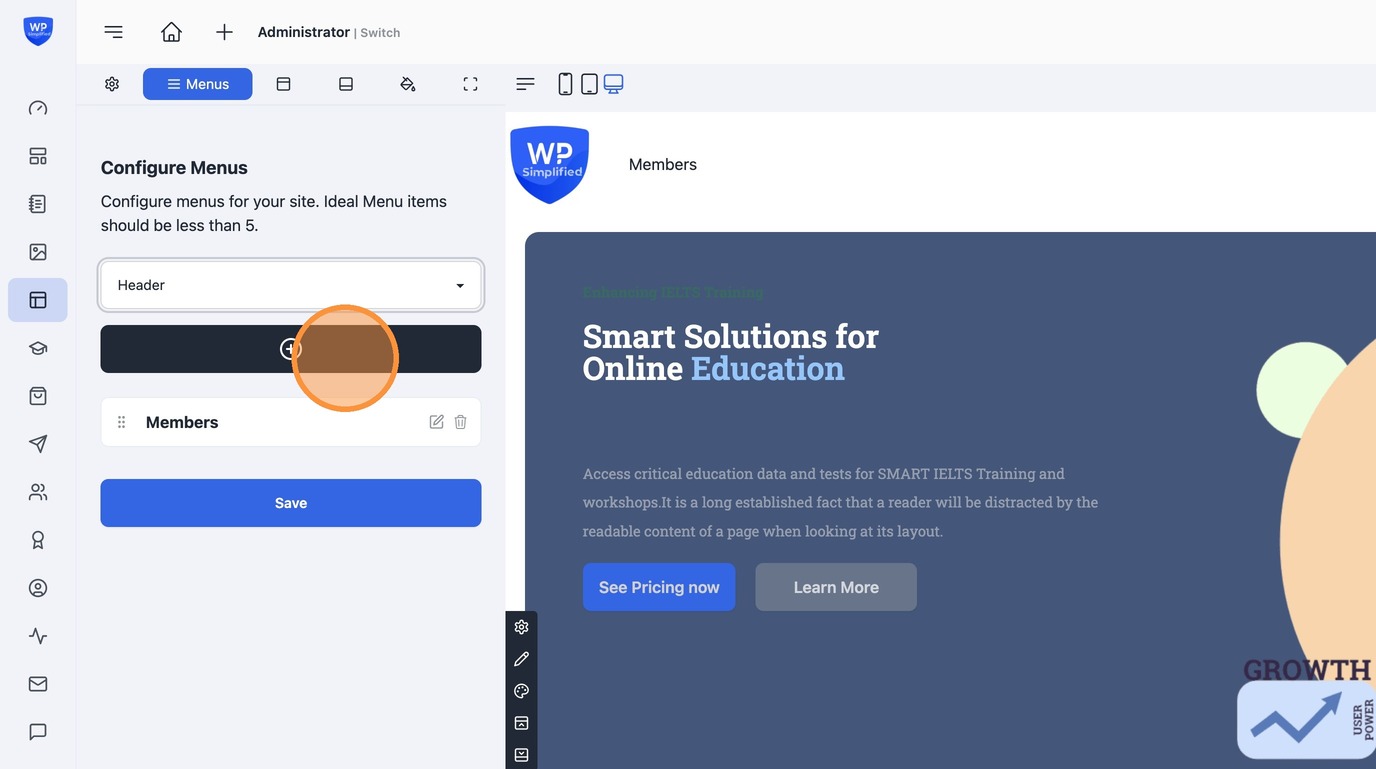
5. You now need to select the type of Menu item you want to add to the menu.
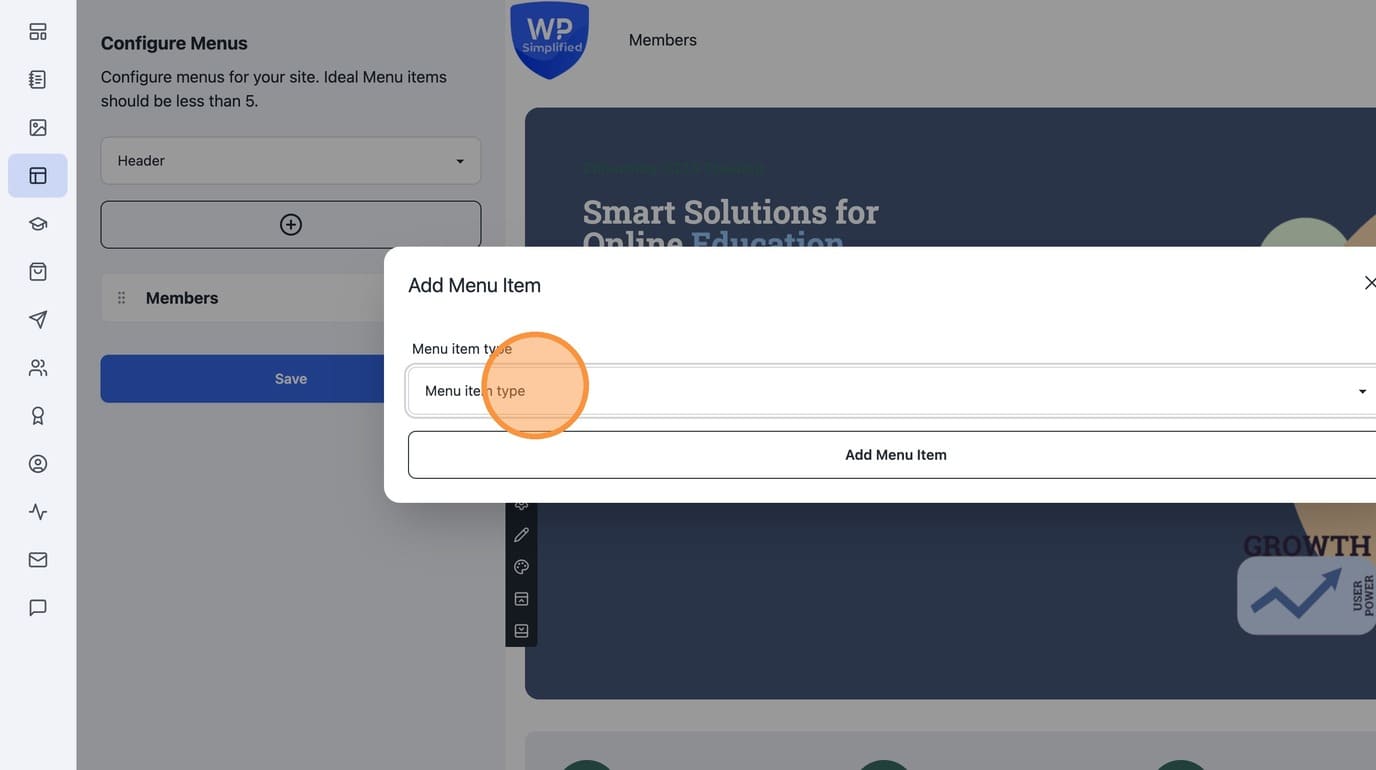
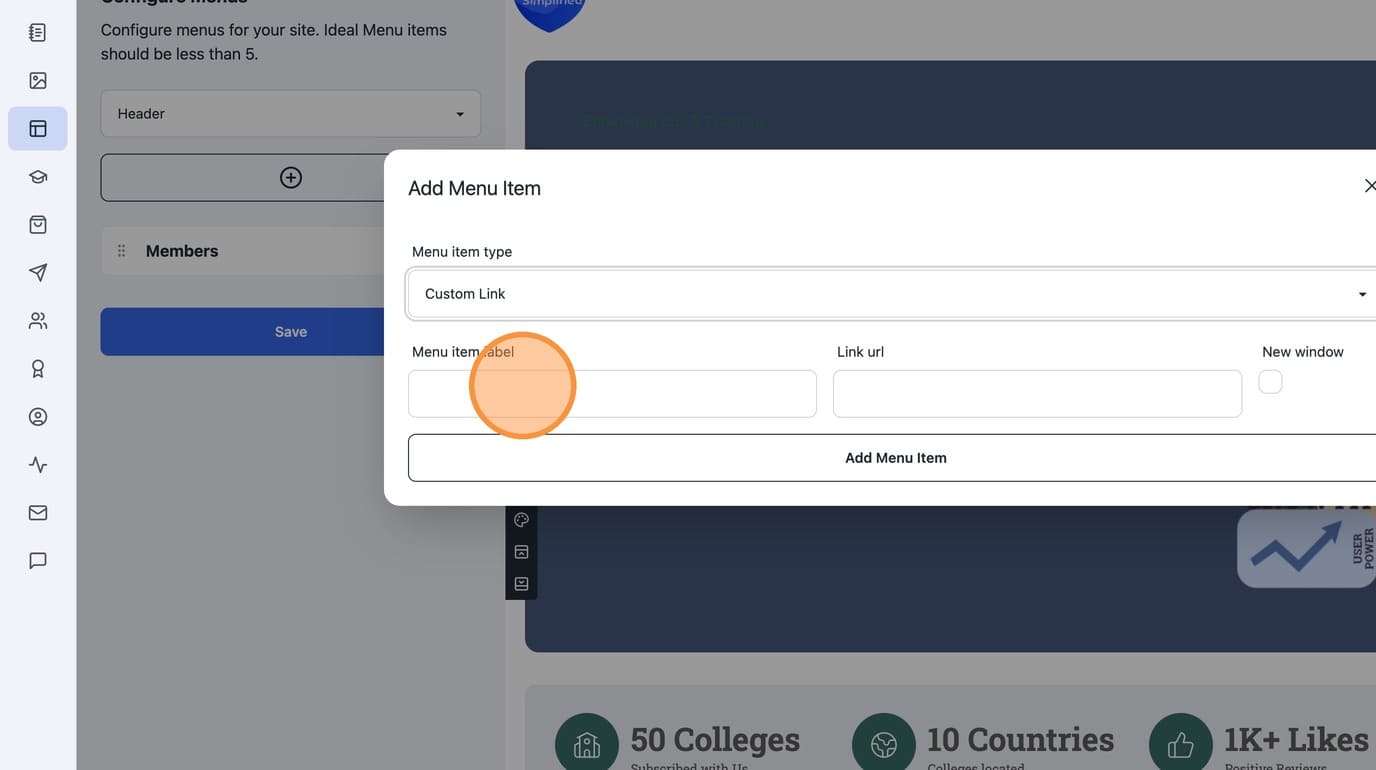
6. Custom Link : This menu item is a direct link.

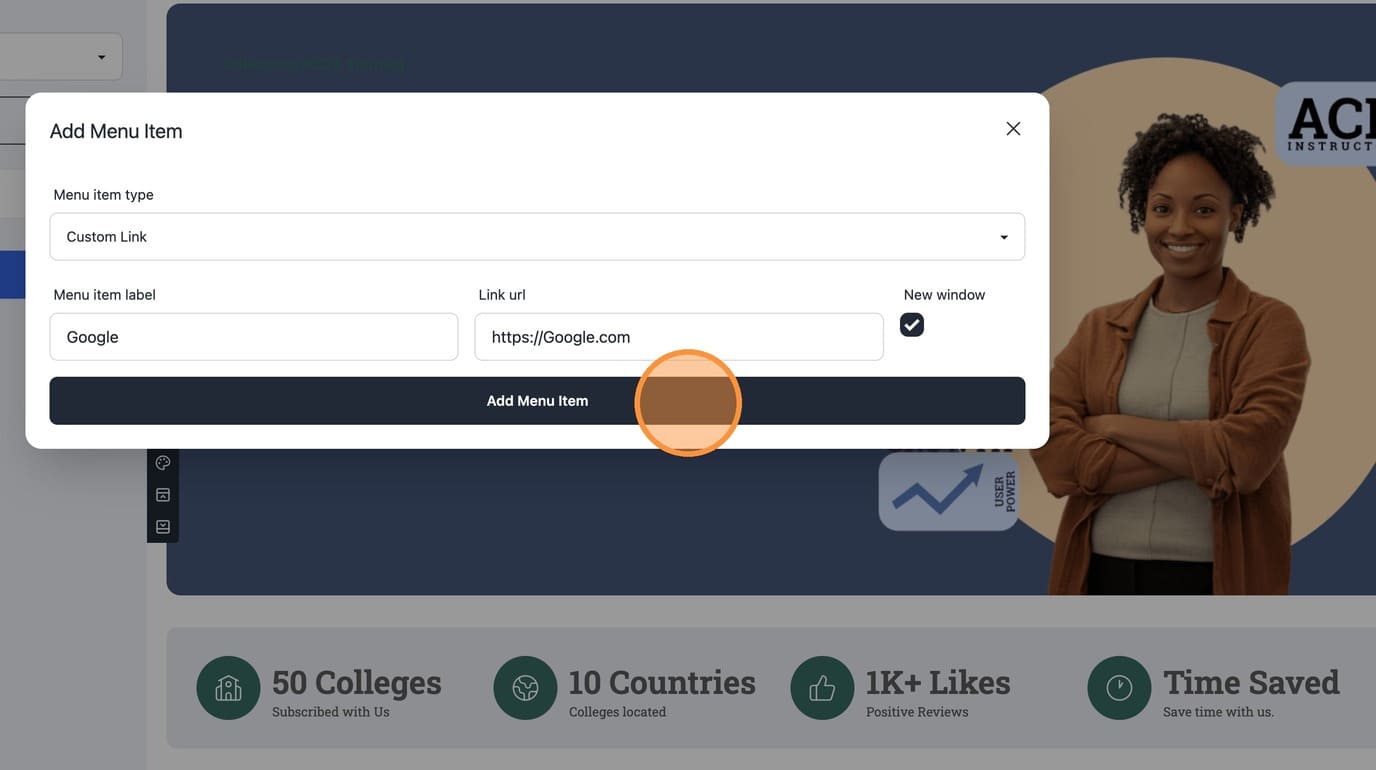
7. Add a Label for the menu, link url and select open in new window if required
8. Click "Add Menu Item" to add to the menu
9. Add more items in the menu using the plus button
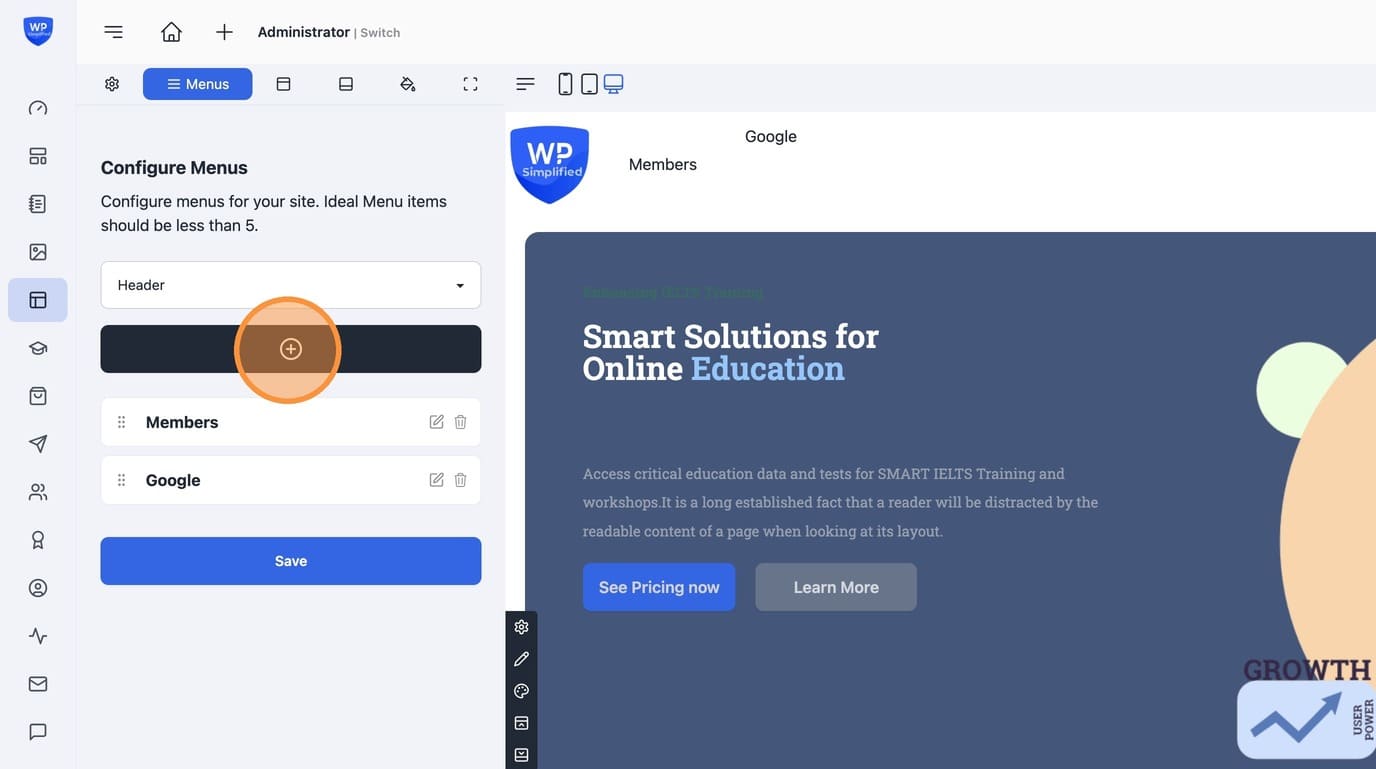
10. To add directories select "Directory" option.
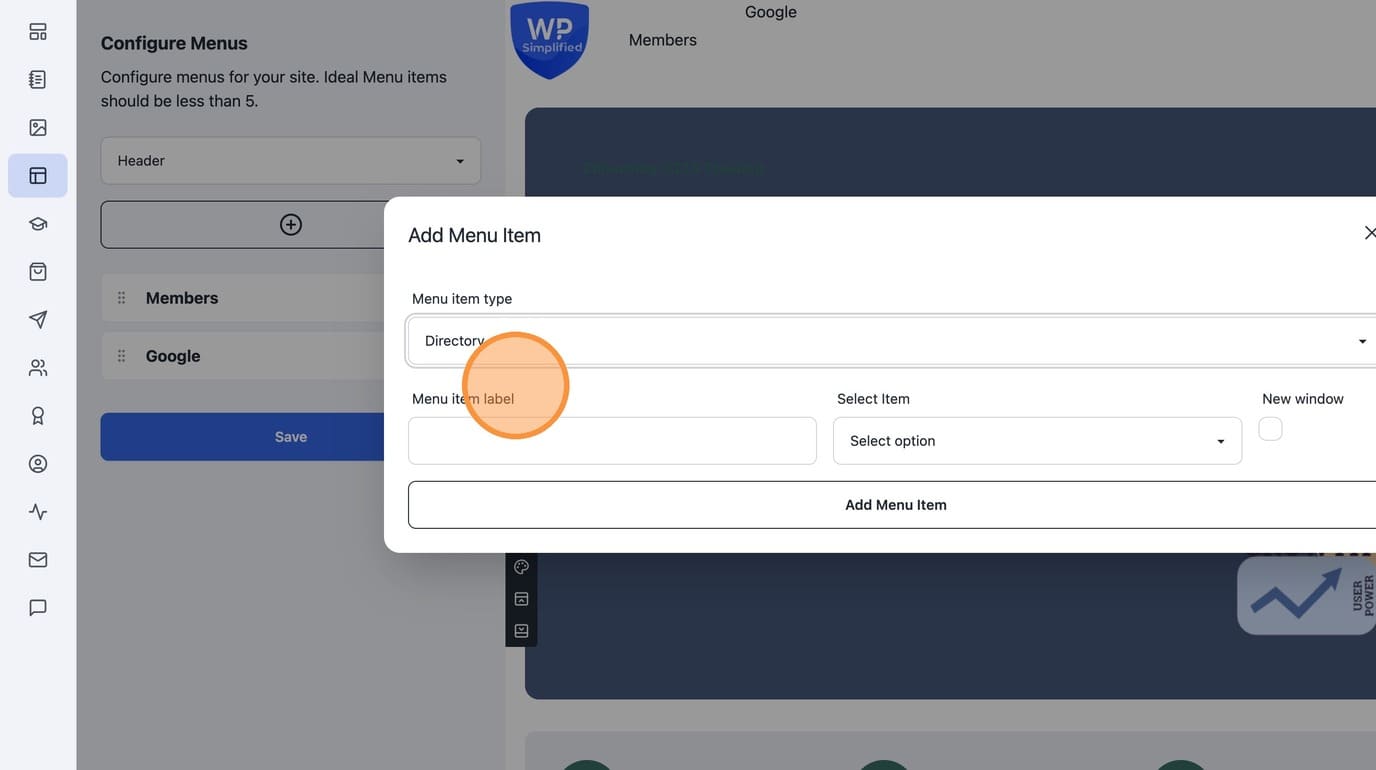
11. You can add the "Members" , "Courses", "Products", "Memberships", "Workshops" and "Communities" directories
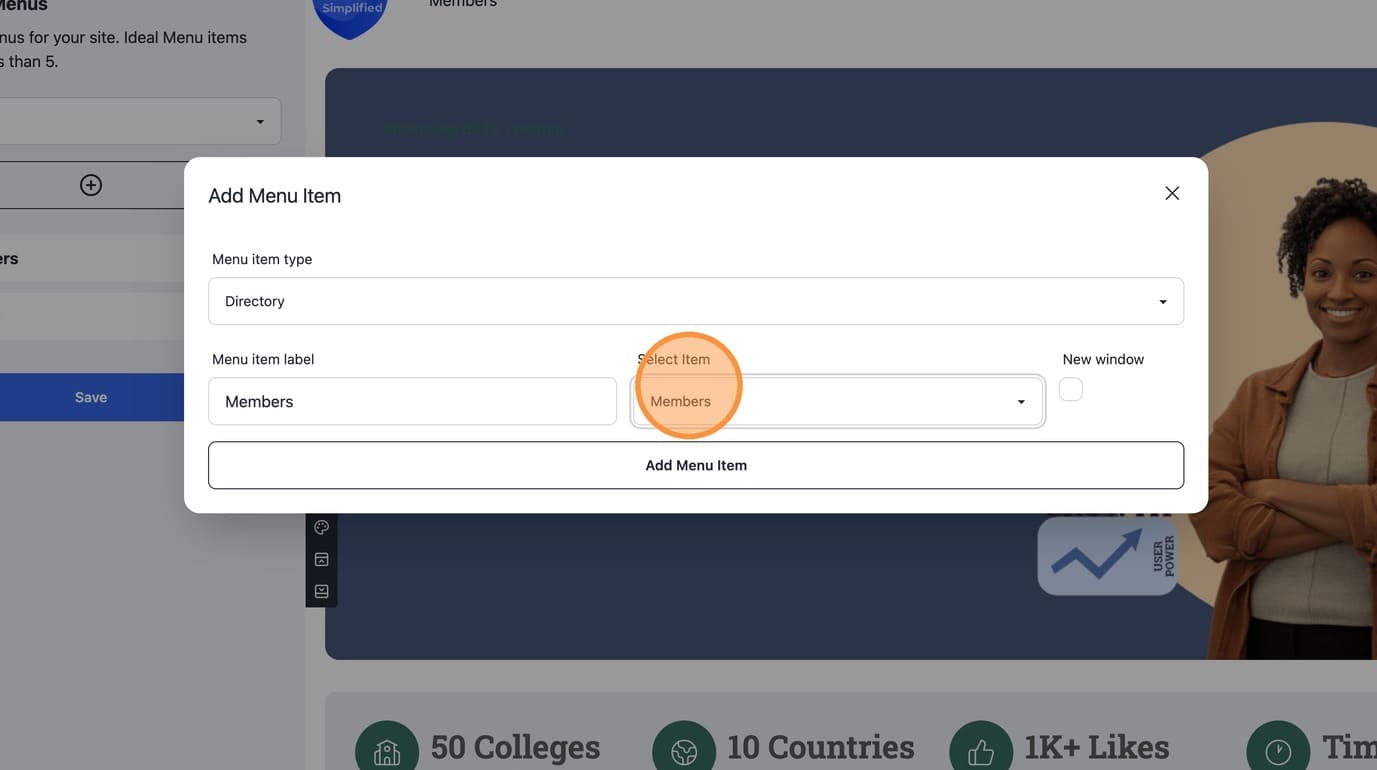
12. Use the Trash icon to remove menu items
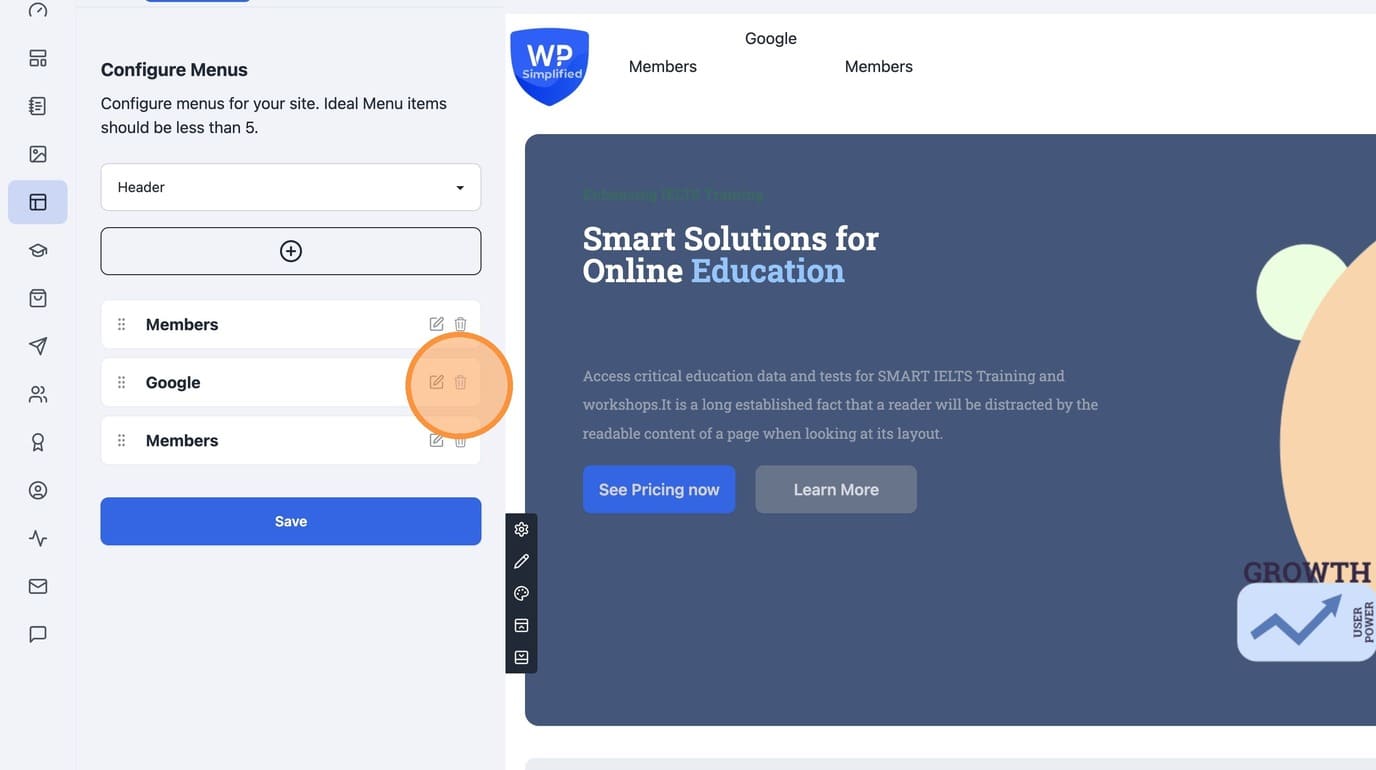
13. Use Edit icon to edit the item
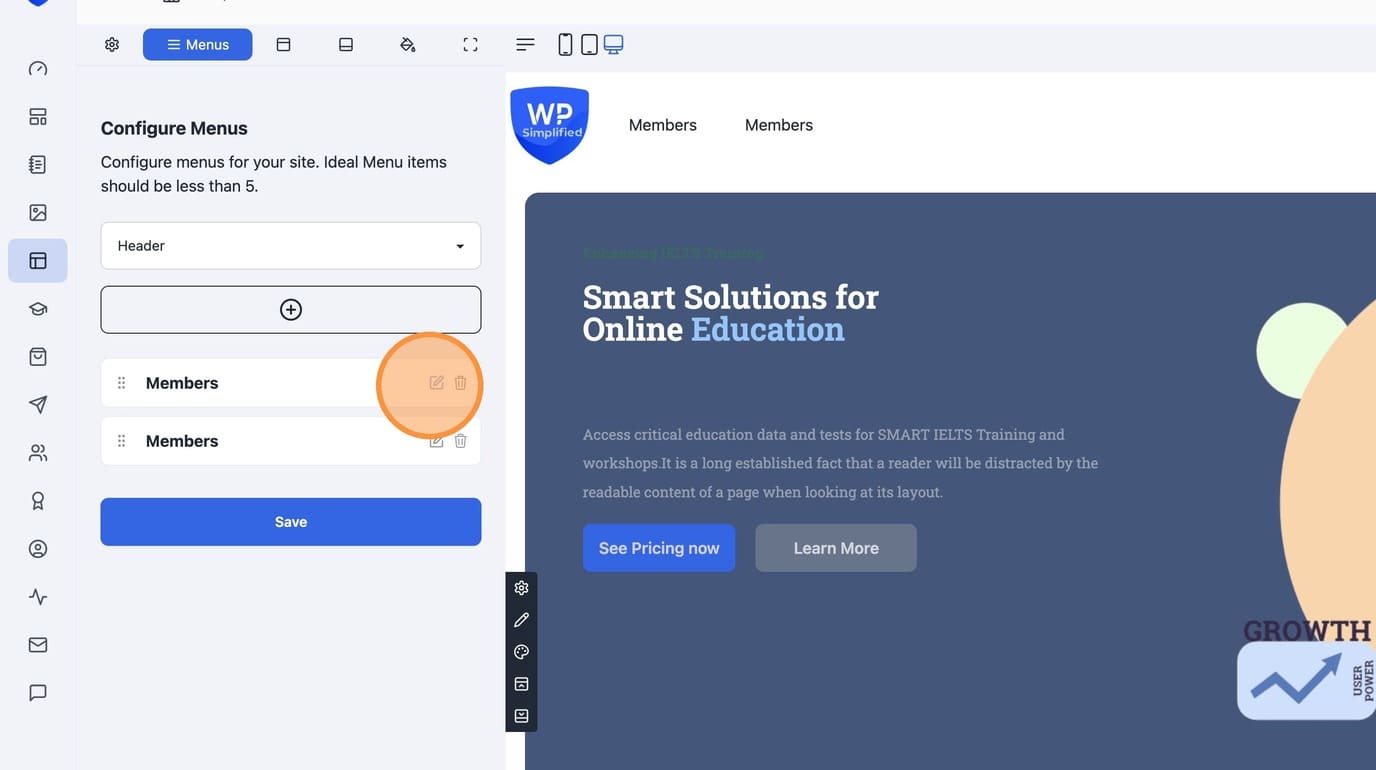
14. Relabel or change selected item
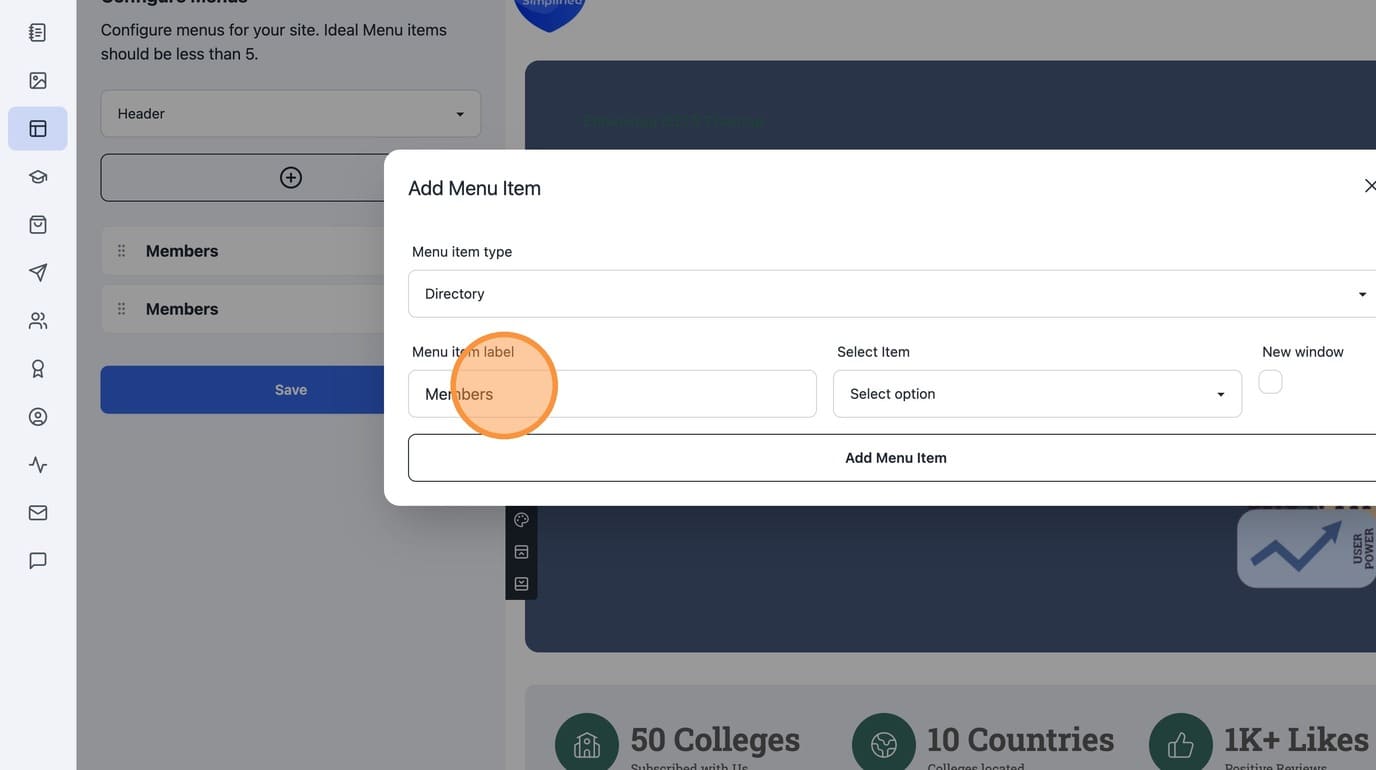
15. Select the "Select page" option.
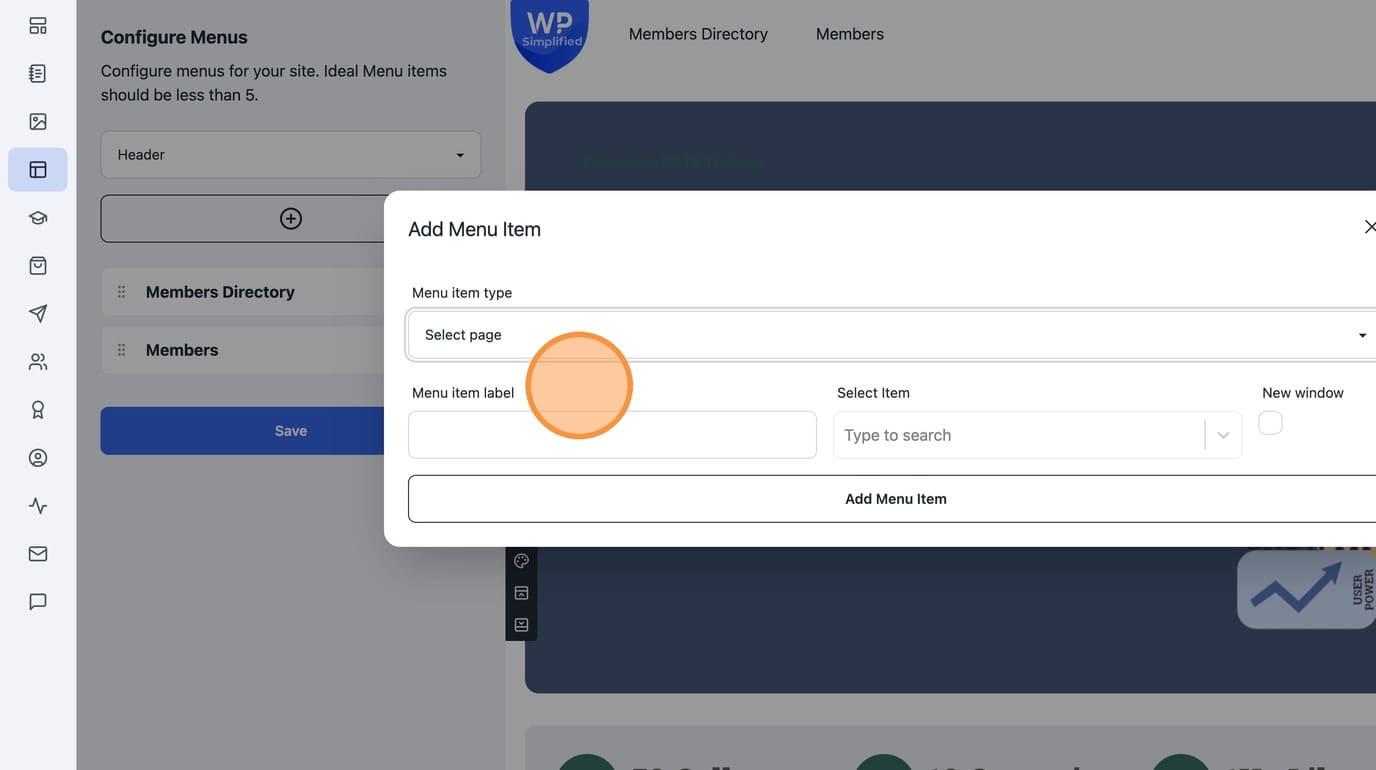
16. Search to add a page in the menu
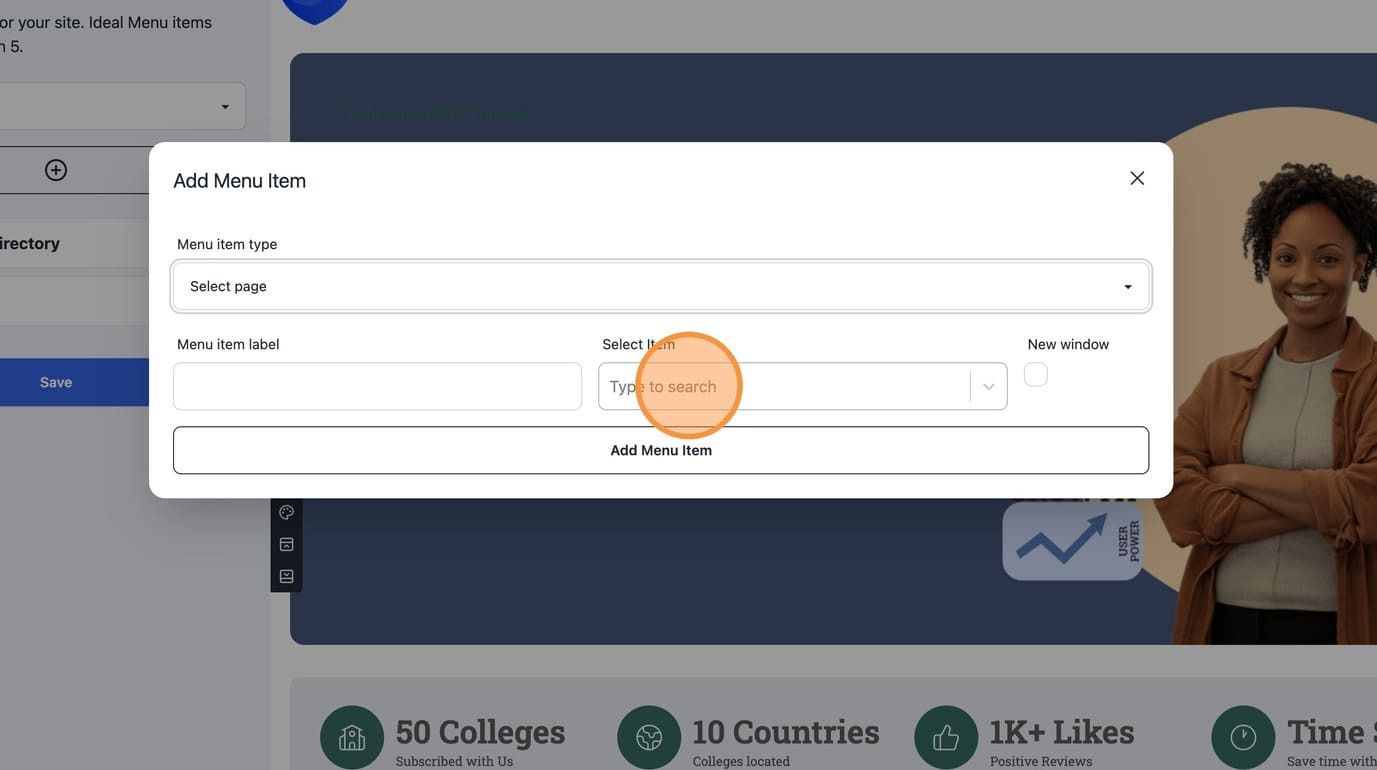
17. Select the page to add from search results
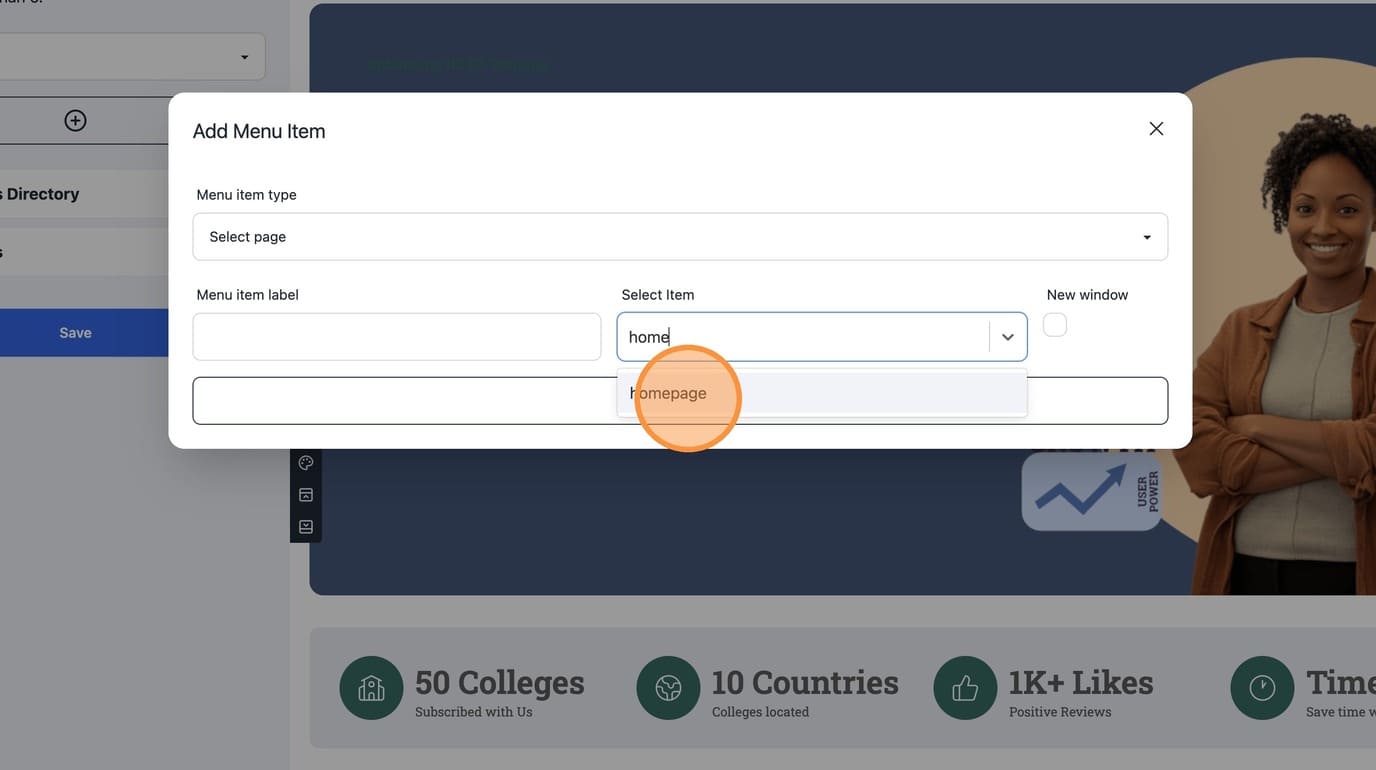
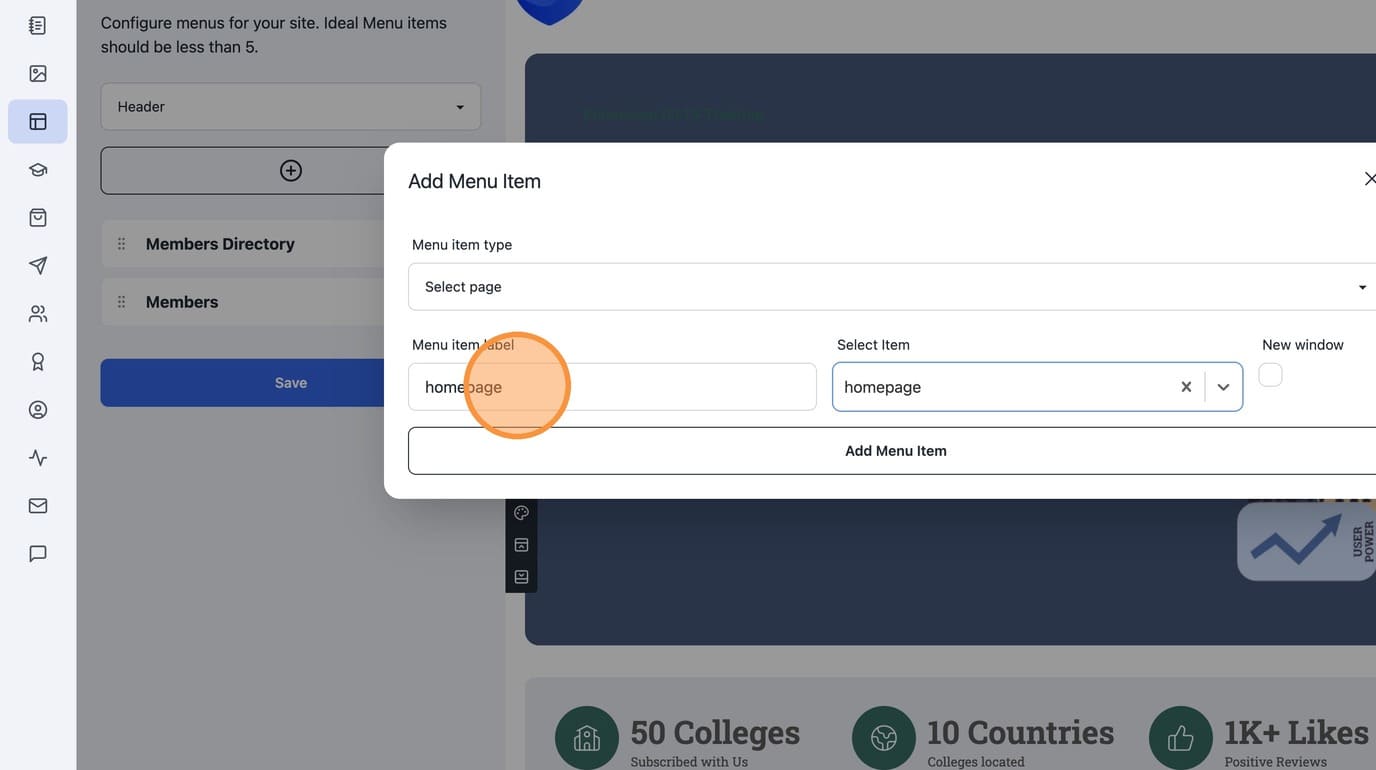
18. Page title is automatically applied as menu item label but you can change it.
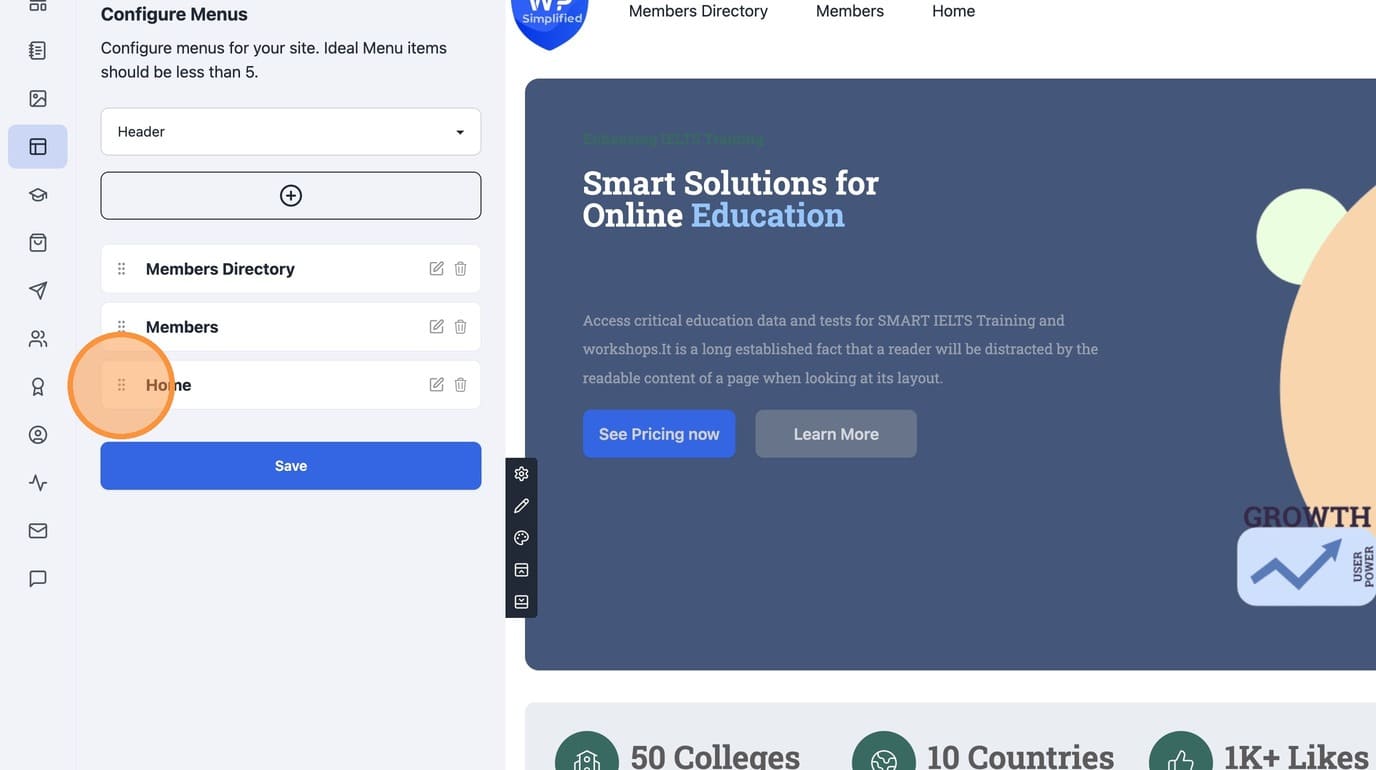
19. Use the Grid icon to drag and move the menu item in the menu
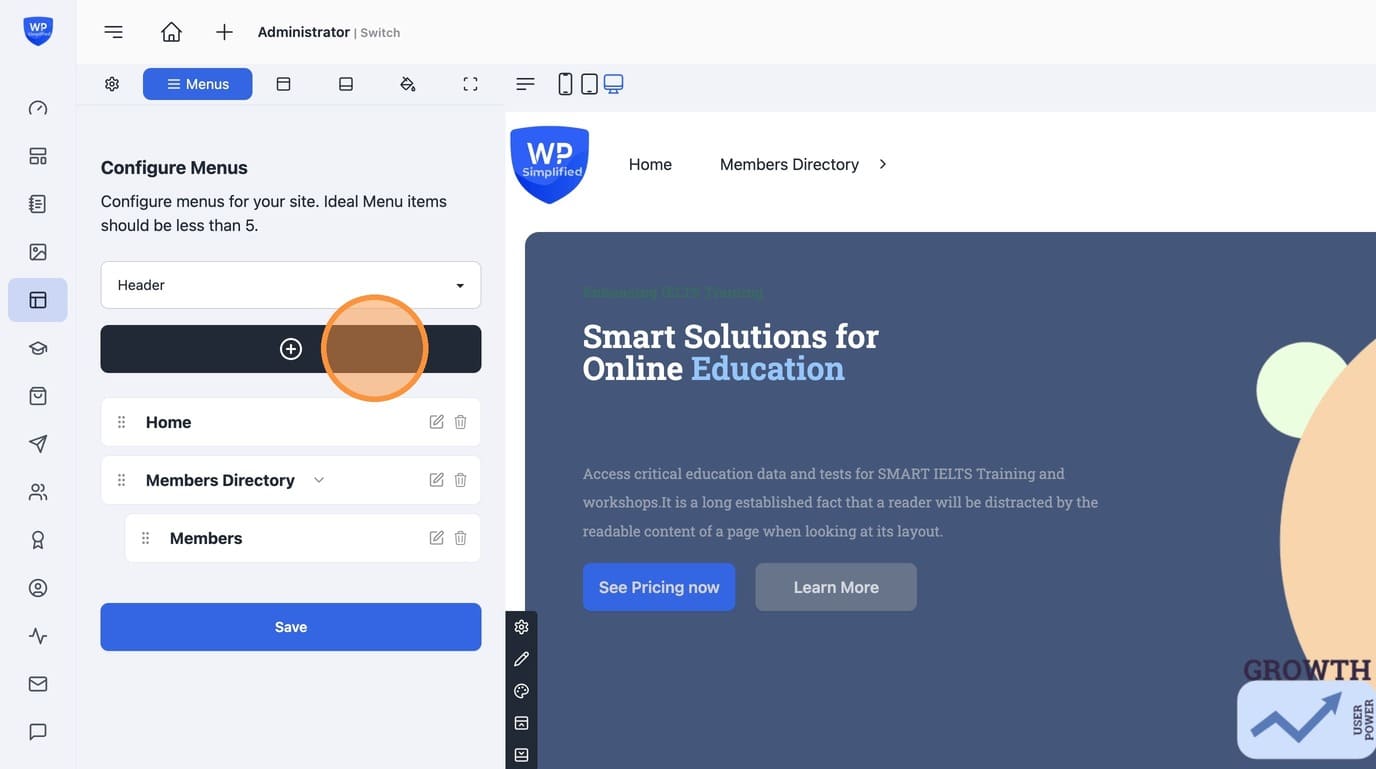
20. Drag below an item to set as child. Use the green guiding lines.
21. Select the "Courses" option.
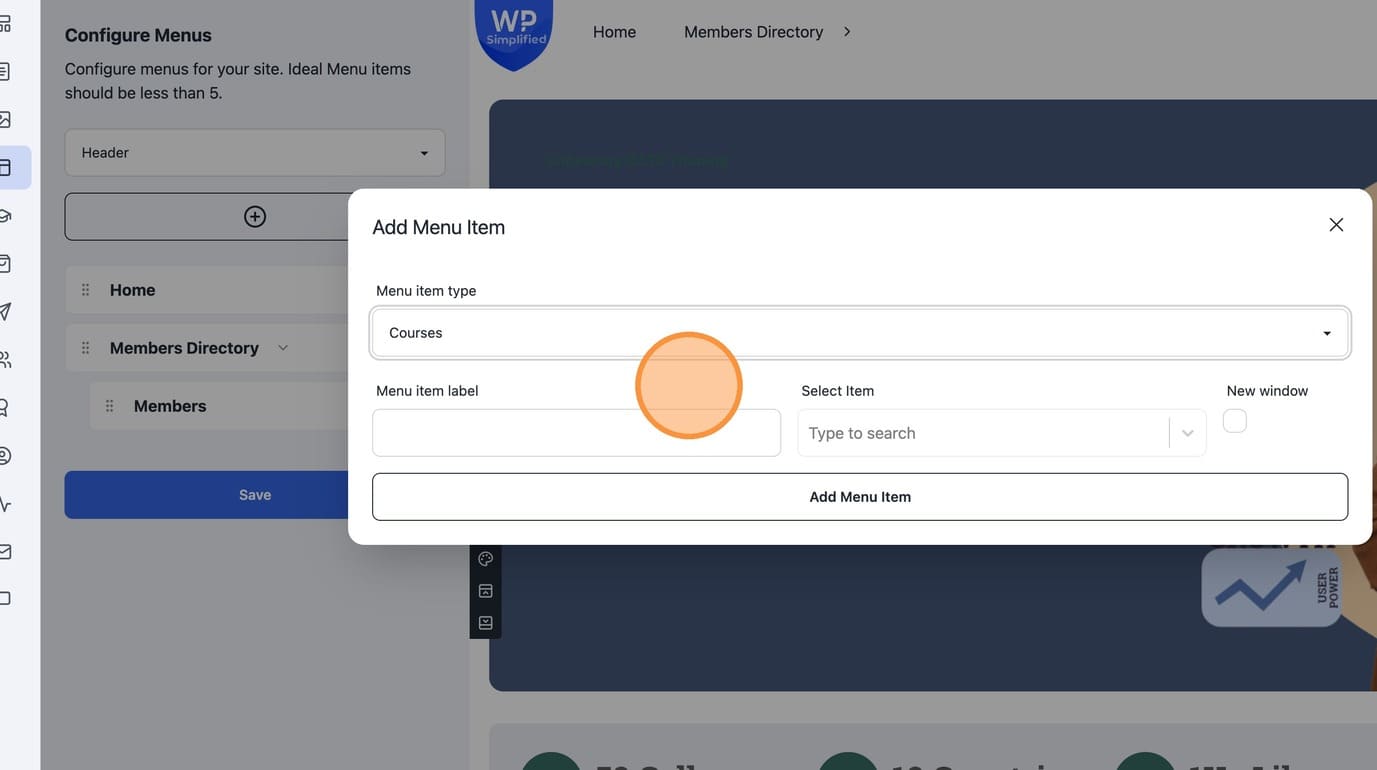
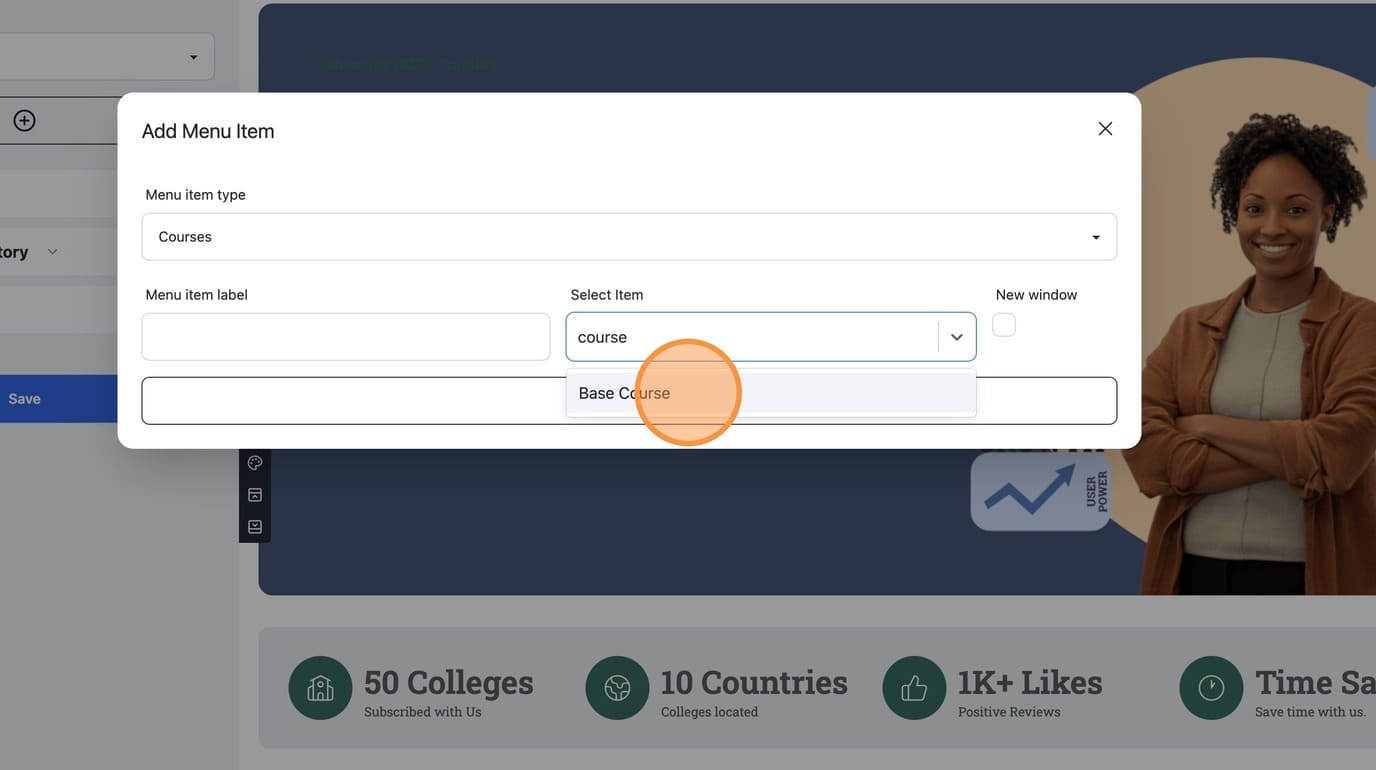
22. Search for course you want to add to menu.
23. Same way Select the "Products" option.
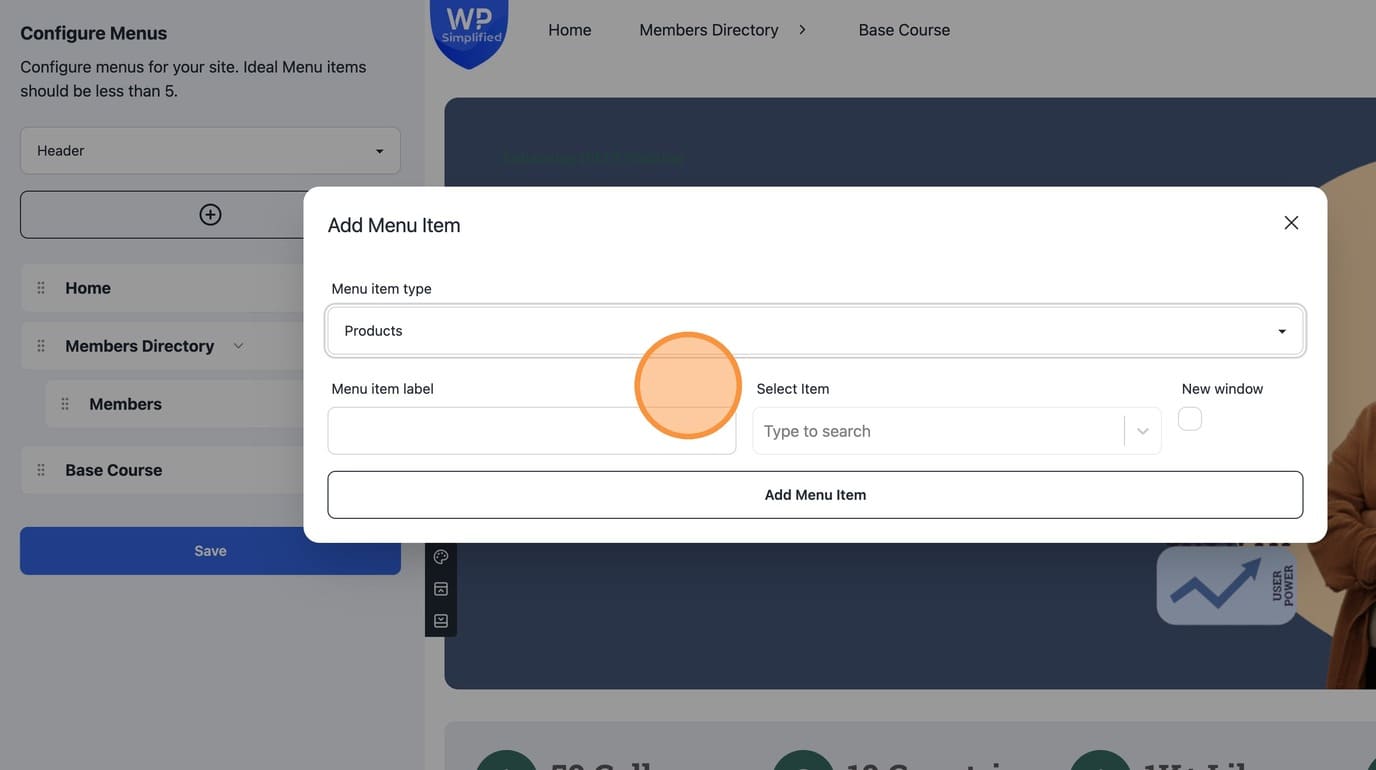
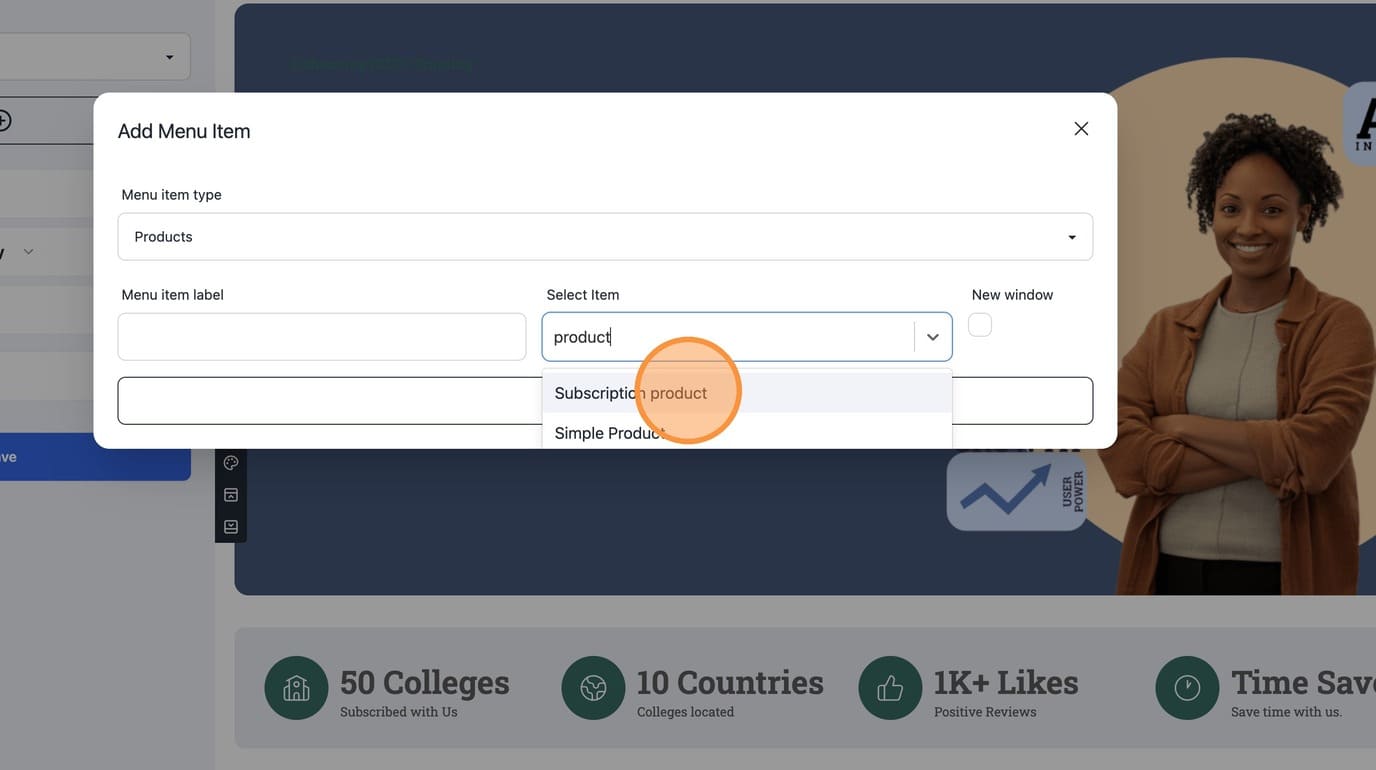
24. Search for the product and add to the menu item
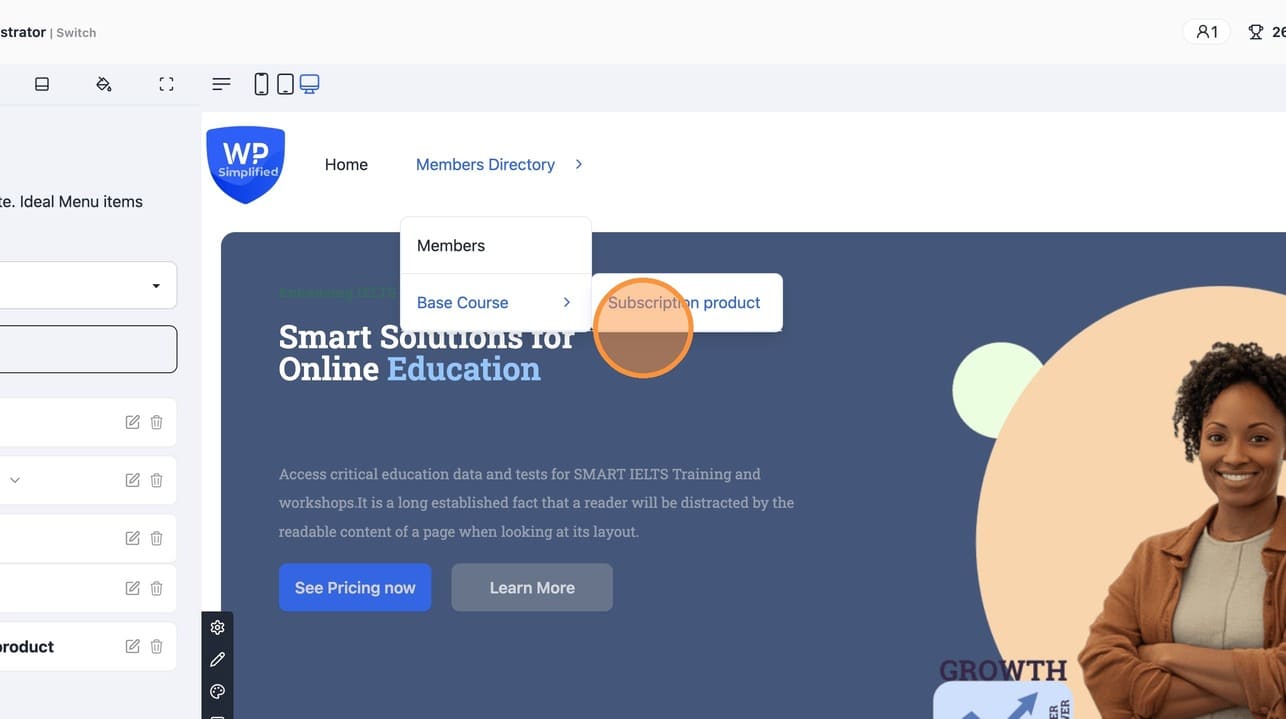
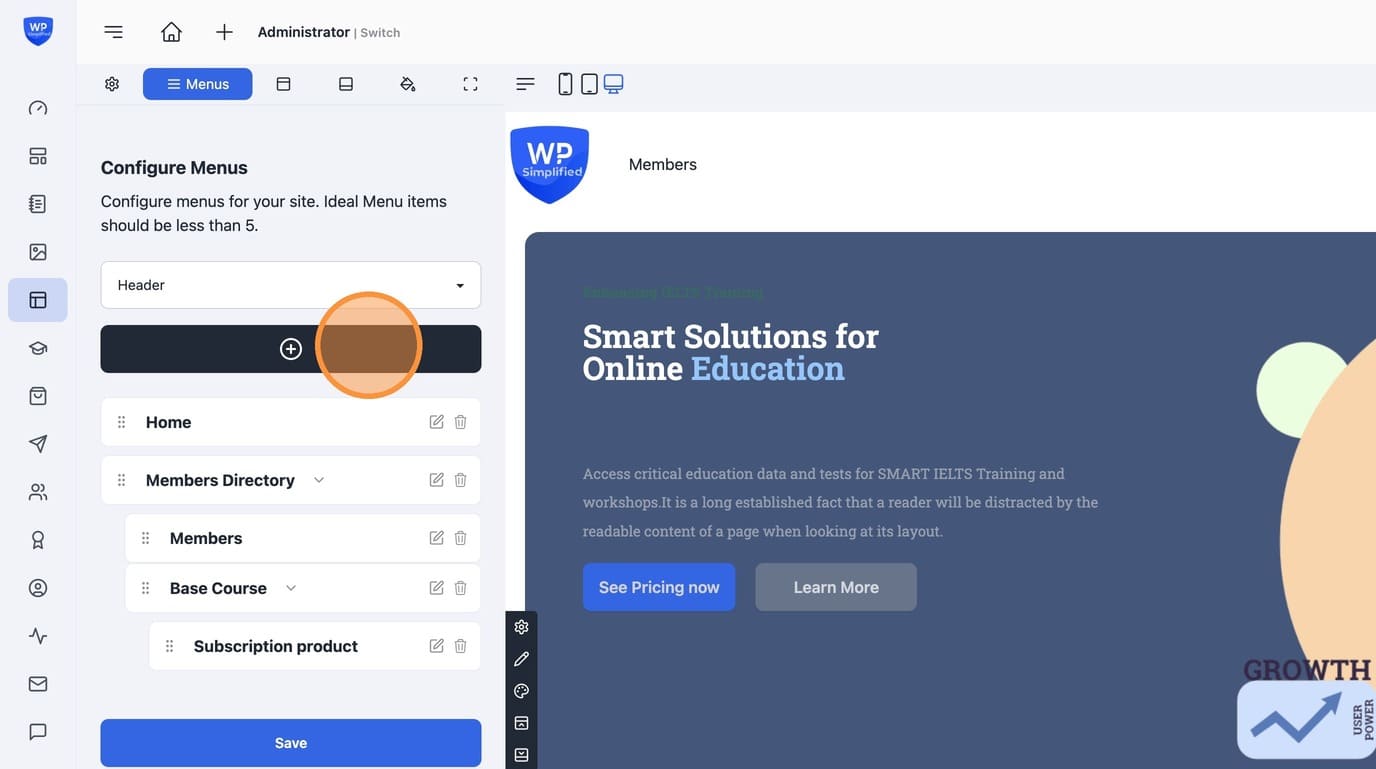
25. You can create unlimited nested menus
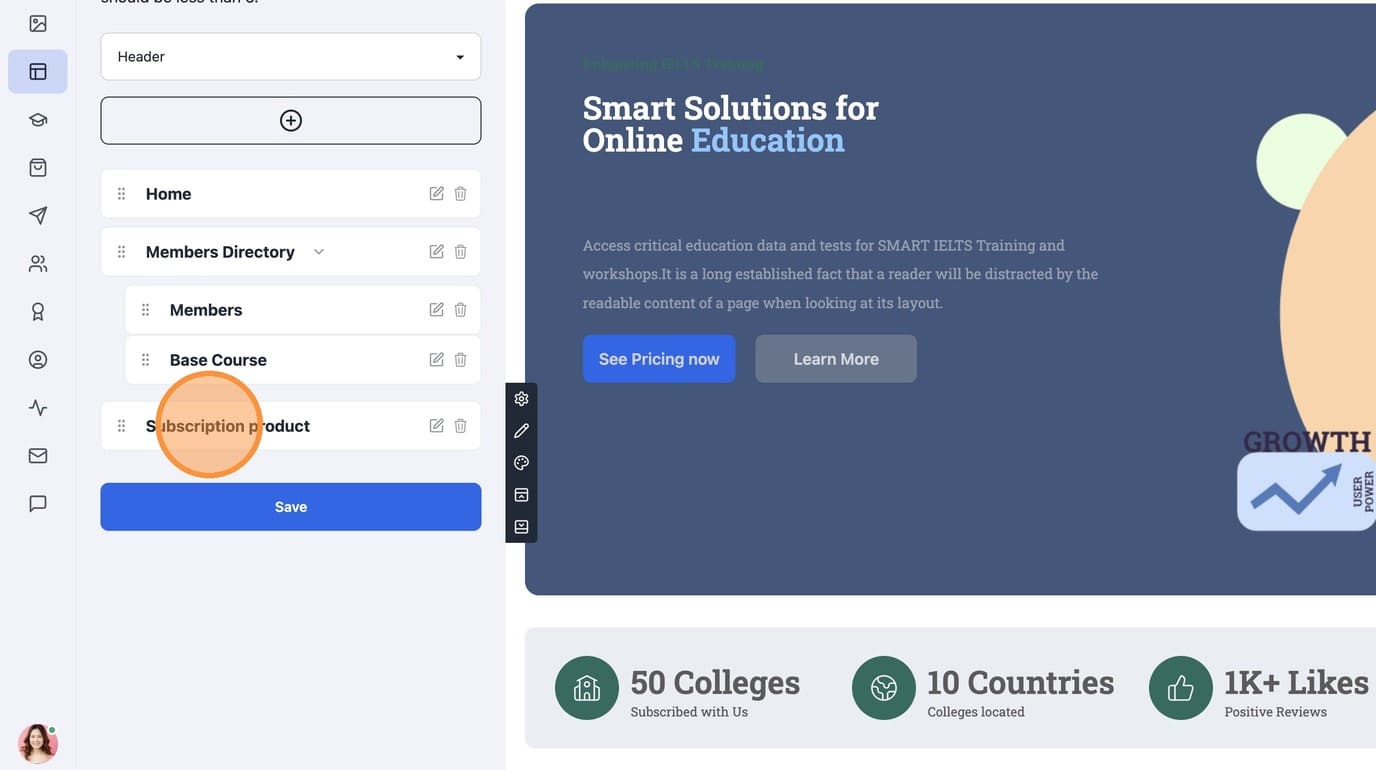
26. By simply Re-order menu items. Make sure yo clear the cache on the home page to rebuild the headers.
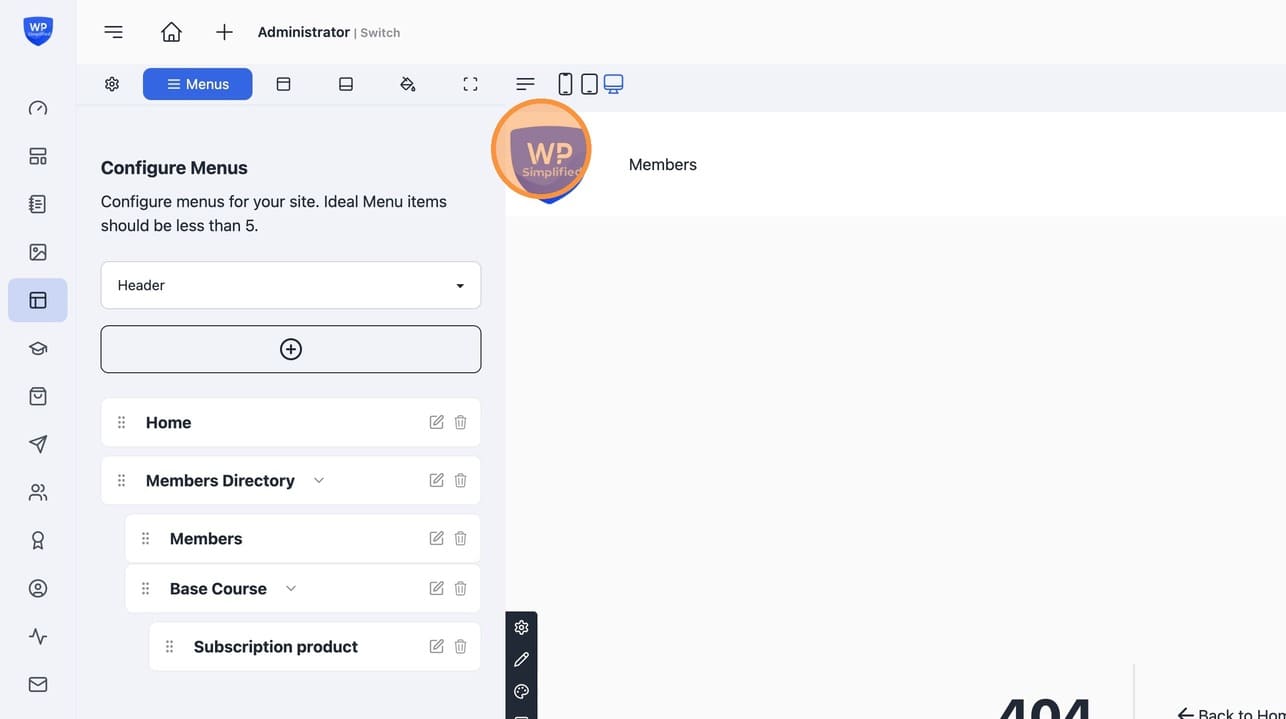
27. Multi-Level menu items
28. You can also add more items like
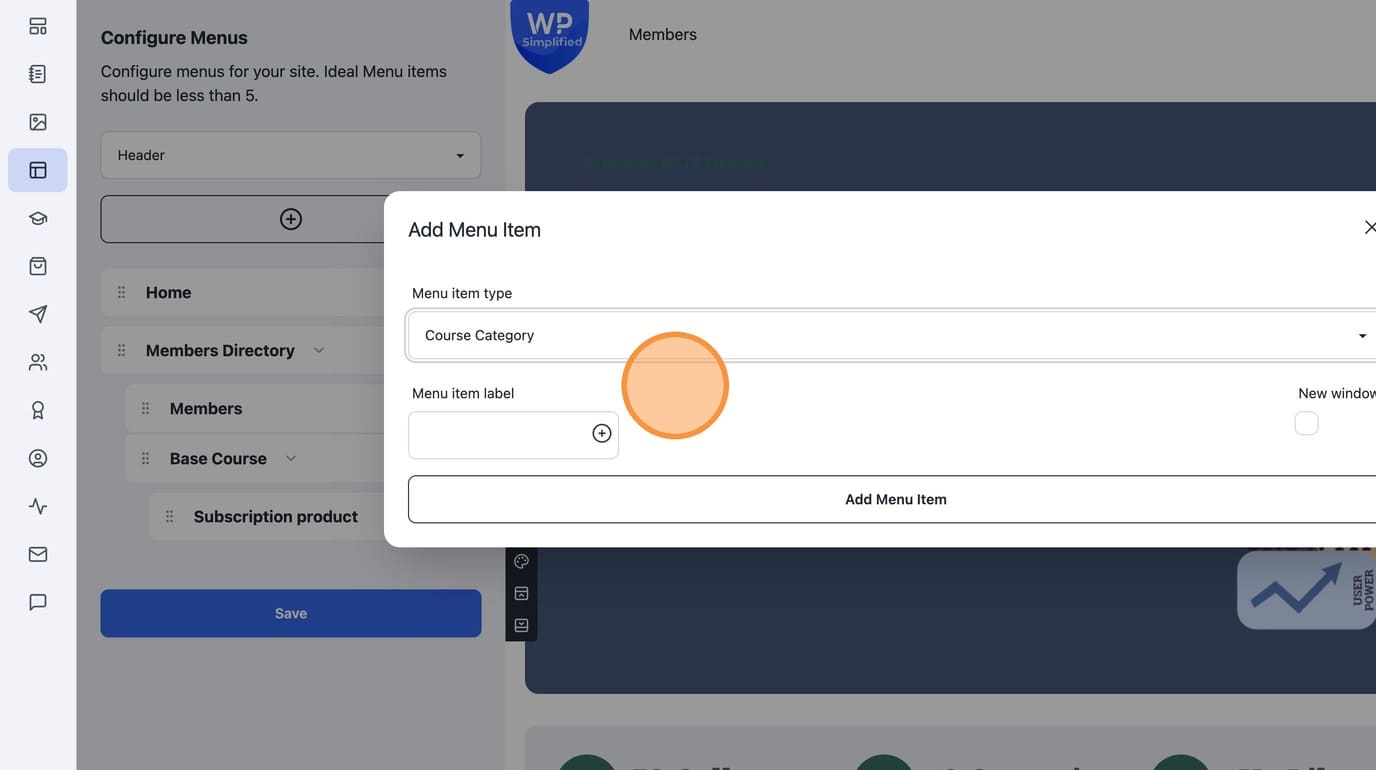
29. Select the "Course Category" option.
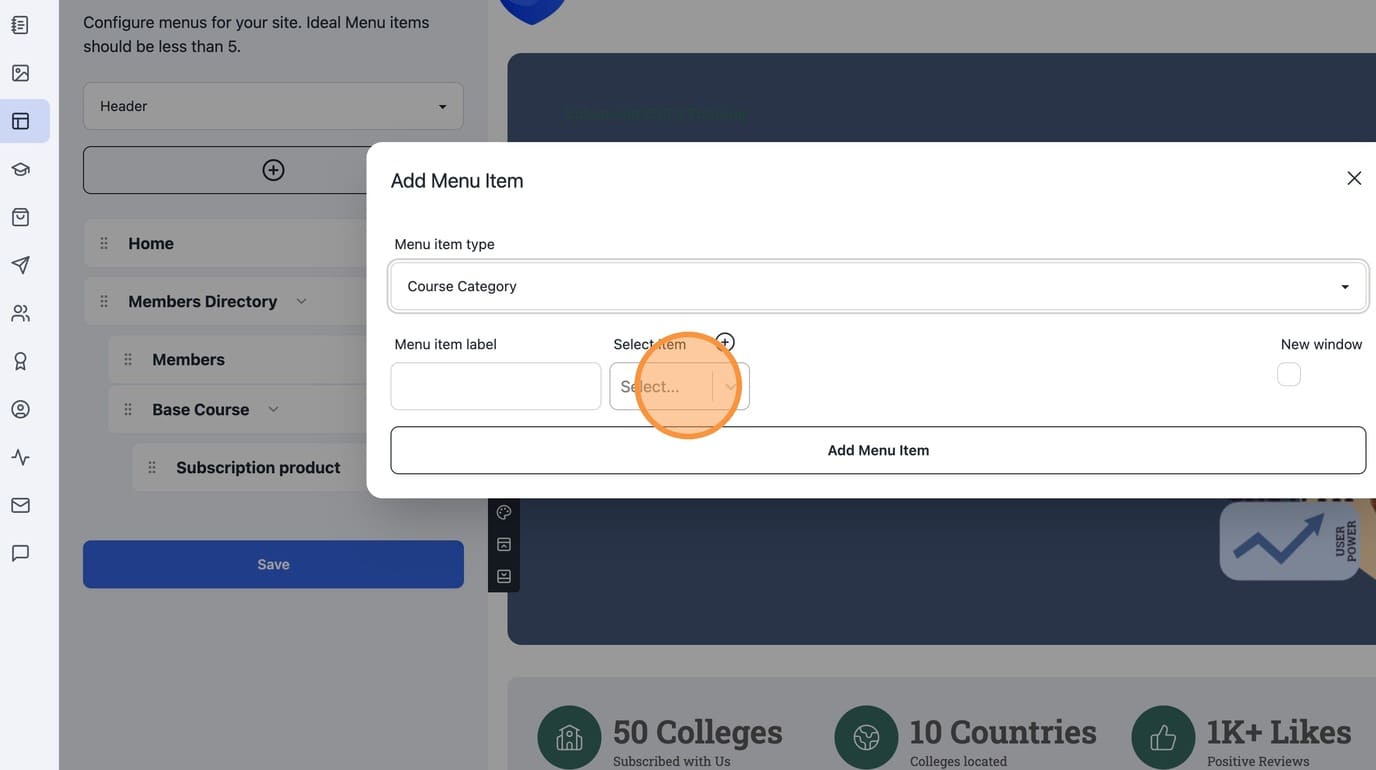
30. Course Categories
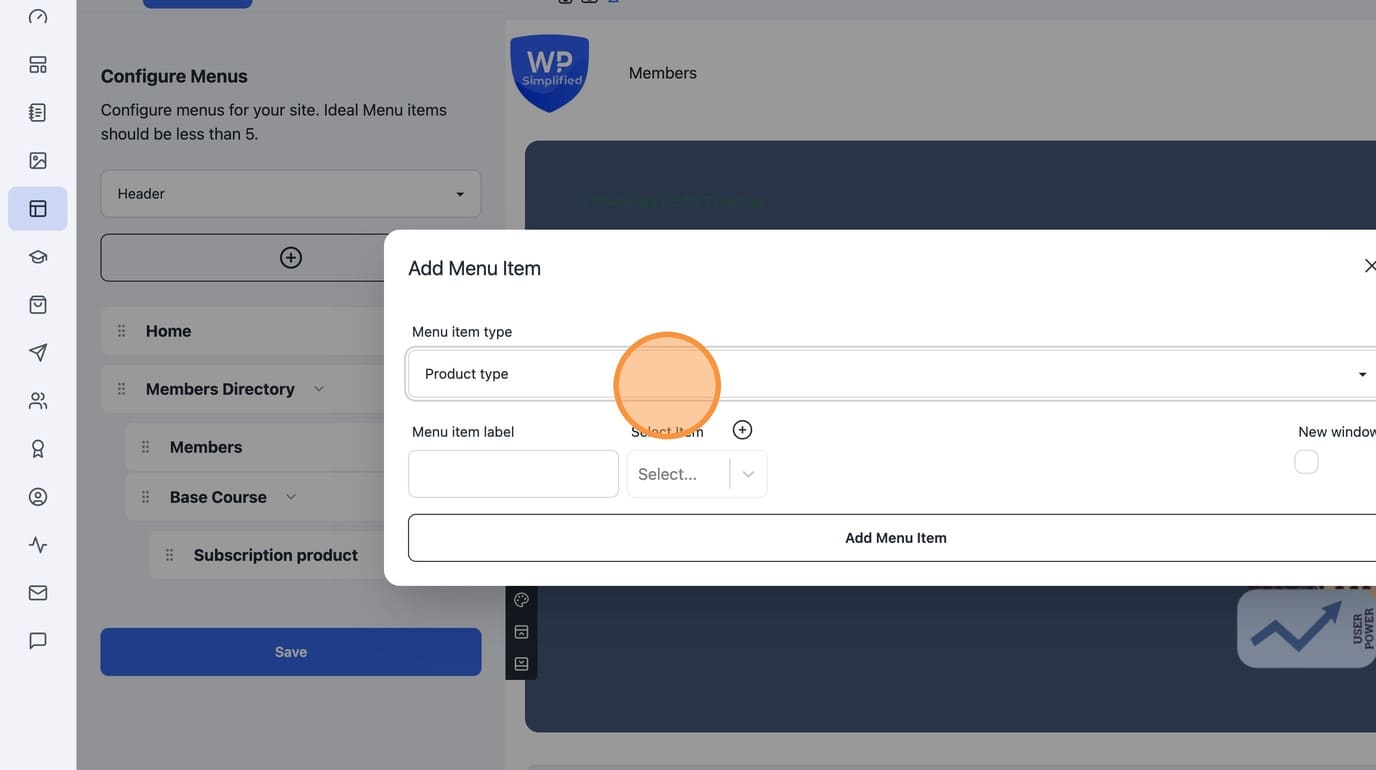
31. Select the "Product type" option.
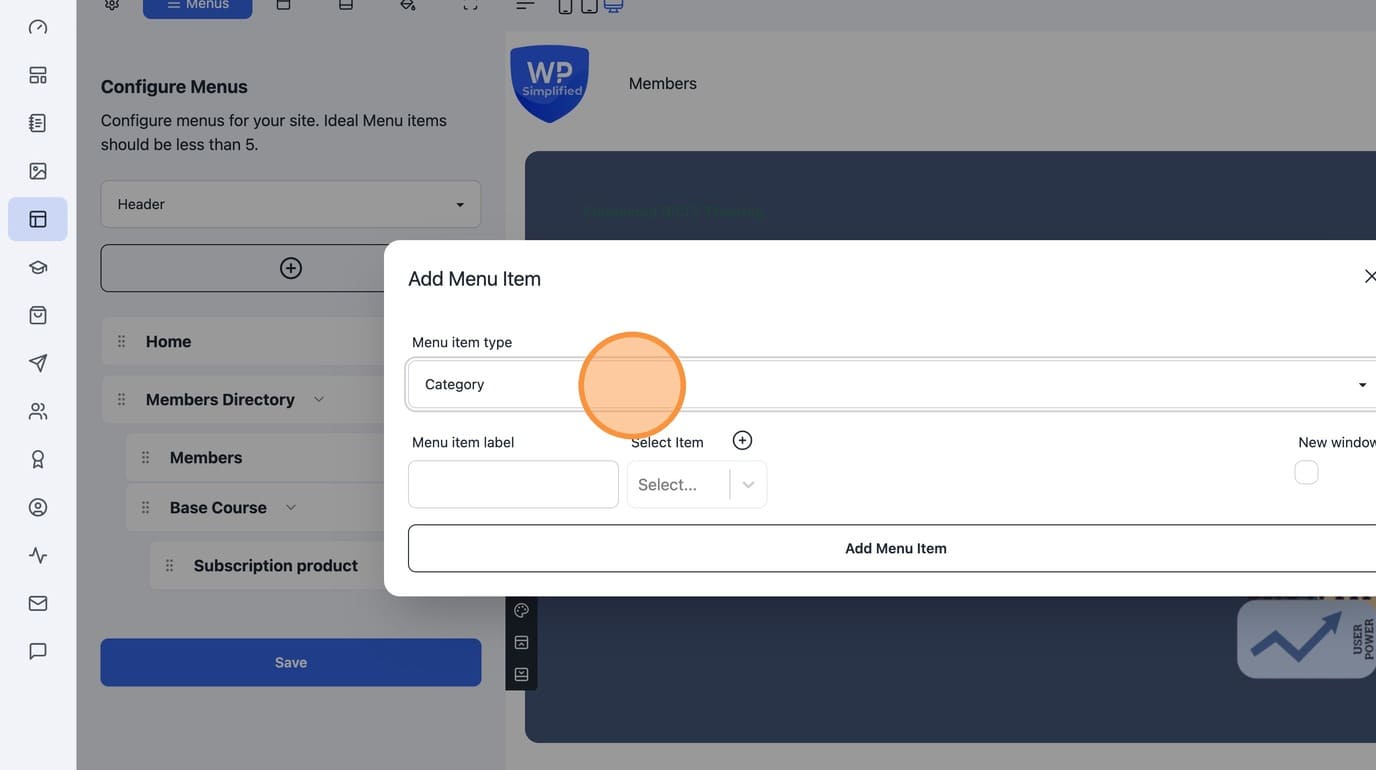
32. Select the blog post "Category" option.
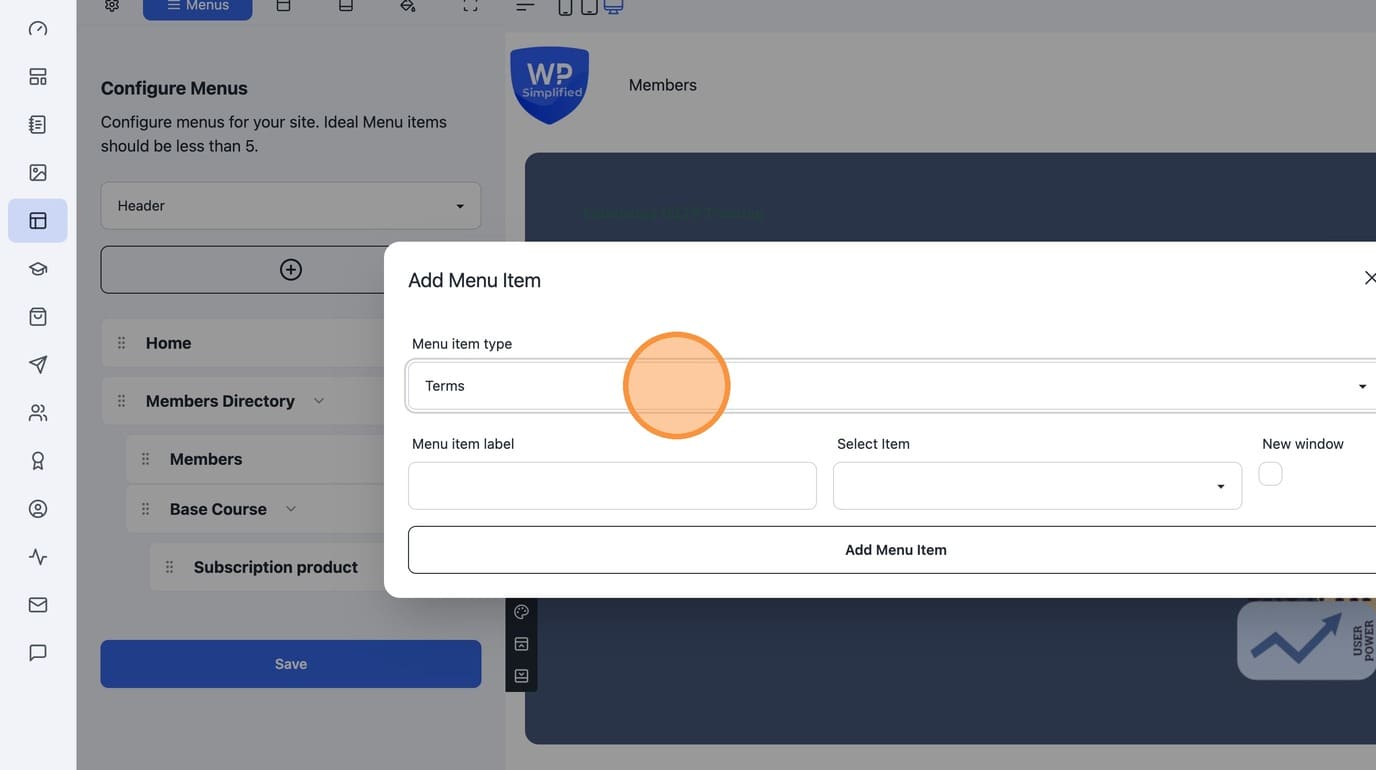
33. Select the "Terms" option.
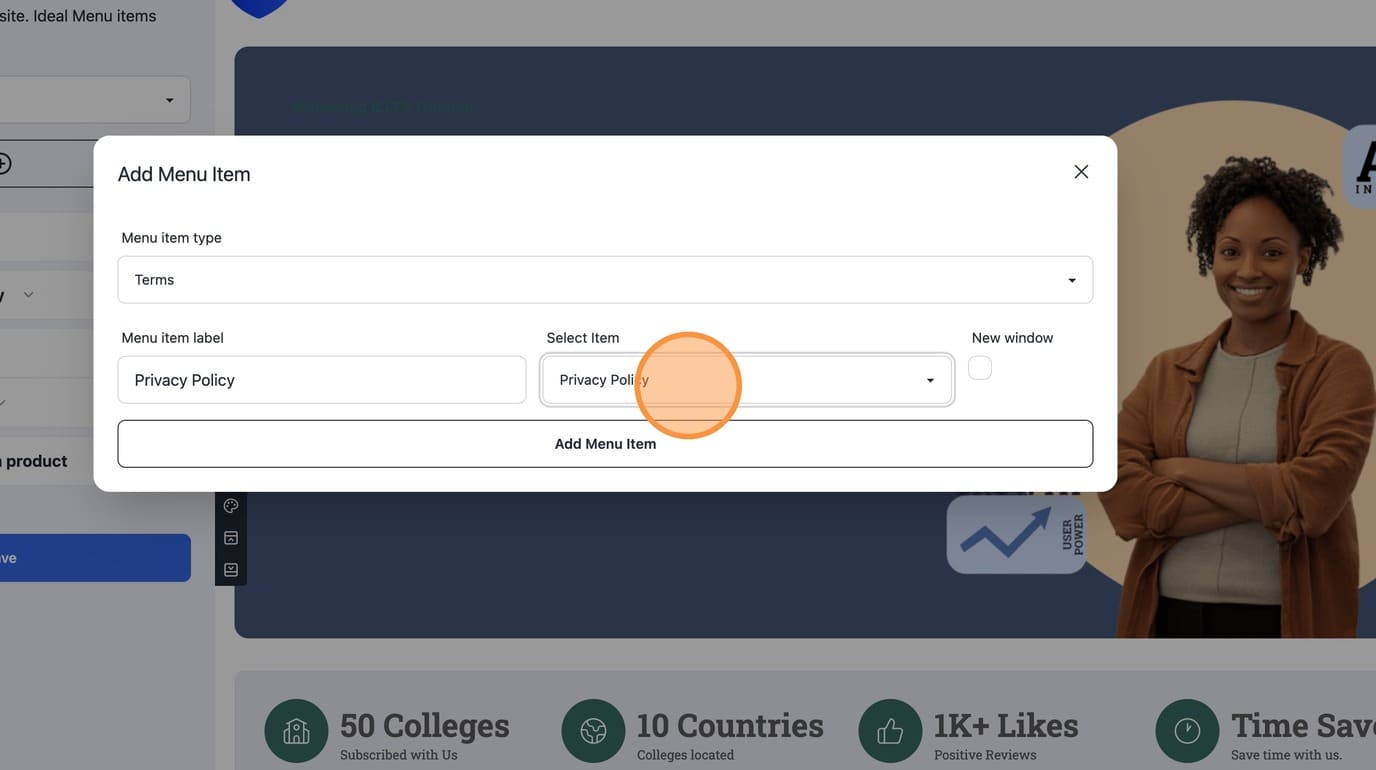
34. Select the "Privacy Policy" option.
35. Select the "Documentation" option.
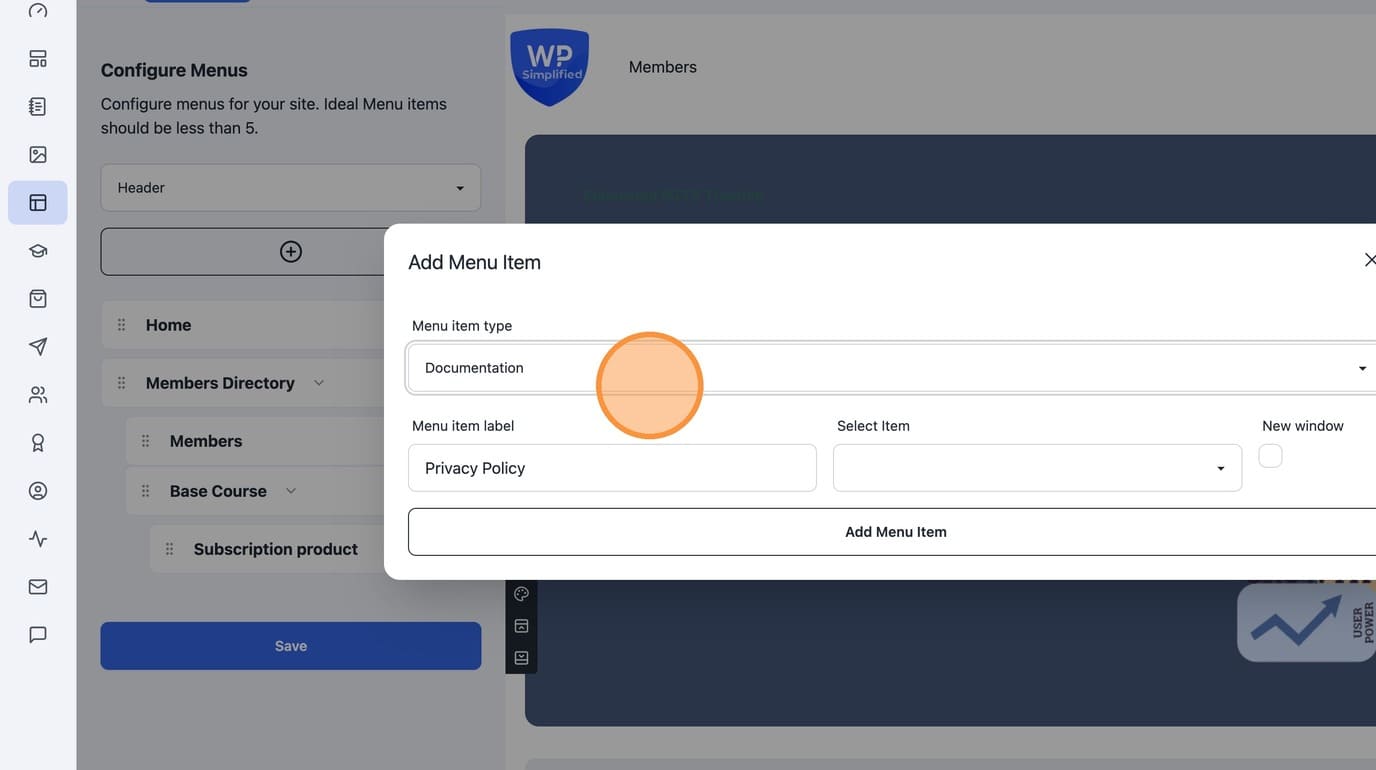
36. To close the popup use the X icon. Menu menu creation is covered in the next tutorial.