- About
- Setup
- LMS
- Features
- Community
- eCommerce
- Accounts
- Reports
- Policy
Setting up site logo, title
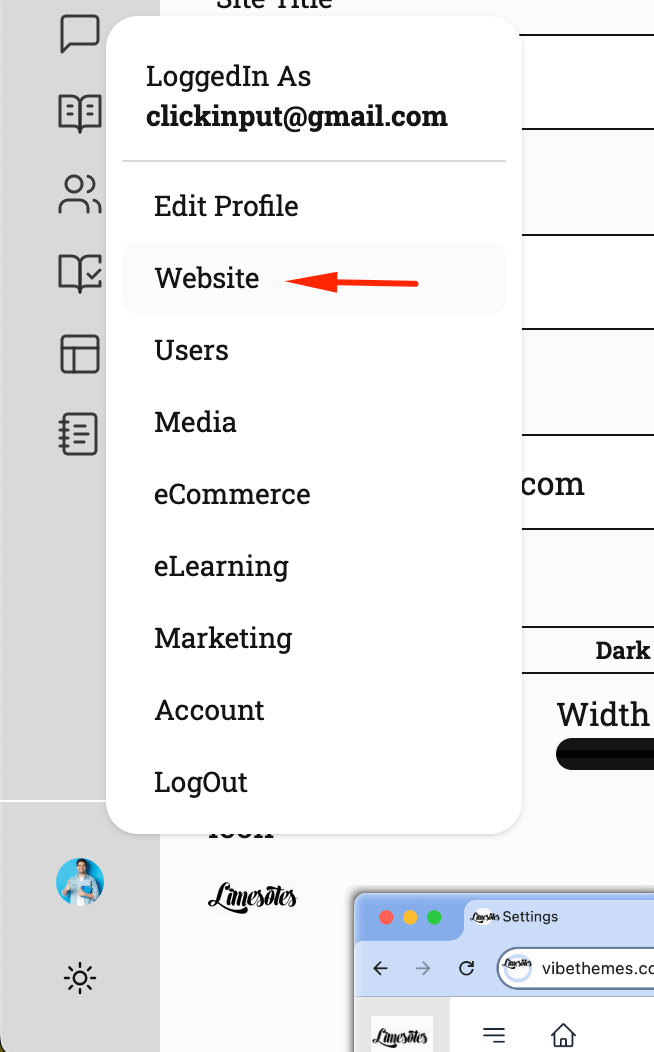
To setup the most important parts of your site you have to locate the Website menu which appears when you click on your image in the bottom left corner.
All site administration task happens through this menu

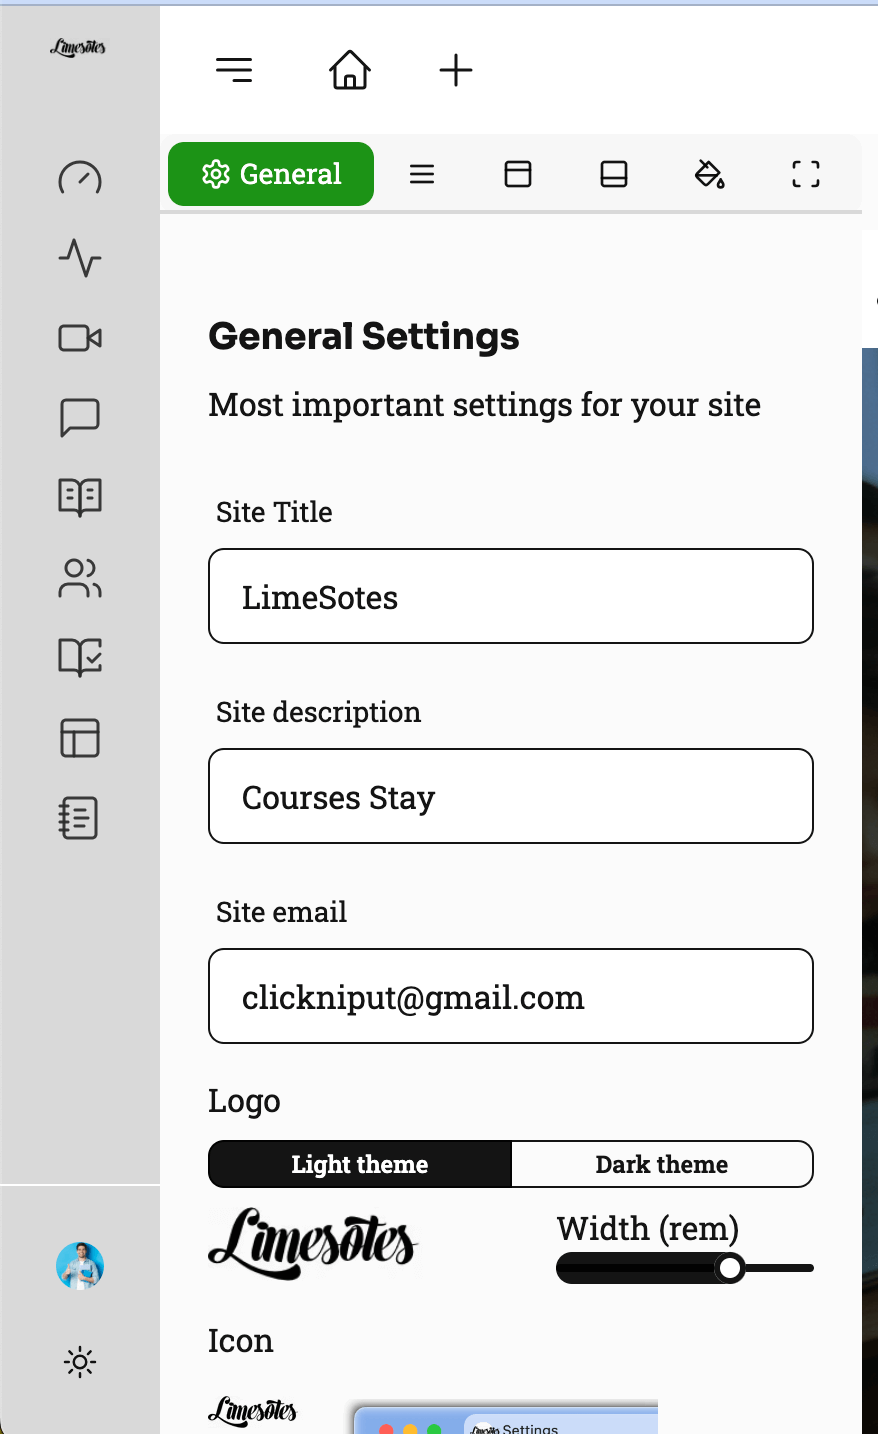
On clicking the website link you should land on a screen below. The inspiration for this screen has been taken from Customizer.

Site Title: The name of the website or application. In case you do not have a logo set this name replaces the logo section of your site.
Site description: A brief description of the website or application. This description shows up as a meta tag for your site, and would show up when users search for your site on google.
Site email: The email address associated with the website or application. This is the Site contact email, this is used in emails as support communication to users of your site. Also in default contact form that shows up as coming soon.
Logo: The logo image for the website or application.
Light theme and Dark theme: Options to switch between a light and dark theme for the website or application. The Light and Dark theme option need to be enabled first from the Header section beside the General tab.
Width: This setting controls the width of the logo in units of rems. Rems automatically adjust to lower value on mobile screen for optimal visuals.
Icon: The icon used to represent the website or application. This icon also shows up on the Application menu on top left corner of the screen.
Set a home page: This option allows you to set the default page that users will see when they visit the website.
Default Language: This option allows you to set the default language for the website. In this case, the default language is set to "English".
Set default role: This option allows you to set the default role for new users who register on the website. You can choose to allow users to select their own role, or you can set a default role for all new users.
Date format: This option allows you to set the date format that will be used throughout the website. In this case, the date format is set to "MMMM-dd-yy".
Google Analytics Property ID: This field allows you to enter your Google Analytics property ID, which is used to track website traffic and usage.